 Email article
 The GIMP (GNU Image Manipulation Program) is a free, open-source, cross-platform, and powerful image editor for photo retouching, image composition and image authoring. It can be used as a simple paint program, an expert-quality photo retouching program, an online batch processing system, a mass production image renderer, an image format converter, and so on.
GIMP Portable is a modified version of GIMP optimized for flash memory for Windows XP, Vista, and Windows 7 (Windows 8 support unknown). You can download it from here. (There are Linux and Mac OS X versions of GIMP, too, but they are not portable.) Download the self-extracting EXE, and extract to a folder of your choice. It writes settings to the application folder. GIMP Portable is Unicode supported. It has “Stealth” which means there will be zero left-over once the drive containing this program is withdrawn from your computer.
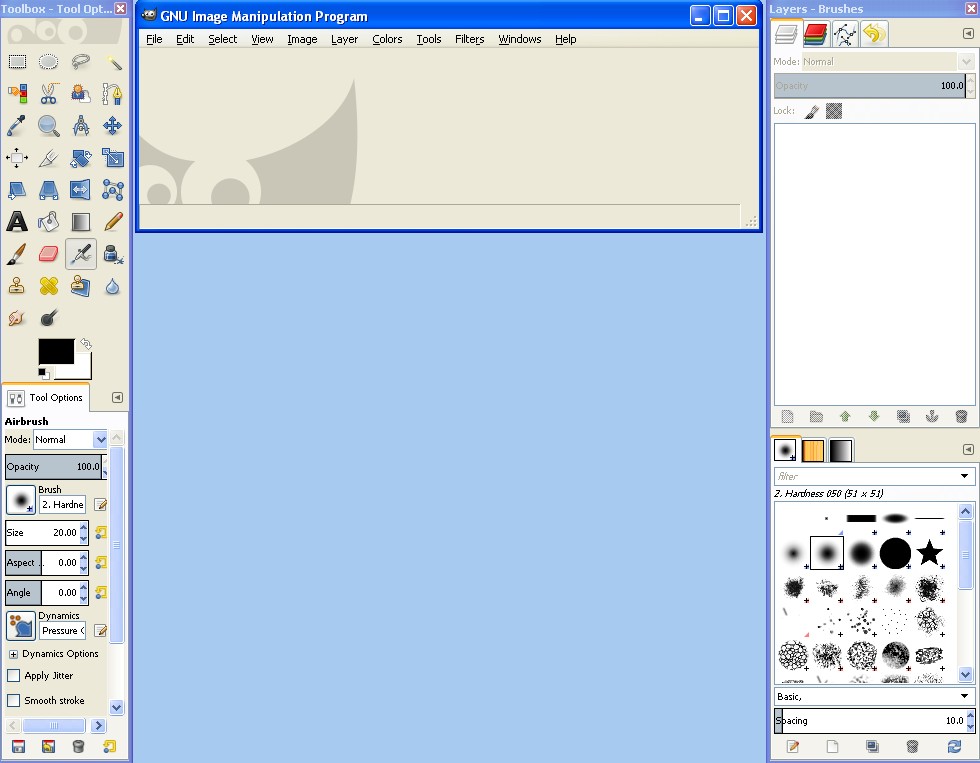
Background transparency of an image is something that is desirable many times. You can make this task an easy one if you use GIMP or GIMP Portable. When you open GIMP, you can see 3 windows, viz., main window (GNU Image Manipulation Program) in the middle, Toolbox – Tool Options in the left, and Layers – Brushes in the right. If you ever close the Toolbox or the Layers window, you can bring it back by going to Windows > Recently Closed Docks. Now, to make the background of an image transparent, follow the 5 steps below:
- Open the image (File > Open… (Ctrl+O), and then browse, or just drag-n-drop).
- Select the area you want to make transparent by using the appropriate selection tool from the Toolbox window, or Tools > Selection Tools > By Color Select, Shift+O (or Fuzzy Select, U). Click on the region you want selected. Select by Color Tool does Select regions with similar colors whereas Fuzzy Select Tool does Select a contagious region on the basis of color. Use Shift+Click to add more regions/colors. It’s easier if you zoom in (View > Zoom) to see finer details.
- Go to Layer > Transparency > Add Alpha Channel. If this is blanked out, then it’s already done. This makes sure that your image can store transparency data.
- Go to Edit > Clear (Delete). This makes the selection transparent.
- To save the file, this new version wants you to export if you prefer the standard formats like PNG, JPEG, GIF, and so on. Go to File > Export… (Shift+Ctrl+E). Choose where you want to save your image by selecting the appropriate folder from Places in ‘Export Image’ dialog box, and Select File Type (By Extension) makes you choose the image format (you must pick PNG or GIF to retain transparency). Give the image a suitable Name, and press the button Export.
- To save as a PNG image: You must select Save color values from transparent pixels in ‘Export Image as PNG’ dialog box. Press the button Export.
- To save as a GIF image: On the next screen (‘Export Image as GIF’), check Interlace option. Press the button Export.
Done!
By the way, do you pronounce GIMP as “GIMP” or as “JIMP”? LOL. Well, my preferred accent is “GIMP” since I know GIMP comes from GNU which is a recursive acronym pronounced with “G”.


