 Email article
Retro photo editing options are those that make it seem as if the photographer took the photograph with an outdated camera instead of a digital alternative. Most image editing software now include retro options with which photographers can add some nostalgia to their pictures. Among the software is the freeware Google Picasa, for both Windows and Mac OS X platforms, which has a number of suitable options for retro editing. This guide will show you how to use them.
Open the Picasa software, and then select a thumbnail image to edit. As vintage pics tend to incorporate bygone elements, pick a photo that includes a retro subject. For example, a steam train or architecture such as Eiffel Tower.
Add Black and White
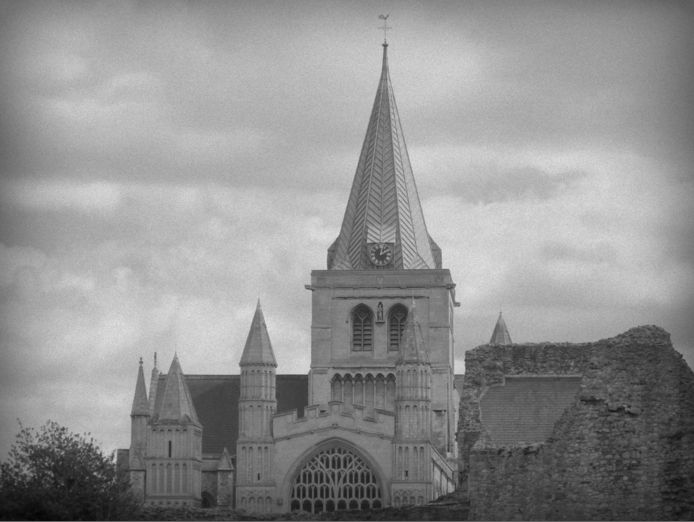
Black and white is one of the most widespread vintage editing options included with photography software. Picasa has a few options that will add black and white to your photos. From the editing window, select the middle tab and then click the B&W option.
Alternatively, consider adding black and white with the Holga-ish option. That’s supposed to replicate the film Holga camera models. Select the green paintbrush tab, and then Holga-ish. That should open the window below from where you can remove all the color by dragging the Fade bar to the left. The option also includes a Grain bar with which you can add some grain to further replicate more outdated photos. Select Apply and your photograph could be comparable to the one below.

Input a Little Grain
Photos taken with outdated cameras are usually grainy. Thee Holga-ish option includes grain, but if you convert to black and white without selecting it the Film Grain option will add it. Click the middle tab, and the Film Grain option. Then drag the bar to the right, and click Apply. To boost the photo’s contrast click the Lighten check-box.
Add Vignette to the Border
Vignette is an editing option that darkens the photos border. Add it to your black- and-white photo by selecting the blue paintbrush tab. Then click the Vignette option. You can make adjustments to the editing by dragging the three drag bars. If set at middle values the photo should be comparable to the one below.
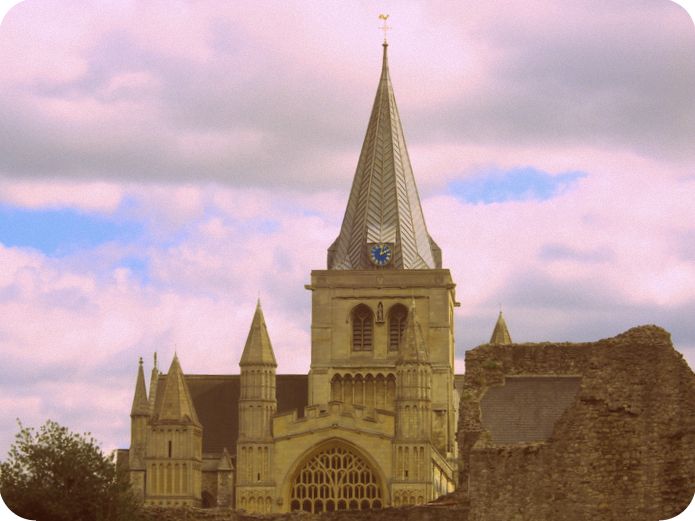
Convert to Sepia
Sepia is an alternative to black and white that is actually somewhat closer to former photo colors. Sepia is next to Picasa’s B&W option, and when selected will add a sepia tone to the photo. Then your retro photo could match the one below.

1960’s Editing Option
If you still prefer to keep some color in the retro photo, select Picasa’s 1960’s option. Click the green paintbrush tab, and then the 1960’s option. That will add rounded corners to the photo, and fade the colors so that it resembles a photograph taken during the ’60s. You can remove the rounded corners by selecting the ticked Rounded Corners’ check-box. Click Apply to add the editing. To save any changes, click on File and Save.
Those are a few of Picasa’s options for retro editing photographs. With those options you can fool anybody that the photos were shot with outdated cameras!


