 Email article
The motion blur, also known an directional blur, editing option is one that adds blur to photos. Directional blur adds blurring to a photo at a specifically set angle. It is added to give a greater effect of motion in the photo. A variety of image editing software packages include directional blur options. For the purposes of this article, we will be discussing Paint.Net.
Paint.Net is one of the freeware software packages with which you can add it. The software can be added to Windows XP, Vista, 7 and 8 from this website.
When you have opened the Paint.Net software click File > Open. Select a suitable photo to add the editing to. It should include a subject that includes a moving object such as an aircraft as in the shot below.
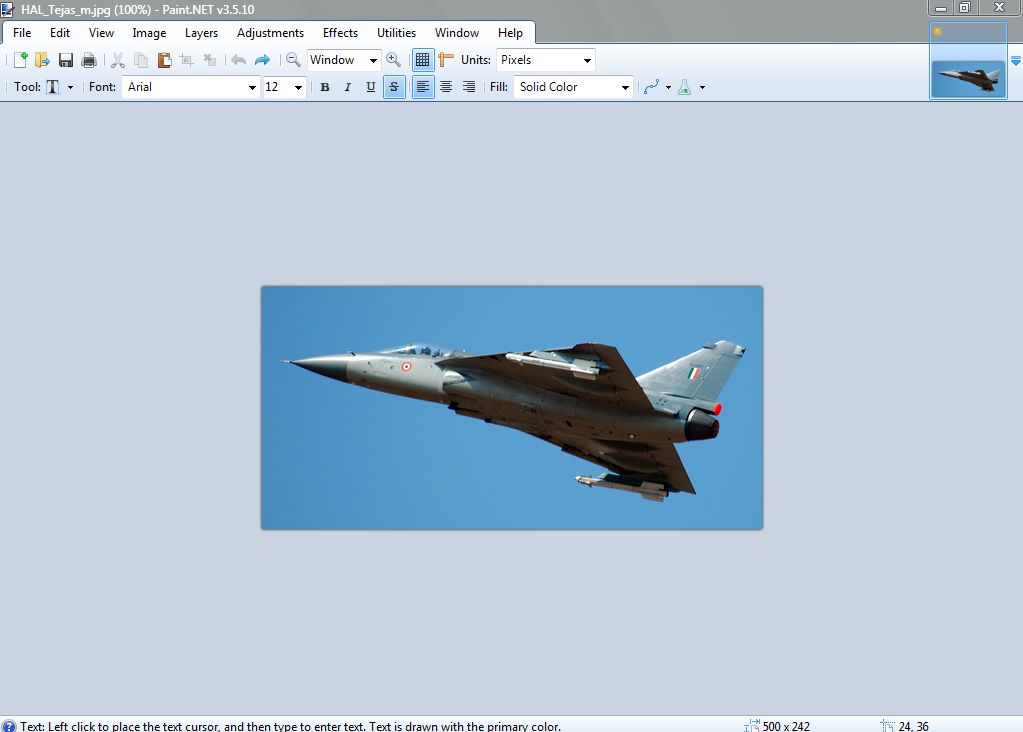
Click on the Effects’ option. Then select Blurs and the Motion Blur option. That should open the editing window below.

Firstly, adjust the angle of the directional blur. The angle should match the angle of the moving object in the photograph. Left-click and drag the line around the compass circle to set a suitable angle for the photo, or alternatively input a value.
Below that there is a Distance drag bar. Drag the bar further to the right to add greater blur to the photo. However, dragging to the far right will put the photo completely out of focus.
Then click on OK to close the editing window. Your photo should then be comparable to the one below. Select File and Save.
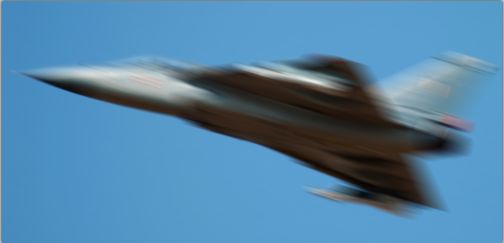
Paint.Net is just one of the software packages which include the option. You can also add motion blur to photos with software such as Zoner Photo Studio, Gimp and Photoshop. The editing certainly adds a greater motion effect, as if the photo had been taken with a longer exposure time.


