 Email article
Watermarks are faded background text or images that display behind the text in a document. Unlike MS Word OpenOffice’s word processor doesn’t have a specific watermark option. However, with the software’s page formatting options, and an image editing package such as Paint.NET, you can still add a custom text watermark to OpenOffice documents.
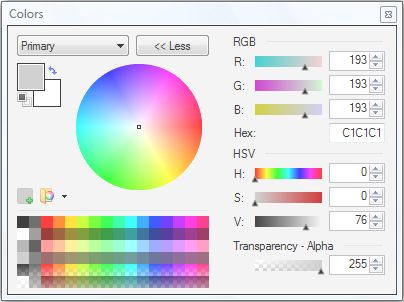
Firstly, you’ll need to set up a background watermark image with a photo editing package. Paint.NET is freeware software that has plenty of image editing options. With that software open a blank document, and then click Tools and Text. Before you enter any text, click on the Windows > Color options to open the palette below. There you should choose a light gray text color for the watermark.
You can then add some watermark text such as copyright. Expand the text size by selecting a number from the font size drop-down list. Position the text by selecting the square at the bottom right of the text, and then drag it to a suitable document position.

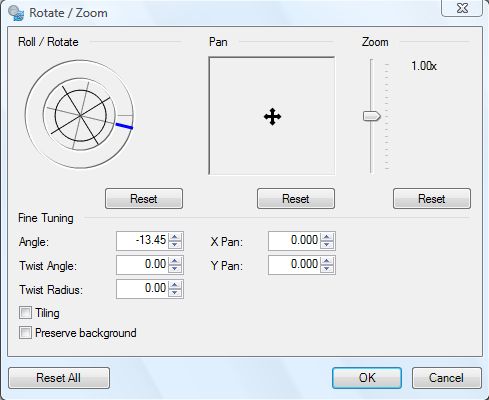
You can also alter the text’s direction by selecting Image > Rotate 90 Clockwise. Alternatively, click Layers > Custom Zoom to open the window below. There you alter the direction by entering a number in the Angle box.
Click File > Save, and save the watermark text document as an image file such as JPG. Then open OpenOffice’s word processor, and a suitable document to add the watermark to. Click Format and Page to open the window in the shot below.
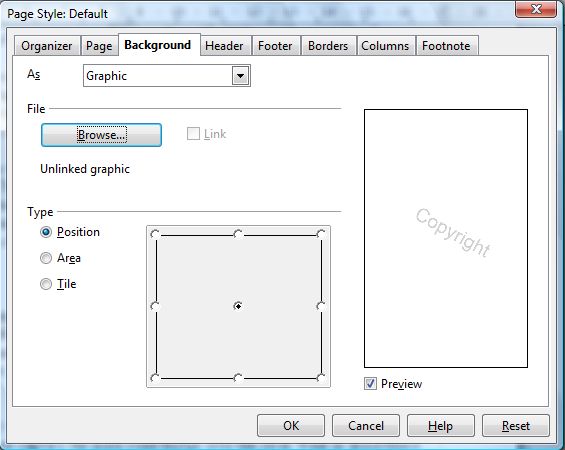
There you should click Browse, and then open the watermark image file. Click the Position check-box, and center the watermark text in the middle of the page. Then click OK to close the window and add the watermark to the document as below.
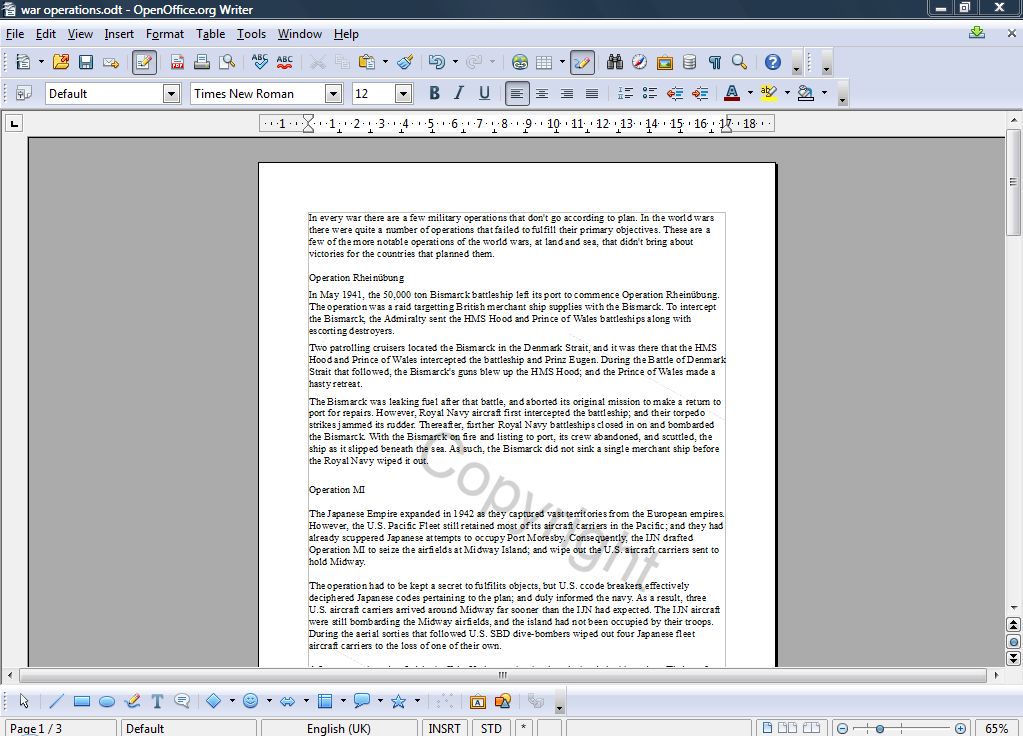
There you have it! With Paint.NET you can set up a variety of watermarks to add to OpenOffice document page backgrounds. Add the watermarks to documents to make their status clear.


