You can access most of the system options via the Windows Control Panel. Sure, but there are also a lot of options there to search through before finding the specific option required. Wouldn’t it be great if you could set up your own custom system admin panel, with a shortcut on the desktop, which includes a more limited number of specific system options and tools? Well, you can do just that!
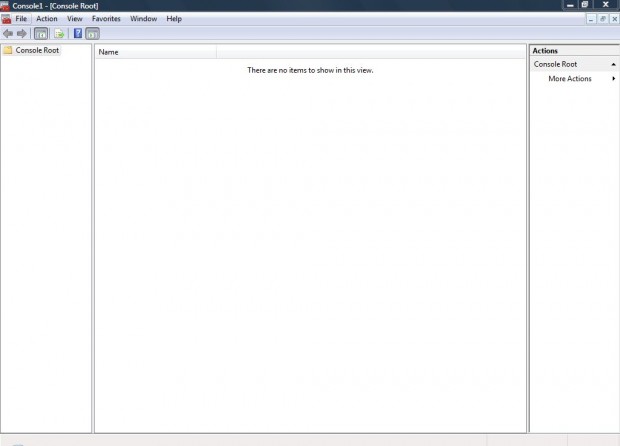
Enter mmc.exe in the Start engine search box, or enter it in Run, and press Return to open the window below. That window is somewhat empty at the moment, but it is there that you add the more essential system admin options. When selected, the system tools open within that window.
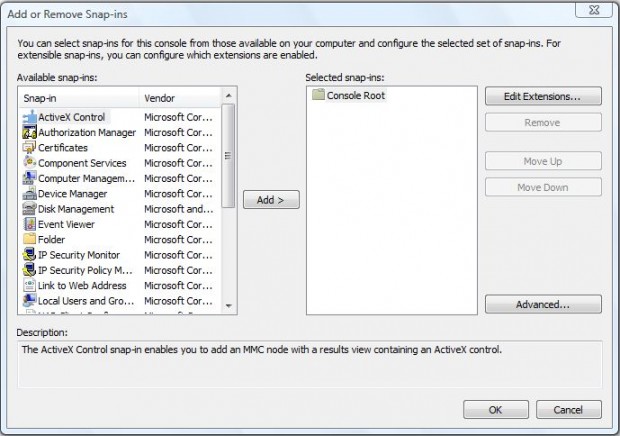
Click File > Add/Remove Snap-in to open the window in the shot below. On the left of that window you’ll find many of the system tools such as Device Manager, Windows Firewall and Link to Web which opens websites in the admin panel. Select some of those system tools, and click on the Add option. That opens a dialog window where you should click the Local Computer check box and Finish.
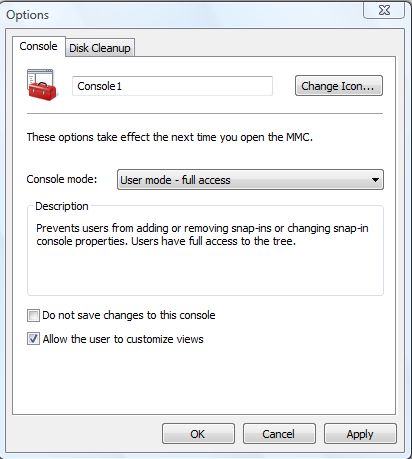
Once you’ve added a few system tools, click File > Options to open the window in the shot below. There you should select the User mode – full access from the Console mode drop-down list. Click Apply and OK to close the window.
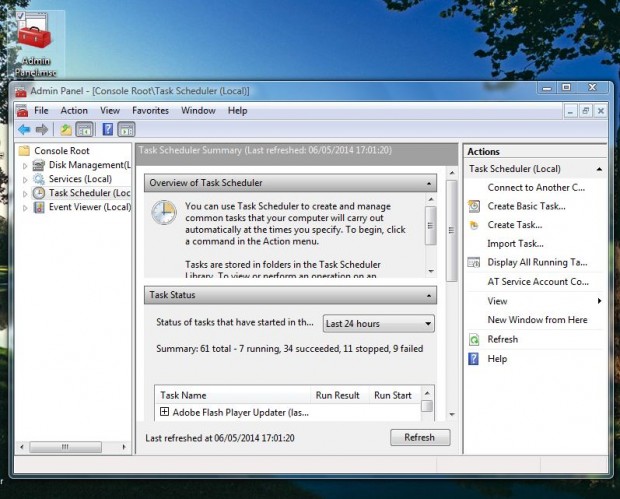
To save your console file, click File > Save As. Give it a title such as My Admin Panel and click Save. Drag the saved console from the Save As window to the desktop to add a shortcut as below.
Now click on the desktop shortcut to open your system admin panel. With this customized admin panel, you can now pull together some of the more essential Window’s system tools and options.

 Email article


