 Email article
MS Word 2010/2013 has a variety of options for editing images. For example, you can select numerous frames to frame your fave photos from the software’s formatting tab. However, you can also frame your pictures with MS Word’s shapes.
To add a shape to a document, click on the Insert tab and click Shapes. That should open a variety of shapes for you to choose from as below. Click on one of those shapes, and drag the cross to expand the shape you selected.

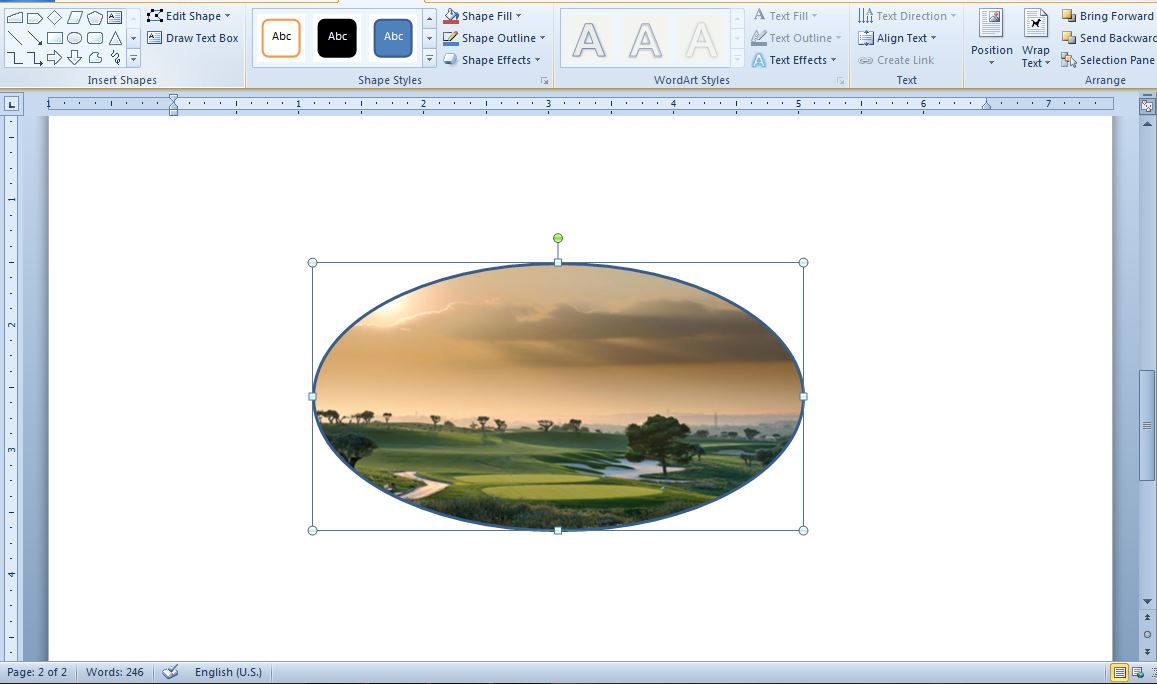
Click the Shape Fill option on the Format tab. Select Picture from the drop-down list, and then choose a suitable image to include in the shape. Click on Insert to add it to the shape as in the shot below.
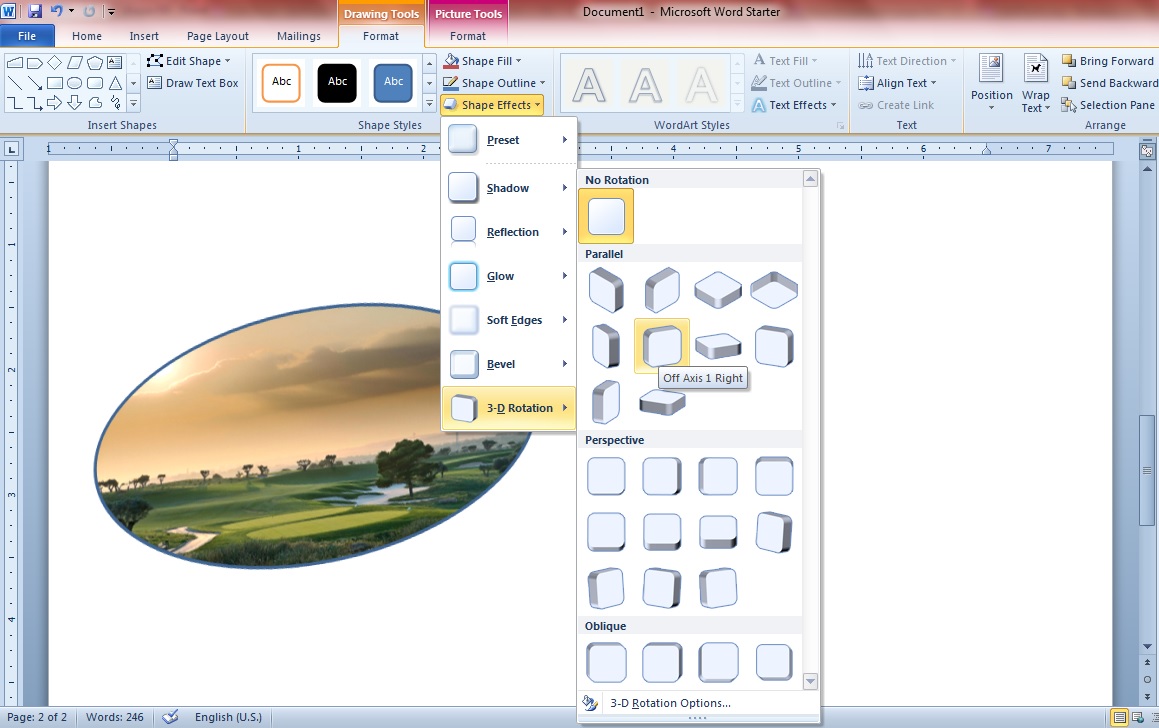
Now you can also apply shape effects to this picture. Click on the Shape Effects option to open a drop-down list of options. For example, you can select 3-D Rotation to adjust the angle of the shape, and the image it frames, as below.
To add a color outline to the shape, click on Shape Effects > Glow. Then you can choose from numerous glow variations as in the shot below.

Adding pictures to shapes in Word gives you many more frame options. You can also add many of the same picture effects to shapes. This article includes further details for editing images with MS Word.


