 Email article
Frankly, I don’t like it when there is a pop up window from antivirus software that informs me that a routine virus scan is required for my computer. Not only don’t I want to be interrupted by the prompt while I am minding my own business on my computer, but the whole-computer scan takes so long and slows down all the processes running on my computer at the same time. It feels like you’re back in the 90s running using dial up. If you don’t want your computer to be too sluggish while you are doing your work, you might need to schedule your antivirus software to do its scan at a time when you don’t need to use the computer. Previously, we have talked about Windows Defender and introduced its rich features. Taking Windows Defender as an example today, we’ll show you how to schedule a auto-scan for your Windows 8 system.
Unlike in Windows 7, Windows 8 users do not have easy access to the scheduled scan setup. But do not worry, taking the following steps will get your scheduled scan pretty easily.
STEP BY STEP SETUP
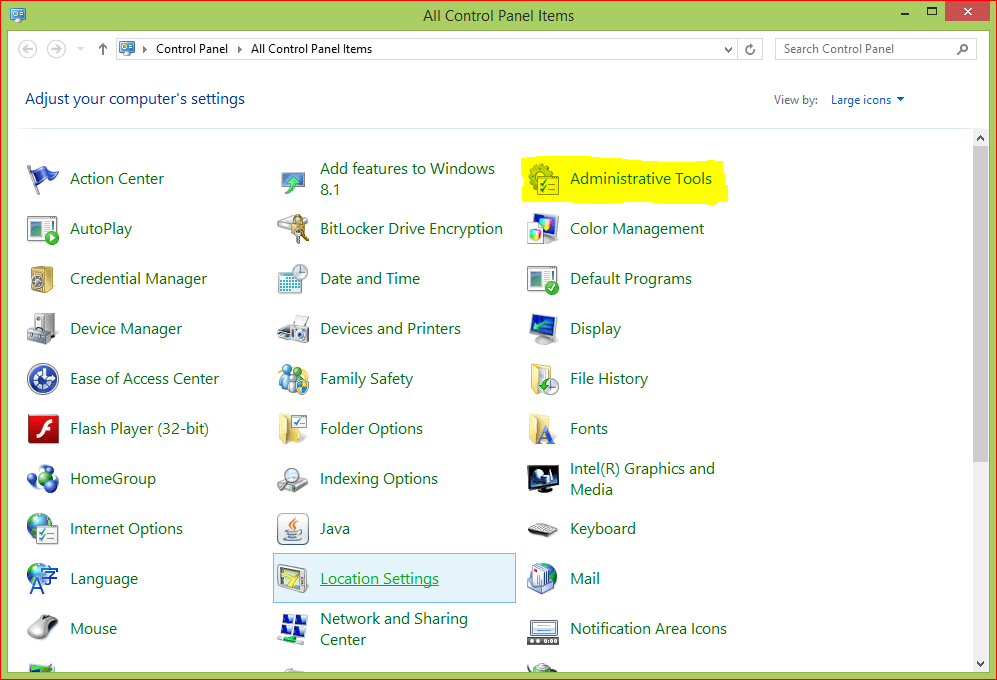
- First of all, you need to go to the scheduled task page. You can either type “Scheduled Task” in the search bar in the start interface or go to “Control Panel” ->”Administrative Tools”.
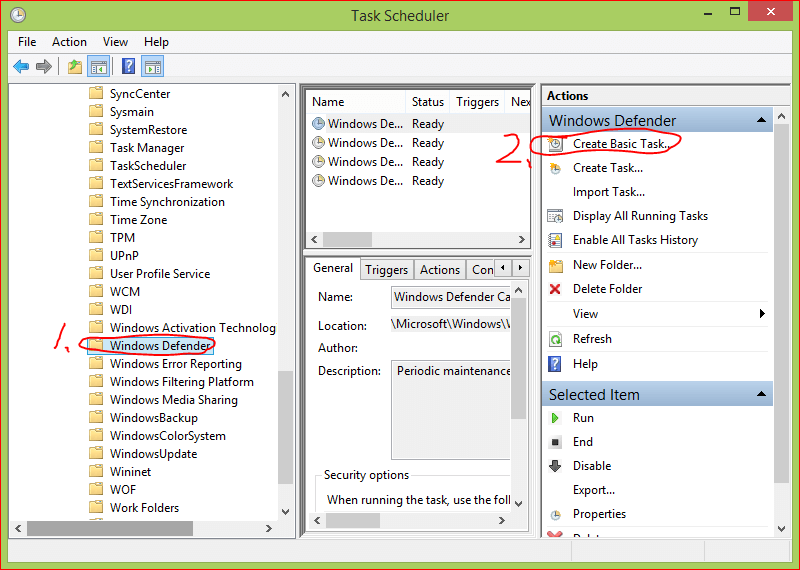
- In the “Task Scheduler” dialog, you will find “Windows Defender” on the left sidebar. Click on it and take a look at the right sidebar. You will see the selection “Create Basic Task” and click on it.
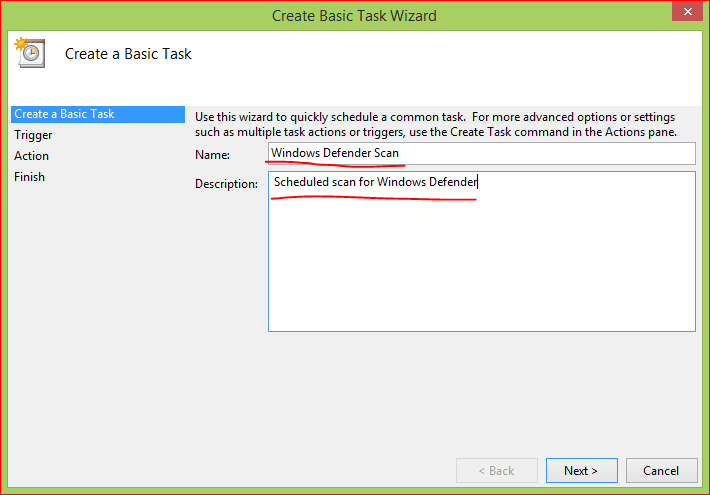
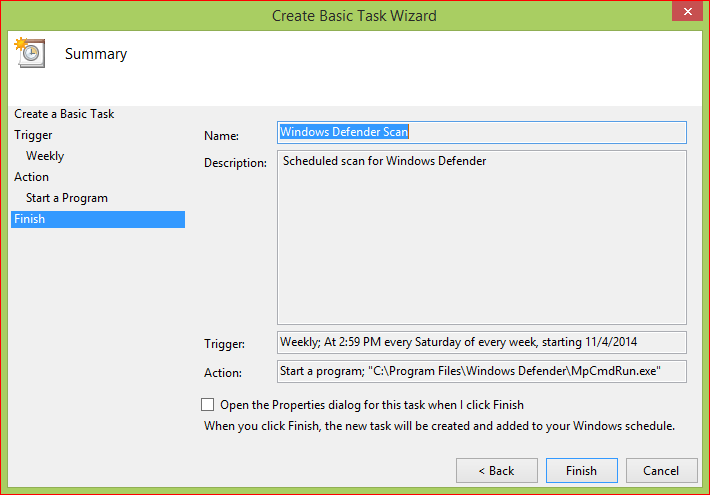
- In the “Create a Basic Task” section, fill in the “Name” and “Description” fields as shown. (Fill it out according however you want, it is not fixed.) Hit the “Next” button and keep going.
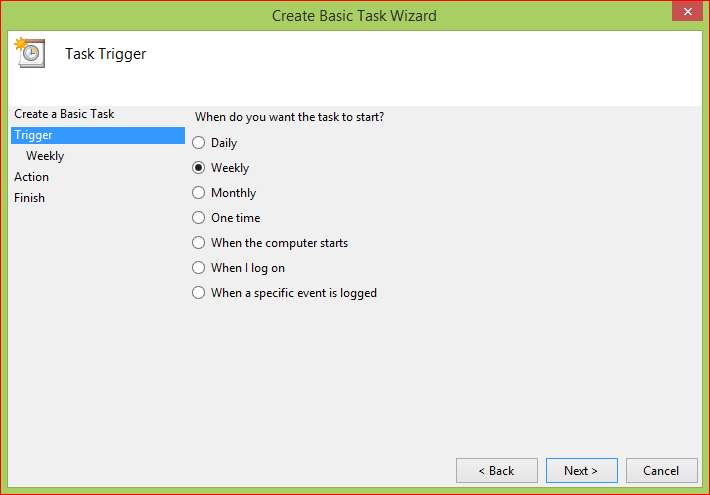
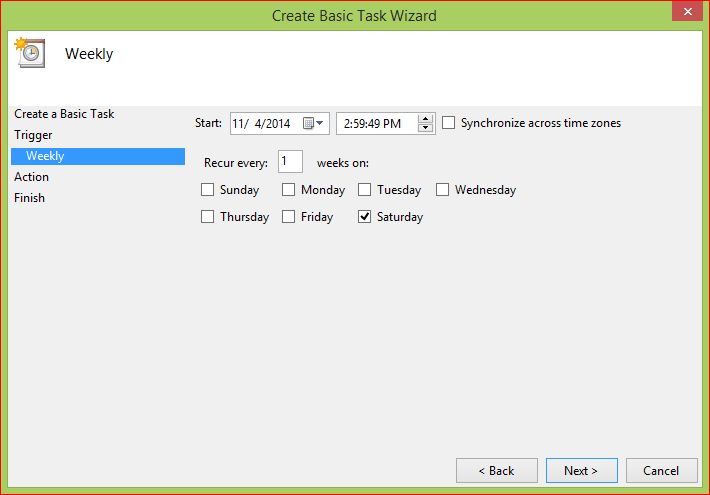
- In the “Trigger” section you can decide how often you want to do the scan. (i.e., “Weekly”)
- Under the “Weekly” selection you will get to choose which day you want to do a scan (i.e., I usually don’ t use my computer so much on Saturday afternoon, so I check the check box “Saturday”).
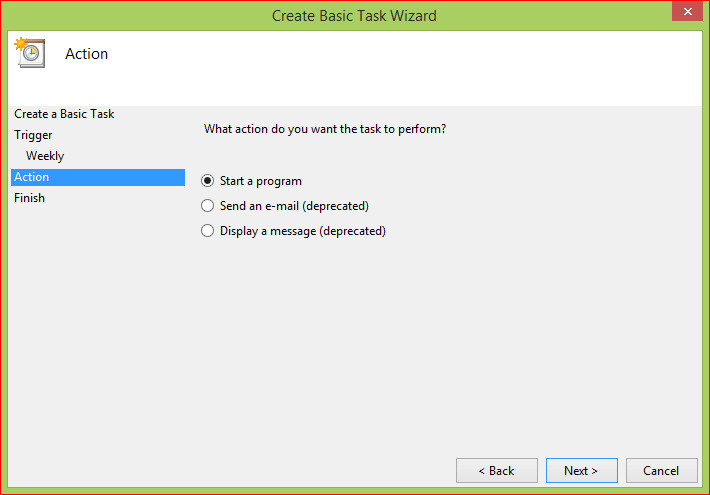
- In the “Action” section you need to locate the Windows Defender program because once the scheduled task is triggered, it needs to start the right program to respond to the action. Here we check “Start a program” and hit the “Next” button.
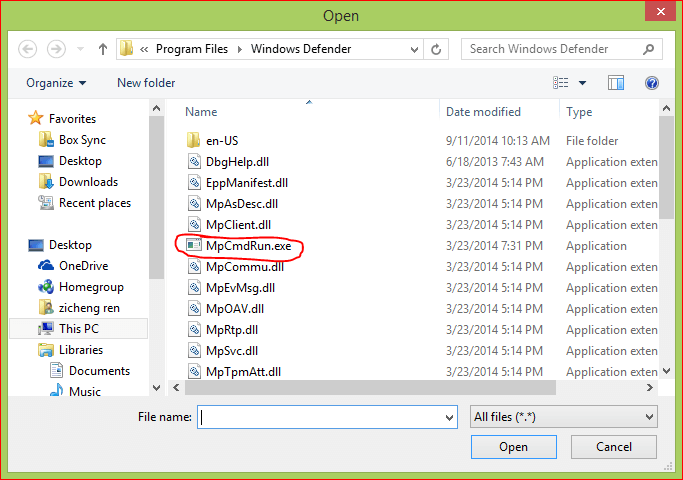
- Click on “Browse…” and find “C:\Program Files\Windows Defender\MpCmdRun.exe” and hit the “Next” button.
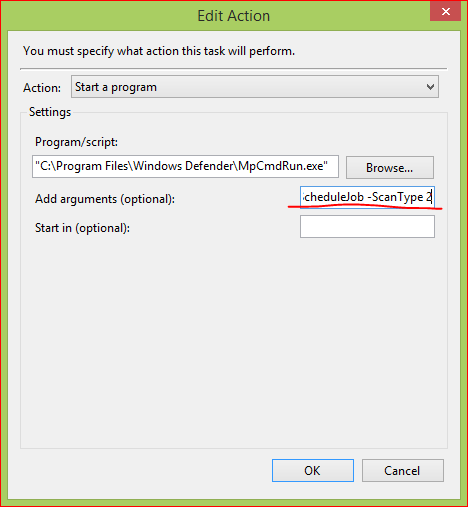
- In the “Edit Action”, input “Scan -ScheduleJob -ScanType 2″ in the “Add arguments(optional):” will give a full scan. If you want a quick scan type “Scan -ScheduleJob“.
- Lastly, you just have to hit the “Finish” button and you are all set for an auto scheduled scan for your computer.
If you want, you can go back to your “Task Scheduler” dialog and check the information of the schedules. You will find your newly created Windows Defender Scheduled Scan is right there waiting for you.
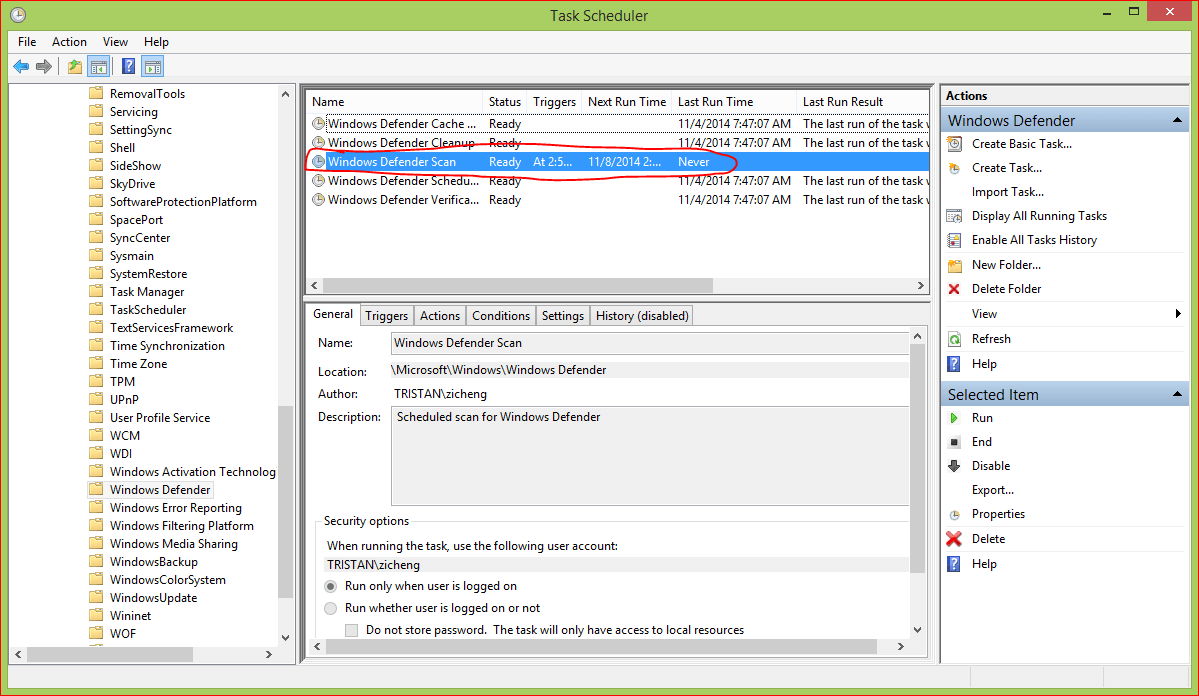
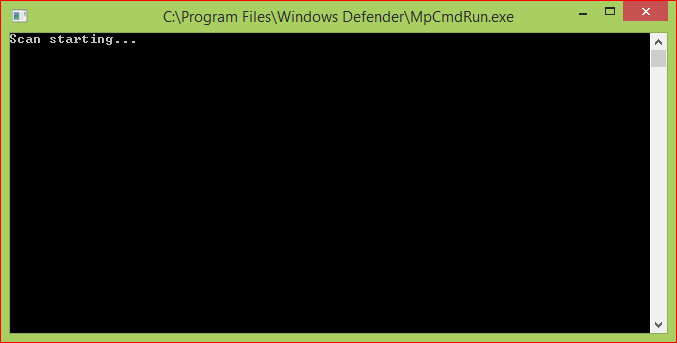
Let’s hit the “Run” button and have a test drive for scheduled scan!
CONCLUSION
Finally, just remember that even though you aren’t going to be using your computer during this time, it does need to be on the for the scan to run. You might choose to leave your computer on overnight one night a week and let the scan run then, for example. With this in place, you don’t have to worry about those annoying pop up messages any more.


