 Email article
With plug-ins you can add extra options to the Paint.NET image-editing software. Among the plug-ins for the program is CustomBrushesMini. With that plug-in you can set up custom brushes with image files. So let’s get started.
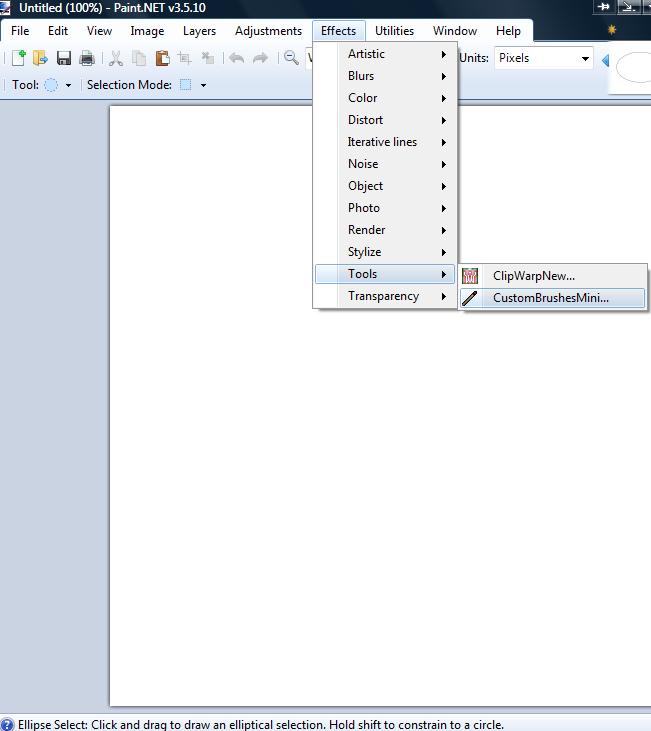
First, open this page and then click on the Zip download icon to save the compressed file. Then you’ll need to extract the Zip file to Paint.NET’s Effects folder. To extract the Zip file, right-click it and select Extract All. Extract the Zip to Paint.NET’s Effects folder. Now open Paint.NET, click Effects and Tools to open the submenu in the shot below, which includes a CustomBrushesMini option.
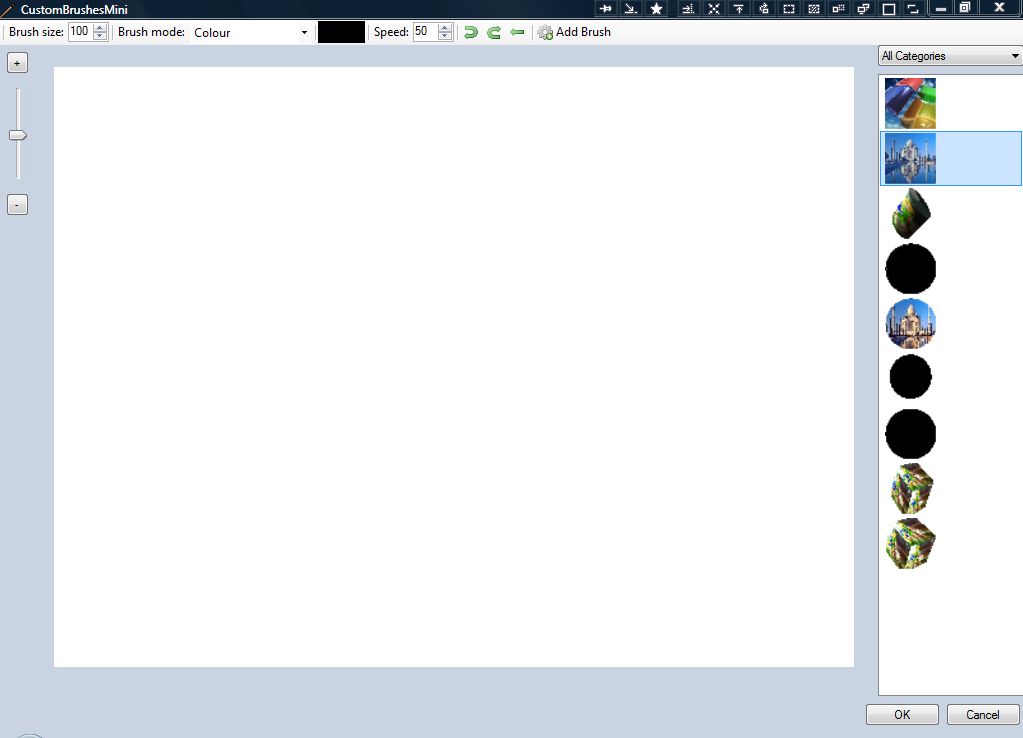
Select that option to open the window below. There you can paint over images open in Paint.NET with custom brushes. Press Add Brush, and then choose an image for the brush. The brushes are then included in a column on the right of the Paint.NET window as below.
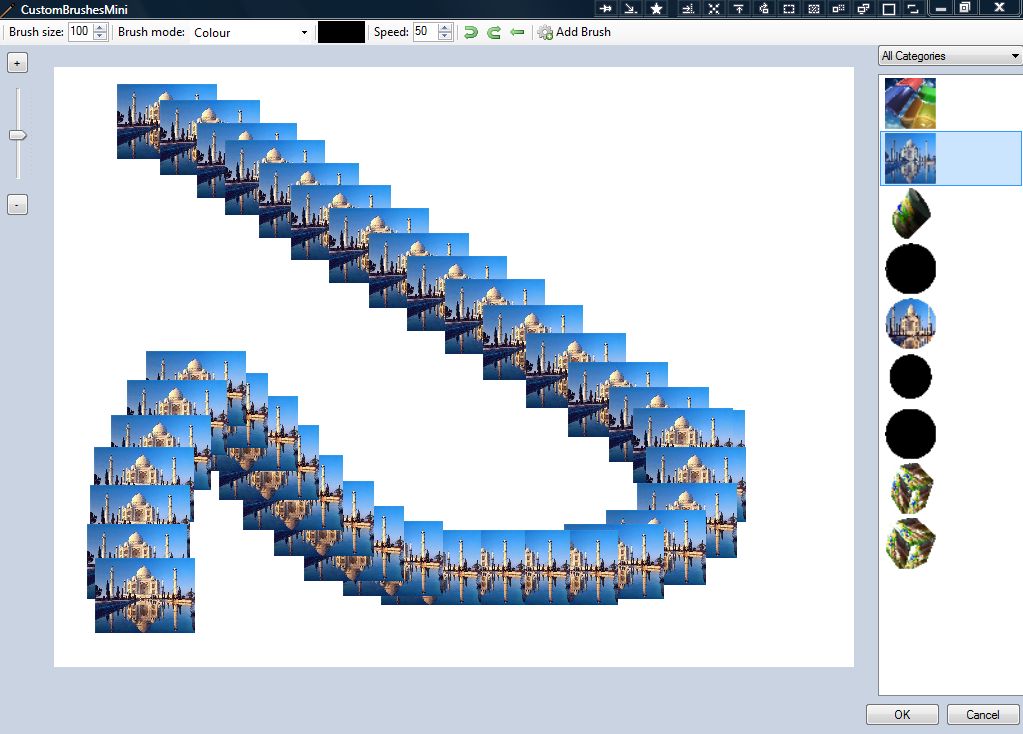
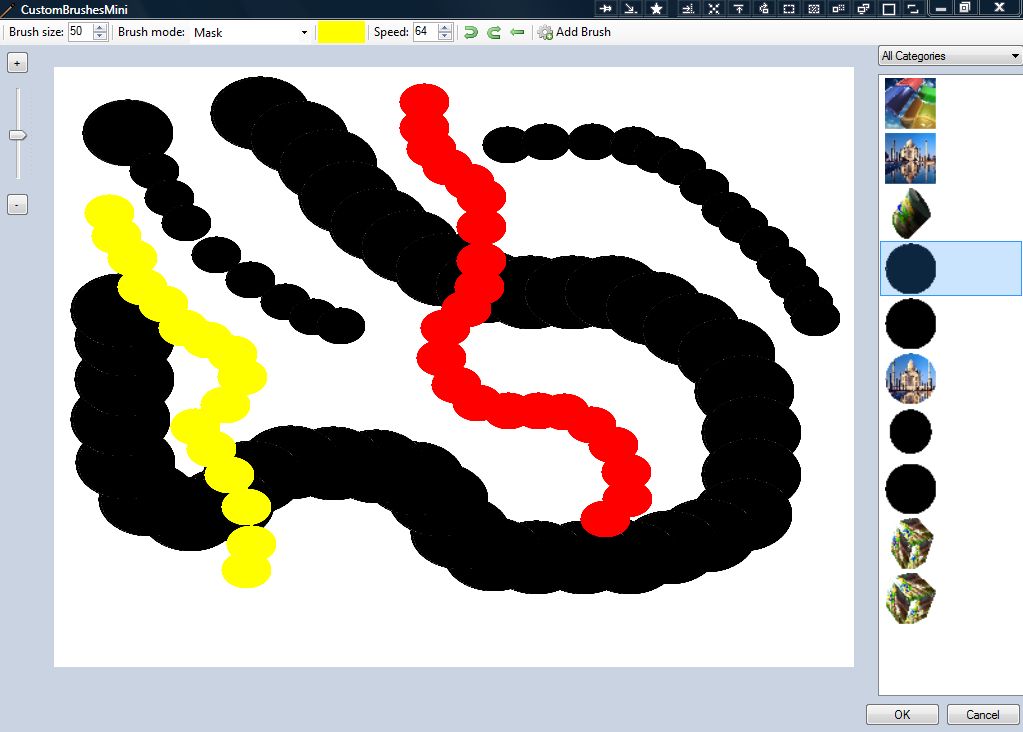
Now select the brush to paint with. Select an image thumbnail on the right, and then paint over the picture with it as below. If you select the Mask Brush mode, you can replace the image with a solid color by clicking the palette.
To set up a more circular brush stroke, click Ellipse Select from the Tool menu. Draw out a circle, select Image from the menu bar and click Crop to Selection. Then click Tools > Paint Bucket to add color to the circle as in the shot below.
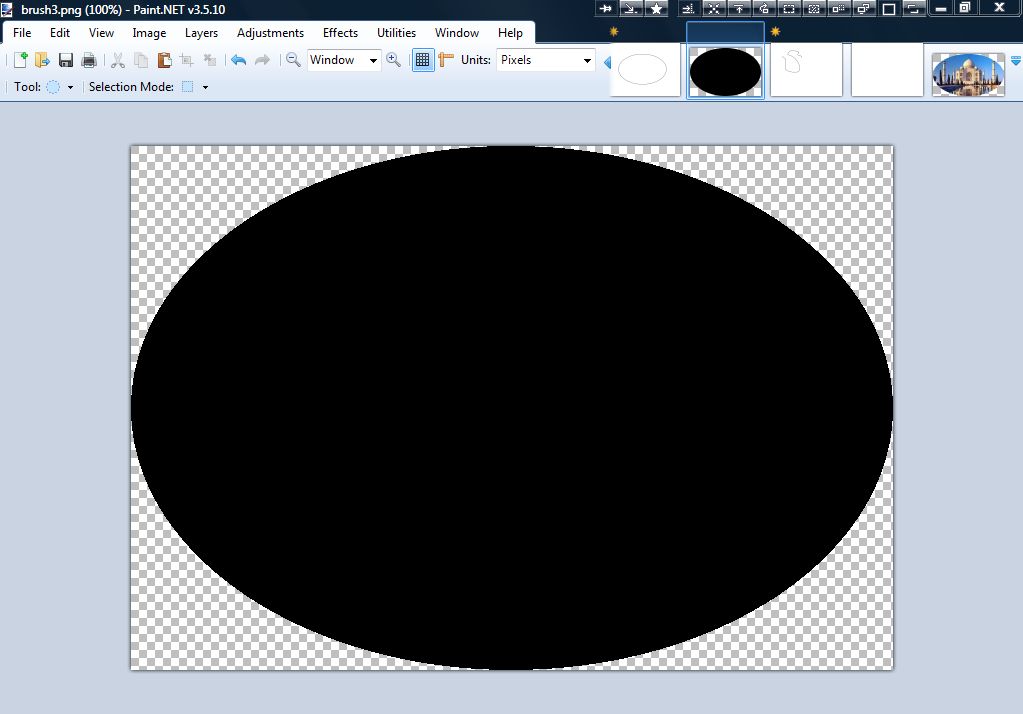
Save the circle as an image file by clicking File > Save, and then you can open it with the CustomBrushesMini as below. You can further customize the brush by entering alternative values in Brush size and Speed boxes.
With this plug-in you can now apply a variety of custom brush strokes to your image. If you need a greater variety of Paint.NET brushes, the CustomBrushesMini plug-in will certainly be a handy addition to the software.


