 Email article
Flames can be a fantastic effect to add to some images. You can add fire to photo objects with the TrsFuego plug-in for Paint.NET. In addition, you can also try other plug-ins such as Fire.
To add the TrsFuego plug-in to Paint.NET, open this page and click TrsFuego.zip. That will save the Zip file, and you can extract it by right-clicking it and selecting Extract All. Then extract the plug-in to Paint.NET’s Effects folder. You can add the Fire plug-in to Paint.NET much the same from this page.
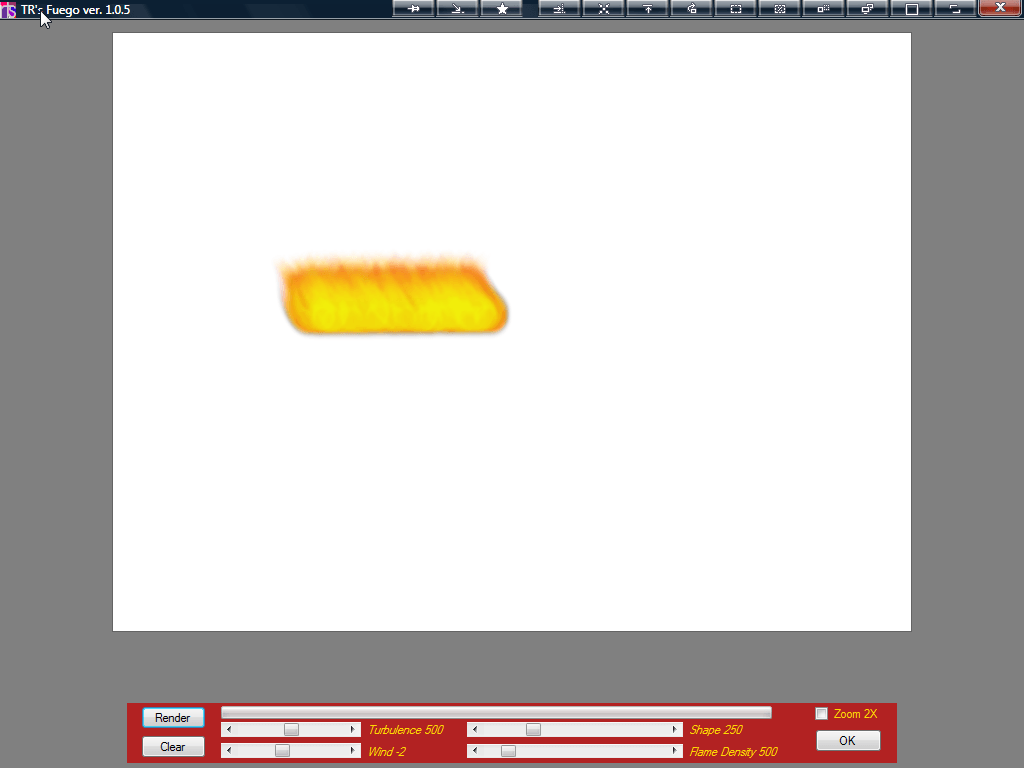
Then open Paint.NET, and click Effects > Render. Now select TR’s Fuego from the menu to open the options in the shot below. Left-click somewhere on the page to add a yellow circle, and then left-click somewhere else to add a connecting circle. A line will then be drawn connecting the circles highlighting the width of the flame, and left-click above the line to add a vertical line that shows the height as below.

Now you should drag the bars at the bottom of the page to adjust the flame. For example, you can drag Turbulence, Flame Density and Shape bars. In addition, there is also a bar that will add some wind to the flame. Then press the Render button to add the flame to the image as in the shot below.
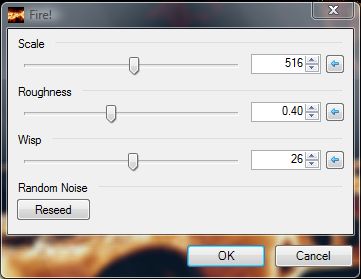
You can also add an alternative flame effect to your pictures with the Fire plug-in. Open an image, and then click Effects > Render > Fire to open the window in the shot below. From there you can drag three bars to adjust the scale, roughness and wisp of the fire effect.
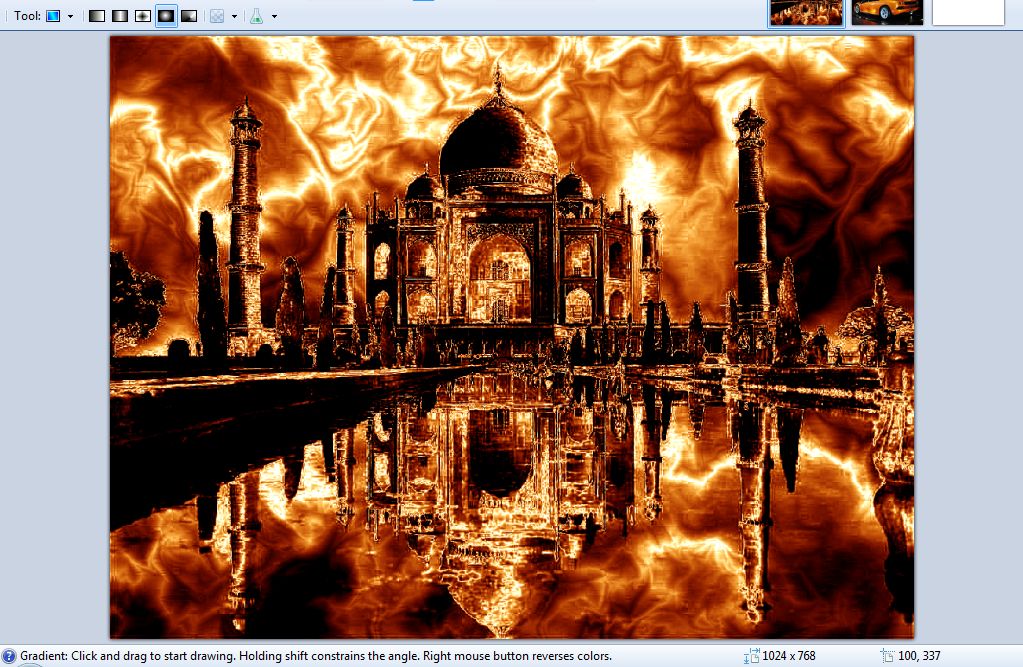
Then click OK to apply the editing to the picture as below. As this effect applies fire to the full picture, it is not entirely the same as the other plug-in. With the TR’s Fuego option you can add flames to more specific objects.
So those are a couple of Paint.NET plug-ins that you can add fire and flame effects to your images with. Those editing effects will certainly set your pictures alight!


