 Email article
OpenOffice is a freeware office software suite. Among its software packages are a word processor, spreadsheet, database and presentation application. The suite’s presentation application is Presentation, and that’s the best program for setting up slideshows combining text, images and audio.
However, before you begin preparing a presentation you will need to download and install the OpenOffice software suite first, which is available for the Windows, Mac OS X and Linux platforms. Visit the OpenOffice website at www.openoffice.org. Select a suitable platform from the drop-down list on the download page, and then press the Download full installation button.
Hereafter, you can install the OpenOffice suite. Make sure you install all the software included with OpenOffice. When you first open OpenOffice, select Presentation to run the software package.
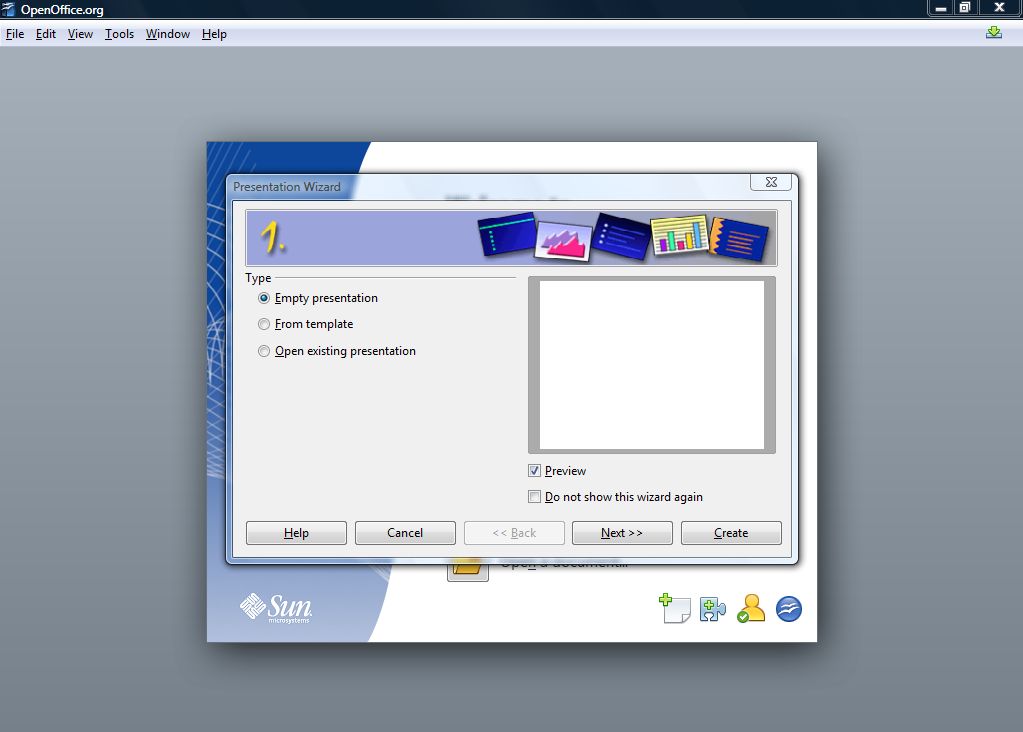
After opening Presentation, a wizard will open as in the shot directly below. You can begin by starting with an empty presentation or a template. Select the Empty Presentation option if you have not previously set up a slideshow with the software. However, if you already have a variety of established presentation templates then by all means select a template of preference.
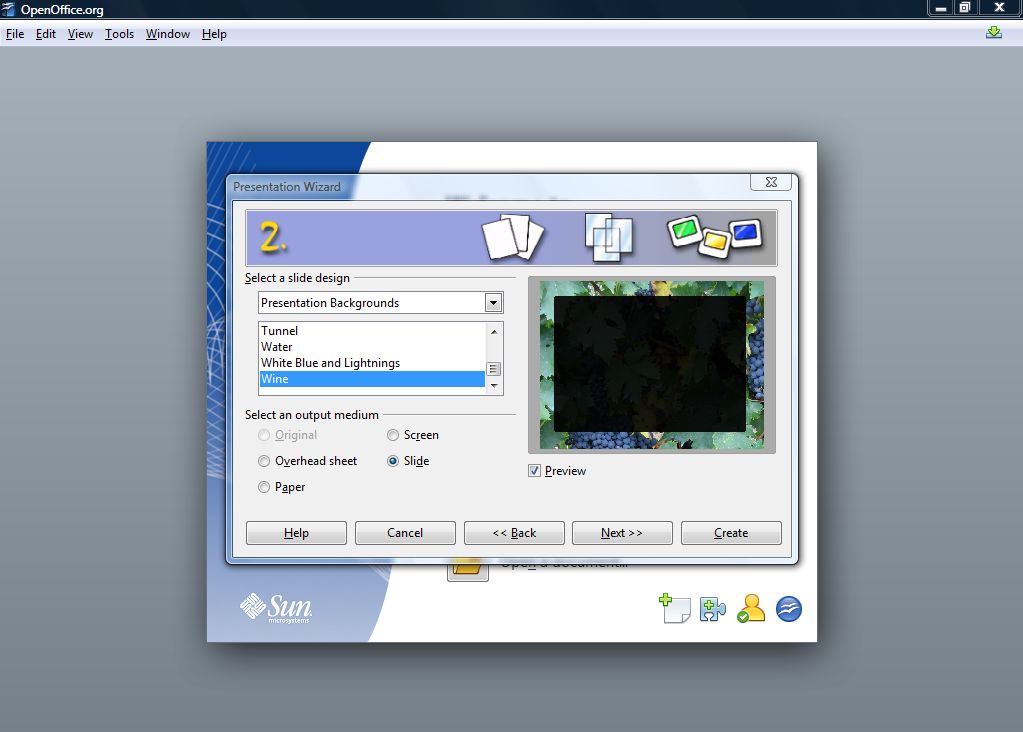
Hereafter, you can select from a list of presentation backgrounds. Select a background that matches the theme of your presentation if possible. For example, if you were doing a presentation on wine then the Wine background would be most appropriate. Then you can also select an output medium for the presentation such as Slide, Paper, Screen and Overhead sheet.
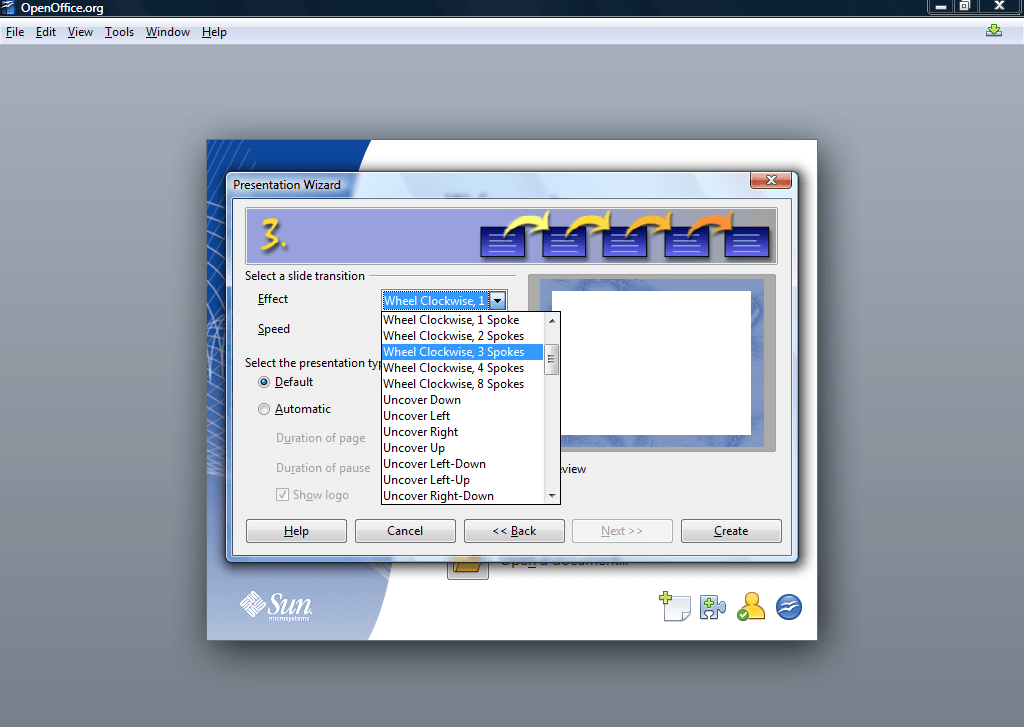
The third step of the wizard provides options for slide transition effects. There is some variety of these, and they are really a matter of preference. You can also select the slide transition speed. If the slides will include a lot of content then select slow, but if not select a faster transition speed. Then press the Create button to exit the wizard.
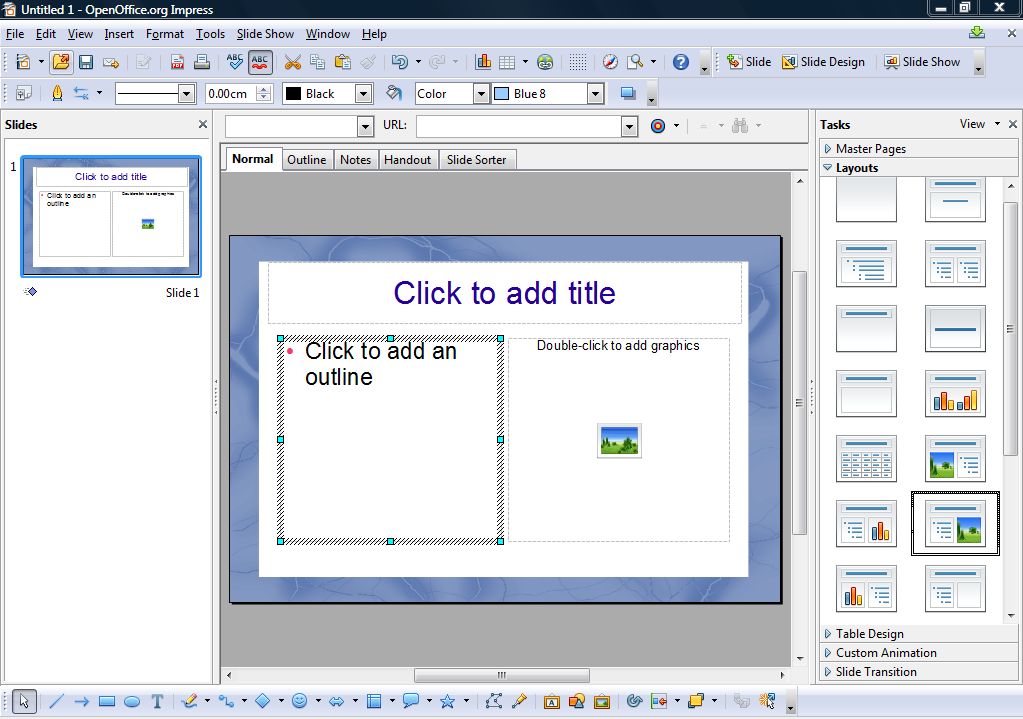
Now you can start to add content to your presentation. Note the layouts on the right side of the window. There you can select a suitable layout for your slide. Select the layout boxes and begin adding text and other relevant content to your presentation. For the first slide or page of the slideshow you should include a title for the presentation, and an introduction discussing what the presentation will cover.
To add extra slides to your presentation, click Insert on the menu bar and select Slide. That adds another slide to the Slides sidebar on the left of the window. Select the second slide on the sidebar, and then a suitable layout for the slide. Then you can edit slides much the same way.
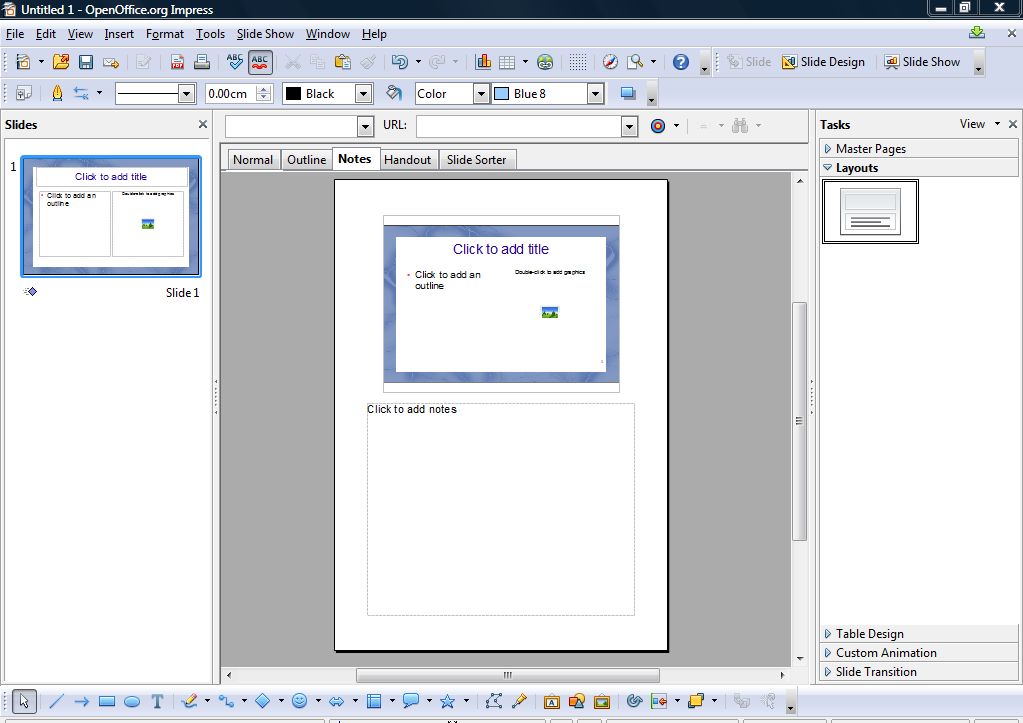
You can also add design notes for each slide. To do so, simply select the relevant slide and then the Notes tab. From the tab in the shot below, you can add slide notes to the text box.
When the sideshow is complete it can then be previewed. At the top right of the window there is a Slide Show option. Select all the slideshow slides on the sidebar with Ctrl key and mouse, and then click the Slide Show option. This will then display the slideshow full-screen.
These are just a few brief guidelines for setting up presentations with OpenOffice Presentation. Overall, Presentation has a plenty of options for slideshow presentations. Add graphics, animations, text formatting, graphs and audio to really give your presentation some impact.


