 Email article
 It’s only natural to want to tinker with the operating system of your smartphone after you are accustom to using all the features which come with your version of Android. Checking out the applications and bloatware from various manufacturers helps cure boredom, but over time you realize life’s probably better without much of those apps because it’s hindering the device performance. The aforementioned example is just one of the many reasons people decide to root their phones. However, what if you have gained the root access and want to revert back to stock Android and have the device how it was out of the box. Luckily we can do that too!
BEFORE WE BEGIN
- Turn on the smartphone and navigate to the Settings > About Device. In this section you should check that it matches up with the model number i896. Do not follow the steps for any other model number.
- You must have a computer or at least a laptop with a working USB slot in the side. We are connecting the phone to the USB port during the installation.
- The computer can run any operating system including Mac and Linux because we are only transferring from the desktop.
- You should check you have at least 50% battery power from the status bar on the phone. You don’t want the phone shutting down before the guide finishes or else you risk potential damage.
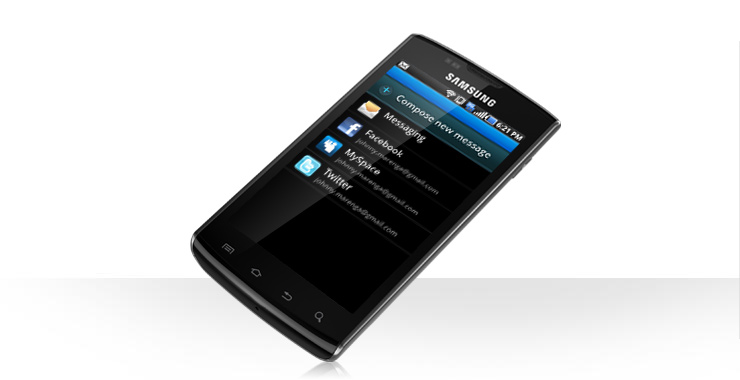
HOW TO UNROOT THE SAMSUNG GALAXY S CAPTIVATE I896
- Download the Super One Click program from this link here.
- Extract the contents of the folder to the desktop of the computer.
- Enable the USB Debugging mode by navigating to the App drawer > Settings > Developer options > USB Debugging and checking the box.
- Find the USB cable that comes with the phone when you buy it and plug it into the computer.
- Secure the connection between devices so the phone is plugged into the computer with the USB cable.
- Click the mouse over the SuperOneClick executable file.
- Search for the Unroot button in the program after it opens.
- Click the button and do not touch anything until it finishes doing the work.
- Reboot your device when it’s done.
Now your device is running the same version of stock Android that you had before opening the ports with root access. You will not have any custom ROM, custom firmware or any other feature from your rooting experience.


