 Email article
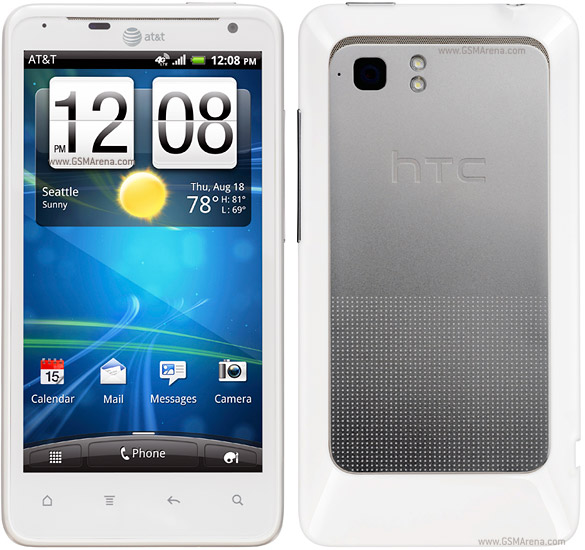 The HTC Vivid is a smartphone that comes out with the Sense 3.6 UI. Compare that with the Sense 6.0 user interface that’s integrated in the latest smartphones such as the HTC One M8 and it’s easy to see why people might be interested in rooting the handset. With that being said, there’s always people looking to unroot the same devices so if you are someone who would prefer returning the device back the way it was before you decided to open up the system internals you can do that by applying the steps below.
BEFORE WE BEGIN
- You must follow the guide in the correct order or re-locking the bootloader before applying the unrooting steps.
- Only apply the steps for the Vivid variant of the HTC smartphone. The HTC brand make several smartphoines so make sure you have the correct version.
- You shouldn’t start the guide unless you have at least 70% battery saved up. You don’t want the smartphone shutting down before the guide finishes.
- You need a computer for transferring the files.
HOW TO LOCK THE HTC VIVID BOOTLOADER
- Download the ADBFastbootRecovery file from this link here.
- Download the stock ROM here.
- Extract the folder to the desktop of the computer.
Reboot in the Bootloader Mode.
– do that by holding the Volume Down and Power buttons together. - Wait for the menu to appear and select the fastboot option.
- Find the USB cable and connect the phone to the computer with the cable.
- Open the Command prompt by holding down the Shift key and right-clicking on an empty area on the screen.
- Type ‘fastboot oem unlock’
- Type ‘fastboot reboot’
- Now your all ready to go onto the next step. The bootloader is locked.
HOW TO UNROOT THE HTC VIVID SMARTPHONE
- Connect to the computer once again.
- Transfer the stock firmware file to the internal storage of the SD card.
- Unplugg the phone from the computer.
- Reboot the Vivid in Bootloader Mode.
– use the same keys as you did for the bootloader section. - Wait until a message comes on the display asking if you want to install the ROM
- Select the option that says yes.
- Flash the stock ROM and continue to reboot the device if it doesn’t automatically reboot.
- Now you are running the stock Android ROM without any root access. That means you can no longer flash and install a custom ROM or try installing the rooted applications from the Google Play Store.


