 Email article
System restore points are a great way to find deleted files. However, a full system restore will also remove any updates and software added to Windows after the restore point. With System Restore Explorer you can browse a system restore point and restore a selected file from it.
This Softpedia page includes download options for System Restore Explorer. You can save the System Restore Explorer setup wizard to Windows Vista/7 from there by pressing the Download from Softpedia button. Open the System Restore Explorer setup wizard to install it.
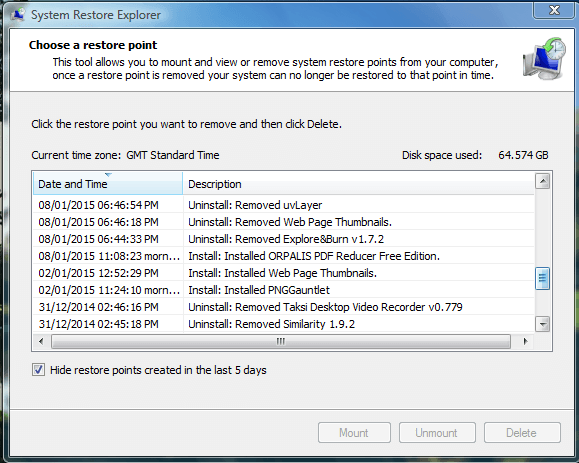
Then open the System Restore Explorer window above. It shows you a list of your system restore points. Select a system restore point from there, and press the Mount button. That will open a Windows Explorer window as below.
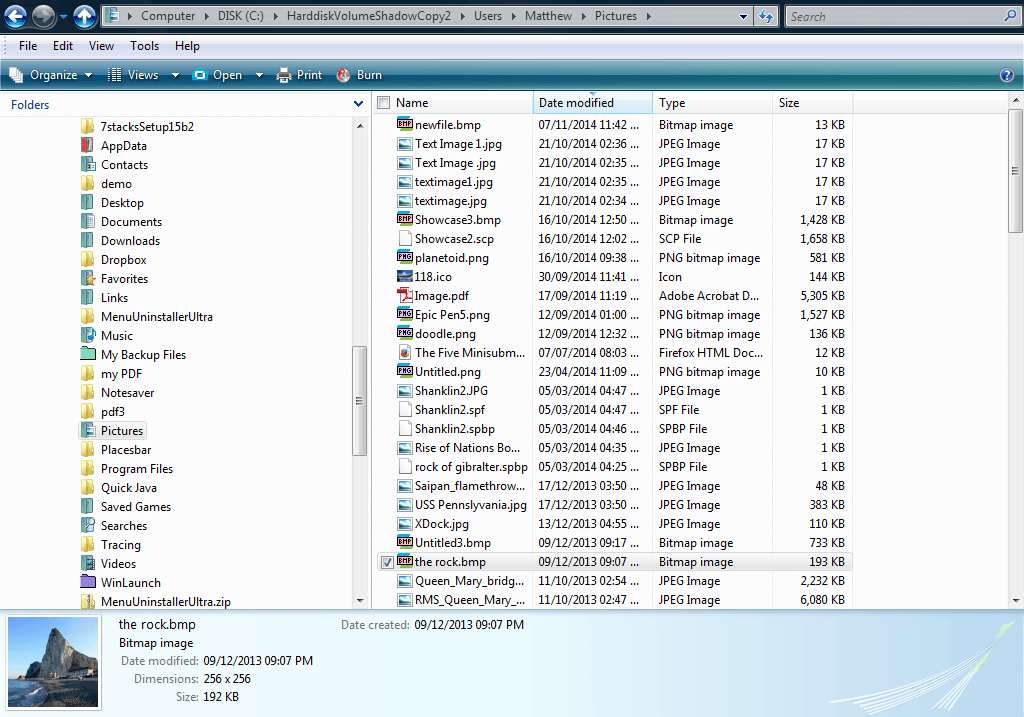
Now you can browse through the system restore point in that Windows Explorer window as if it were the system drive. So if there’s a folder or file that you deleted after the restore point, now you can find it.
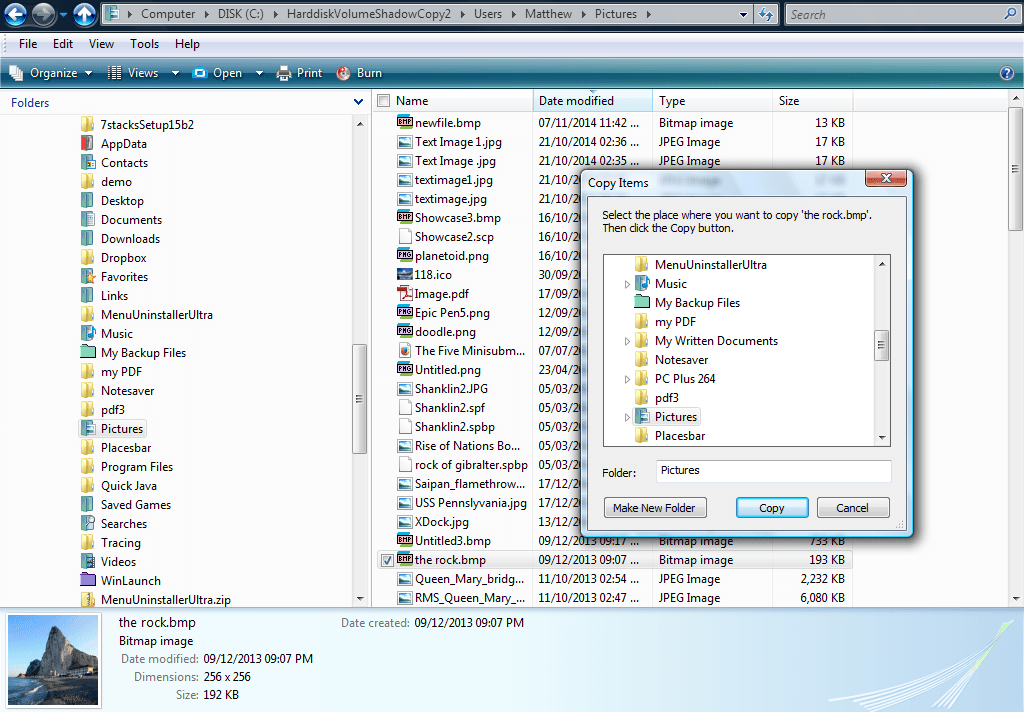
When you’ve found a folder or file to restore, right-click it and select Copy to Folder. Then choose a path to copy the file or folder to. That will copy it to the path out of the mounted directory, restoring the deleted file or folder. When done return to the System Restore Explorer window and press the Unmount button for the system restore point.
So this is a handy software package to have at your disposal. It gives you a snapshot of exactly what the restore point restores. In addition, you can also mount a system restore point to restore more specific files.


