 Email article
By default, you can use “Ctrl + A” to select all items in a folder. Alternatively, you can just click the “Organize” folder in the Windows Explorer toolbar. On the menu that appears, just click “Select all” and you’re ready to do whatever you want with your selected files. You may copy, move or even delete your files.
The thing is what if you’re more of a context menu user and would like an option to select all files just by right-clicking your mouse? Well, if that is the case, then you may refer to this guide. Just keep in mind that this guide will only work on Windows 7 and not on older Windows OS versions such as Vista.
How to add “Select all” to Windows context menu
- First, click here to download the “Select all” .reg file. Save the file to your computer.
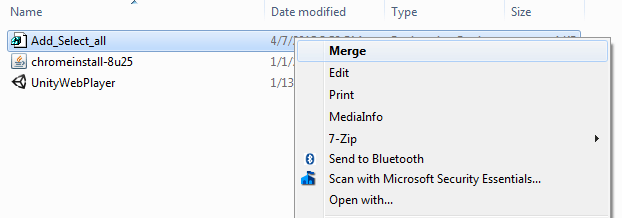
- After doing so, just right-click on the file and then on the context menu that appears, click “Merge”.
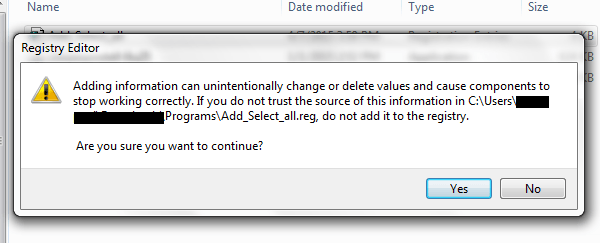
- When prompted, click “Run” and once you see the registry editor dialog, click “Yes”.
- Once again, click “OK” when prompted.
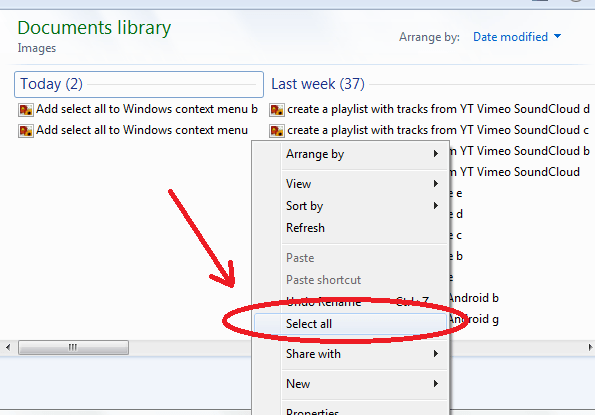
- So there you have it! All you need to do is to right-click on any file or folder. You may also right-click on any empty area of your file explorer window and you will immediately see the “Select all” option in the context menu.
It’s as simple as that!
credits to user Brink of Windows 7 Forums


