 Email article
Paint.NET includes a built-in tool that you can select to adjust image colors. You can also add the Recolour Choice tool to the image editor. That’s a more flexible option which you can adjust picture colors with.
Recolour Choice is bundled in the Red ochre plug-in pack. Add the pack to Paint.NET from this page by clicking V9 Red ochre Plugin pack.zip. It saves as a compressed ZIP that you can extract by selecting Extract All from the file’s right-click context menu. Extract it to Paint.NET’s Effects folder, open the software and click Effects > Color and Recolor Choice to open window below.
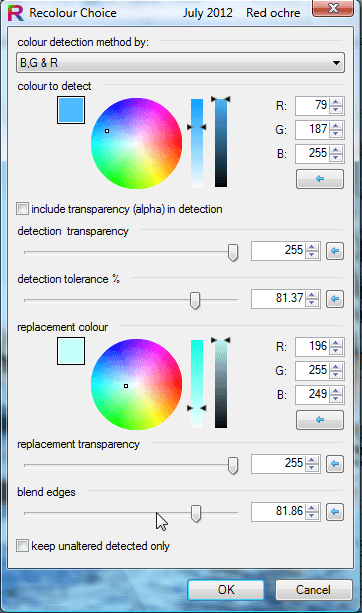 First, select a color detection method by clicking the drop-down list at the top. Below that are a couple of color palette circles. Select a color to detect in the top circle and one to replace it with in the bottom palette.
The window includes a couple of transparency bars. Drag the replacement and detection transparency bars to the far right. That will remove transparency from the editing.
The detection tolerance bar is what adjusts how much of the replacement color you add to the image. Drag that bar further right to add more replacement color to the picture. Below that there is a blend edges bar. Drag that bar to the right to blend the replacement color more with the surrounding colors.
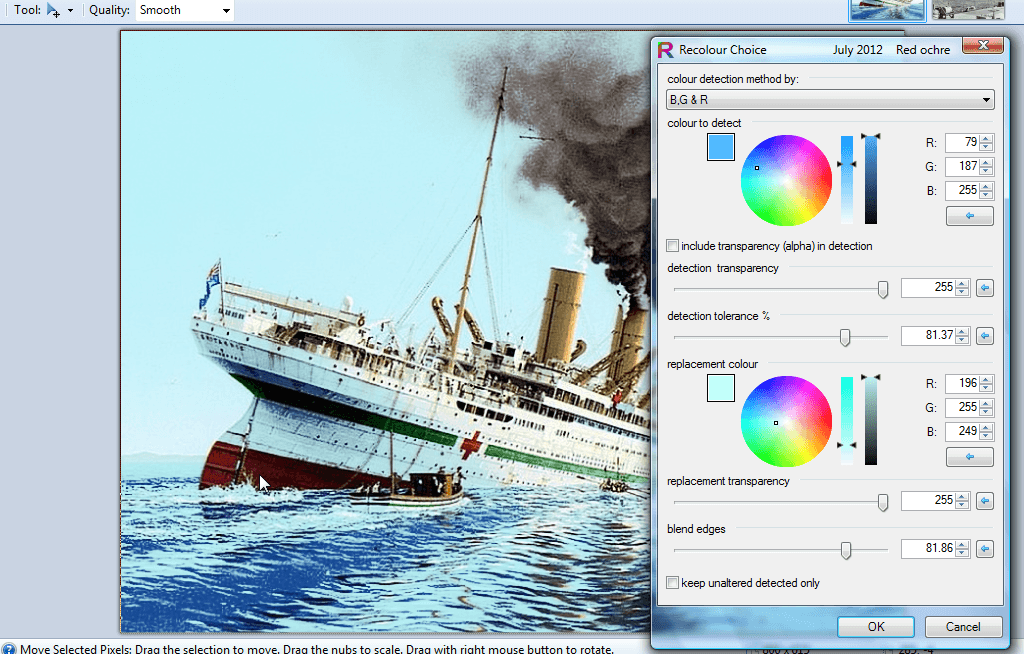
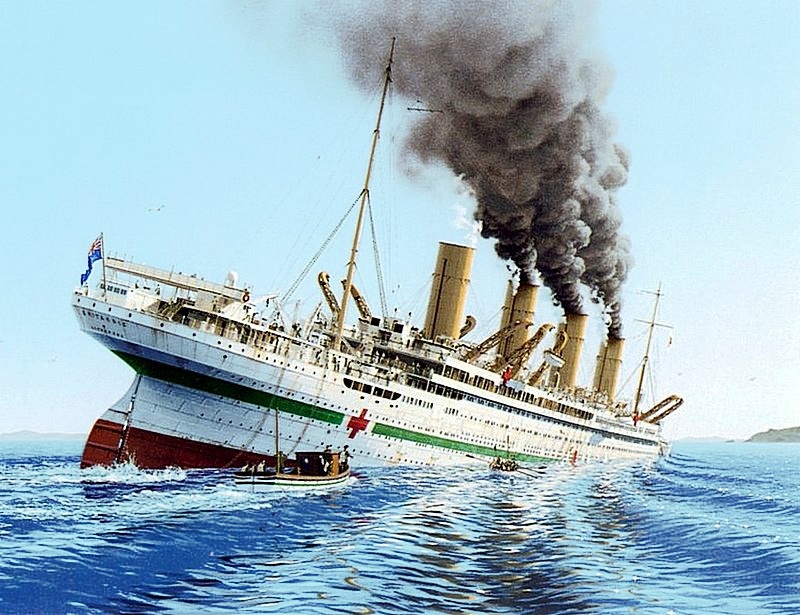
Then press OK apply the editing. The editing will adjust the colors in the image as shown below. The top picture below was the original and the one below it is the image after adding a lighter shade of blue with Recolour Choice.

 So with this tool you can now alter image colors. It gives you eight alternative ways to detect and replace the picture’s colors. You’ll find further Recolour Choice details at this forum page.


