 Email article
This post covered how to add more templates to OpenOffice. In addition, you can also set up custom templates with your own layout and design. Custom templates will include headers, footers and placeholders that you can add to documents as follows.
Adding Headers and Footers
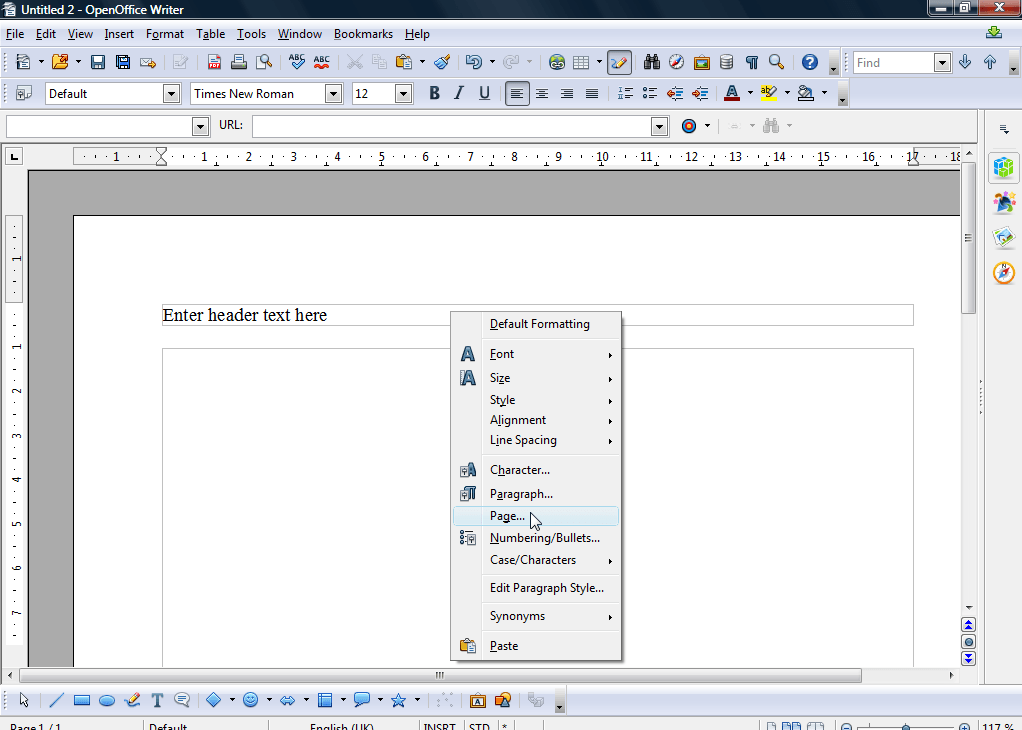
First, you can add headers and footers to the document. To add a header, click Insert and select Default. That adds a header to the top of the document as below. Then you can format the header by right-clicking inside it to open the context menu that includes various options. Select Page and click the Header tab for further options.
 Adding footers to documents is much the same. Select Footer > Default from the Insert menu to add it to the template. Then you can format the footer much the same as the header.
Adding Placeholders to Documents
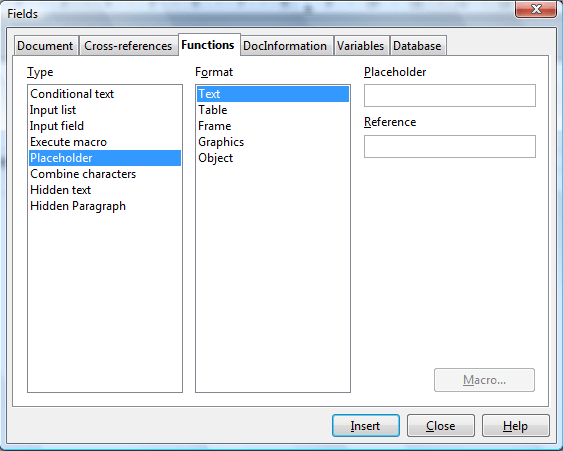
OpenOffice templates include placeholders that highlight where you should enter text, tables and images. Then you can click on those placeholders to add content to the document. Click Insert > Fields > Other to open the window below. Select the Function tab on that window from which you can select Placeholders.
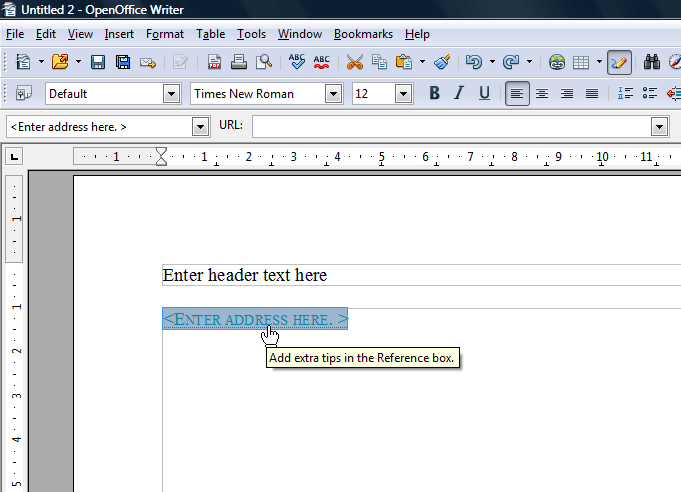
You can select to add text, table, graphic, object and frame placeholder formats to the template. Choose a placeholder to add to the document, and then enter some text in the Placeholder text box. That text will appear within the placeholder and should make it clear what you’re supposed to enter there. For example, you could add “enter address here” to the placeholder. In addition, add something to the Reference box to display an extra tip when you move the cursor over placeholder as shown below.
Template Wizards
Alternatively, you can set up your template using a wizard. Select File > Wizards to select a template category to set up with the wizard. That will open the wizard’s window below. Run through the wizard’s steps to set up the template. It also shows you a preview behind the wizard window so that you can see how the alternative options alter the document’s design and layout.

Saving the Template
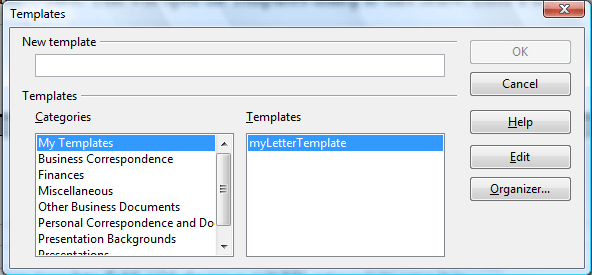
When you’ve set up the template, save it by selecting File > Templates > Save. That will open the Templates dialog in shot below. Enter a title in the New template field, and choose a suitable category to save it in.
Now you can open the template from the Templates and Documents window. With custom templates you can then quickly set up documents that require more extensive page layouts and formatting such as letters, press releases, etc.


