 Email article
Windows Defender is yet another piece of software that get a big change in Windows 10. Since it has been an integrated part of Windows, Windows Defender’s settings now is in the new Settings app. Within the app, you can temporarily turn the thing off and add excluded files.
How to temporarily turn off Windows Defender
In Windows 10, you don’t need to open Windows Defender to look for its settings. You simply could type “Windows Defender” into the search box on the Taskbar and choose the result that links to the Settings app.
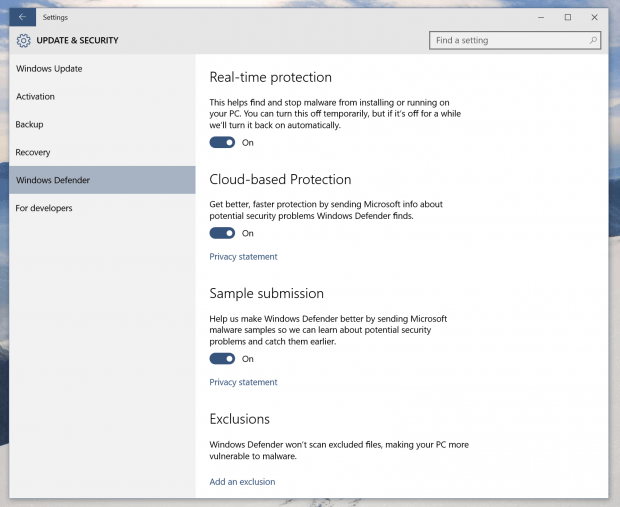
In the Settings app, just switch the first toggle off at “Real-time protection” to turn off Windows Defender. However, it only takes effect temporarily; Windows Defender will turn on automatically after you restart or logout of the computer.
How to add exclusions to Windows Defender
Exclusions are files, folders, file types or processes that you don’t want Windows Defender to scan on them. The only time I used this was when the software mistook one of my file as a virus so I needed to add the file to the exclusions list.
To make an item excluded from Windows Defender, you need to find its settings in the Settings app. Then on the right panel, you can see the link “Add an exclusion” near the bottom. In the new page, it allows you to exclude files, folders, file types and processes. Tap the plus button under your desired category then select your item. And that’s it!


