 Email article
At long last, Gmail has already taken the “Undo Send” feature from the labs and it is now an official feature that every Gmail user can enjoy. So, unlike before, you can now officially undo those embarrassing emails that you’ve sent without leaving a bad impression.
To enable the “Undo Send” feature in Gmail, here’s what you need to do:
How to enable the ‘Undo Send’ feature in Gmail
- First, log in to your Gmail account.
- Once you’re successfully logged in, click the gear (Settings) icon on the top-right portion of your inbox.
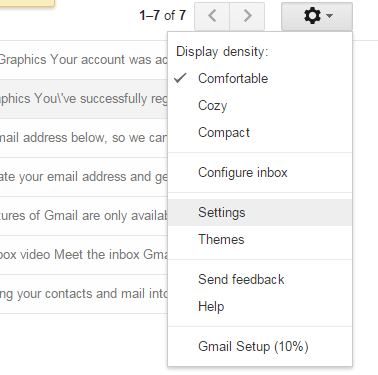
- On the menu that appears, choose “Settings”.
- On the Gmail settings page, go to the “General” tab and then scroll down the list of options. Find “Undo Send”.
- Once you’ve found “Undo Send”, just click the box next to “Enable Undo Send” and then do not forget to set your preferred cancellation period. The cancellation period is the time interval in which you’re allowed to undo the email that you sent. You can set the cancellation period between 5 seconds to 30 seconds.

- Do not forget to click the “Save Changes” button at the bottom of the page to confirm.
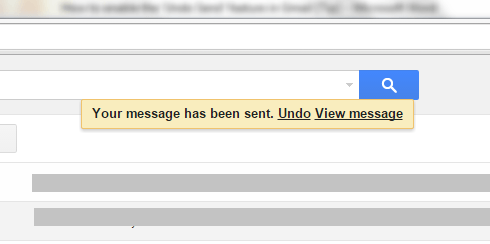
- Once enabled, you can send a new email or reply to existing emails like usual. Once the email has been sent, the undo message will appear at the top of your inbox for a specific period of time depending on your preferred cancellation period. Just click “Undo” whenever you want to undo your email and you’re done.
It’s as simple as that.


