 Email article
In recent years, we’ve seen more and more PC with very high resolution screen on the market like the Surface line or Dell XPS 13. This is great but usually you don’t have the screen real estate out of the box. For instance, Microsoft set the screen scale to 150% on the new Surface Pro 4 (12.3-inch 2736×1824 screen) because everything would be too tiny to see if it’s set at 100%. If you think that’s a waste and you want to strain your eyes, it’s easy to change the display scale on high resolution screen.
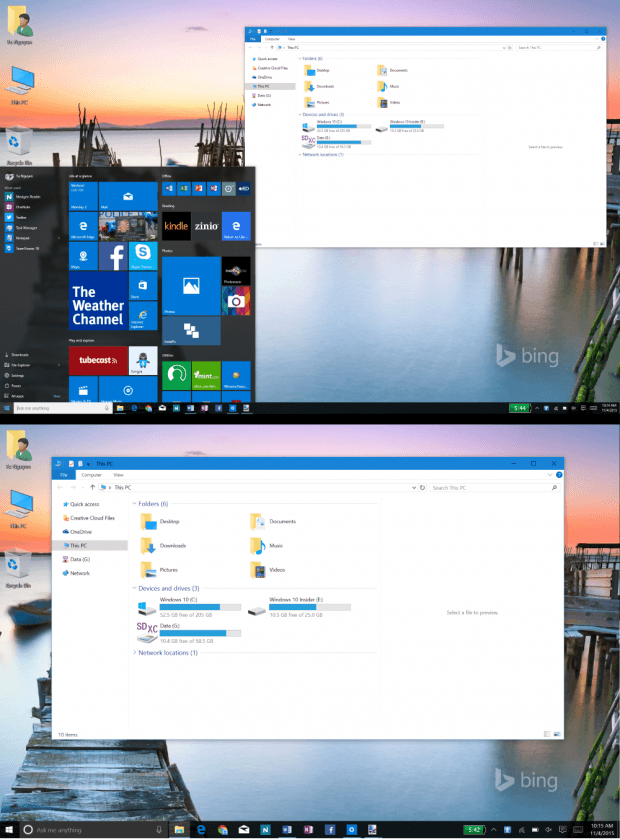
100% and 150% display scaling on a Surface Pro 3
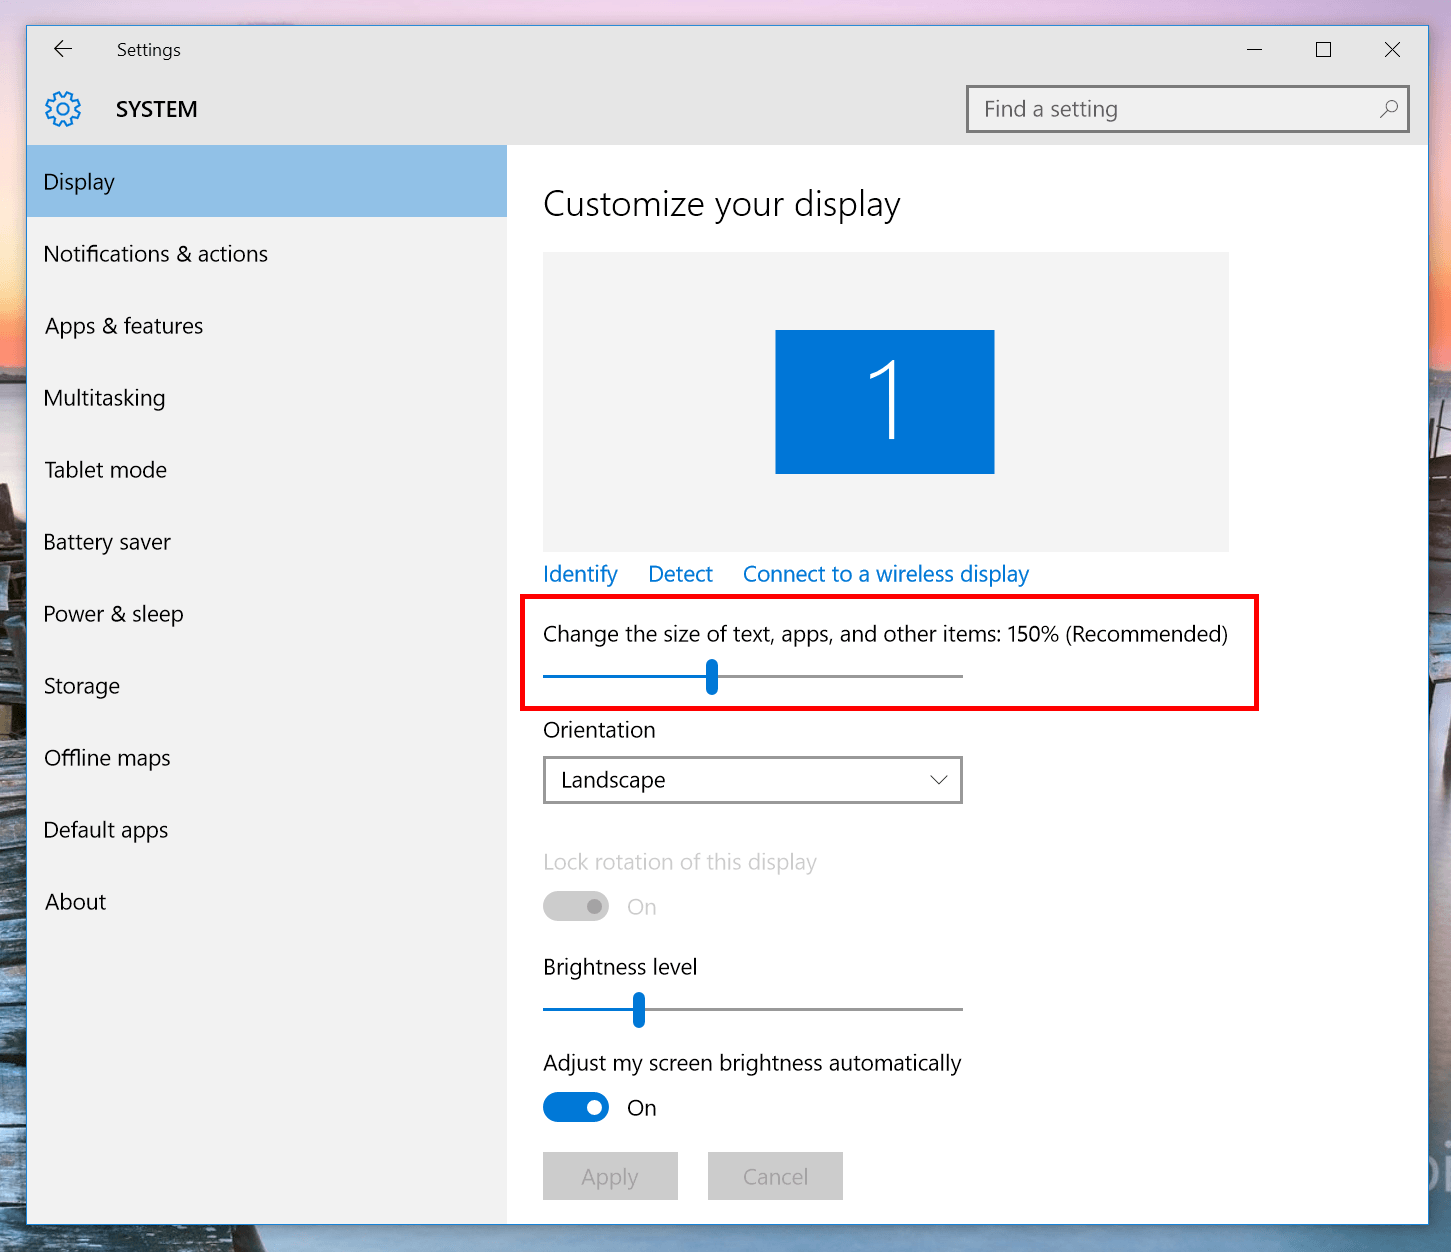
You can open display scaling in Windows 10 through a right click on the Desktop and select Display settings. If you’re in tablet mode, this setting is in Settings app -> System -> Display.
In the Settings app, you’ll see right away the sliding scale to change your screen scale. Based on your display, there are many scales to choose from. However, you should see a scale that “Recommended” which is the default one set by the manufacturer.
When you’re done, hit Apply to make a change. The Settings app will ask you to sign out to apply the change. We recommend that you sign out at that moment to optimize the new scale. Once you changed the scale away its default, some desktop programs might experience blurriness. It’s because Windows traditionally wasn’t built for such high resolution. This issue has been much improved since Windows 8 but there are still many things to fix in future builds of Windows 10.


