 Email article
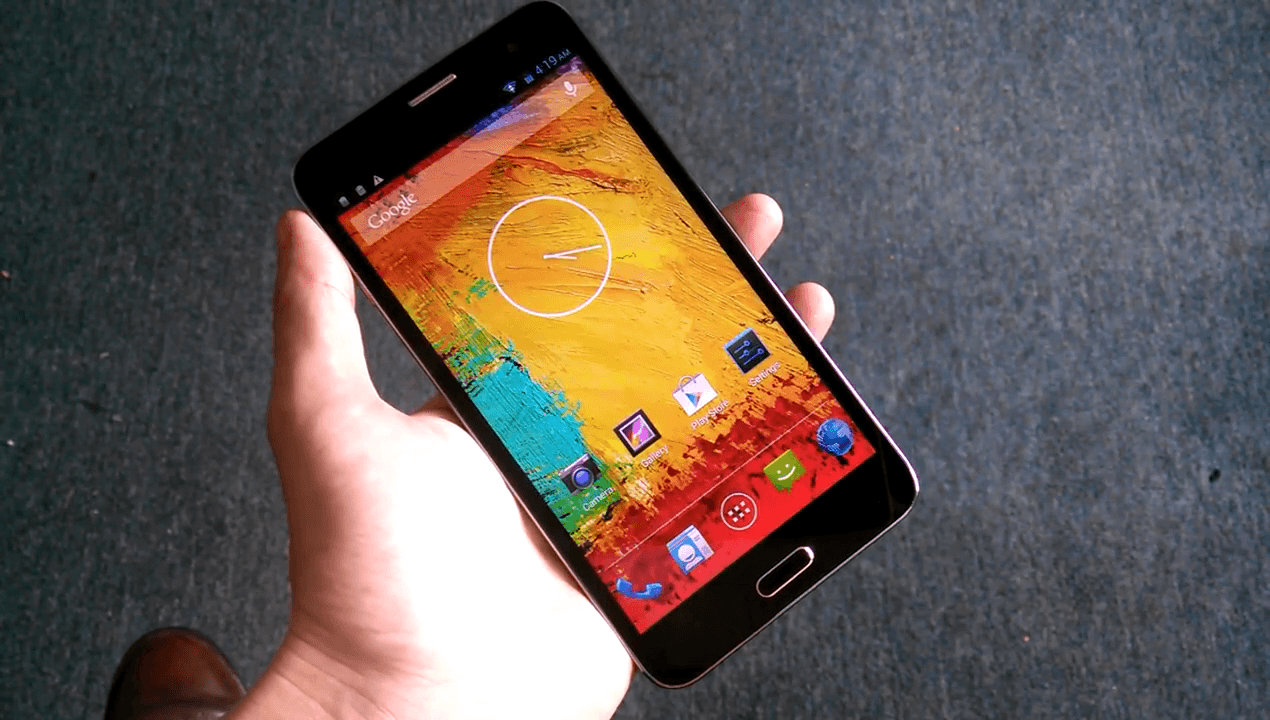 There are many great reasons to root Goophone N3 smartphones. Those reasons all fall under the headline of apps. One of the apps you might want to check after rooting the Goophone N3 is the Device Control app. The Device control application comes in two different versions (free and paid) and takes advantage of your core root file system permissions to tweak the devices, offering additional settings. For example, using the Device Control app we can adjust our CPU and GPU levels for more power or better battery life. Additionally, we can enable and deniable features built in to the Android OS like the Knock-On feature that can to us in Android Lollipop.
REQUIREMENTS
- The following guide is made for the Goophone N3 only and won’t necessarily work on any other Goophone available to date. Please look for a unique guide that is specifically made for your device if you do not own the Goophone N3 to make sure you do not brick the device.
BEFORE WE BEGIN
- Using the Framaroot one-click rooting method we have below is always going to void the manufacturer’s warranty. However, you can learn how to unroot the device and get that warranty working again.
- You do not lose any data on your device by applying these steps to root Goophone on Android 4.3 Jelly Bean. With that being said, it’s still best to backup your data just in case you want to apply a hard reset on the Goophone N3 smartphone.
HOW TO ROOT GOOPHONE N3 ON ANDROID 4.3 JELLY BEAN AND ANDROID 4.2 JELLY BEAN
- Download the latest version of the Framaroot APK from its home at XDA Developers from this link.
- You want to download the rooting exploit from the link above directly to your computer and transfer it over to the desktop.
- Make sure your Goophone has the Unknown Sources option enabled so you can install the Framaroot app since it’s located outside of the Google Play Store. You can turn that option on by navigating to the Menu > Settings > Security > Unknown Sources.
- Connect the Goophone N3 smartphone to the computer using the USB cable you would normally use for charging.
- Transfer the Framaroot APK file over to the root of the internal storage SD card.
- Once complete, disconnect your Goophone from the computer.
- Launch a File manager on your Goophone smartphone and install the Framaroot APK file just like you would any other APK file.
- Open your devices app drawer and tap over the Framaroot icon that is now looking like an official app on your device.
- Tap the Boromir exploit option from the main page of the app.
- Wait as that rooting exploit grants the rooting permissions to your device.
- Once you know it is complete, reboot the device after exiting the app.
In conclusion, now you are ready to start installing the rooted apps you have been waiting to try on your N3 device. You might want to start with the Device Control application we mentioned in the introduction.


