 Email article
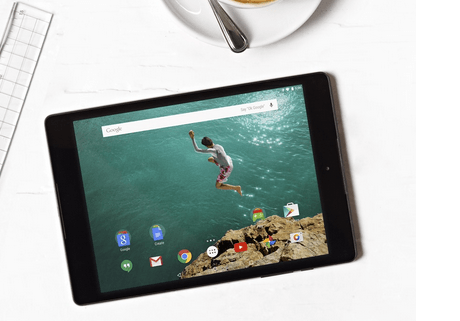 The Google Nexus 9 is a tablet and because of that the reasons you might root the device may differ from others like Nexus 6 owners who are using a smartphone. One app that both tablet and smartphones rooted users might agree on using is the OTA RootKeeper application. Just as the name suggests, you can install over the air updates on your device and keep root so you do not have to search for another rooting guide again. While that doesn’t fit our agenda, we are glad to help you out with that information.
REQUIREMENTS
- The following guide is made for the Google Nexus 9 tablet. Install this version of SuperSU on a different device won’t necessarily work and we do not advise you test it out unless you know it works for your device. You could brick the device.
BEFORE WE BEGIN
- Download the Google USB Drivers from our USB drivers download page and install them on your computer if you haven’t installed any drivers recently.
- See to it that you have enabled the USB Debugging Mode by heading to the Menu > Settings > Developer Options > USB Debugging Mode.
- You are voiding the Samsung warranty by following this guide. Flash a stock ROM on your device to unroot and get the warranty working again.
HOW TO ROOT GOOGLE NEXUS 9 ON ANDROID 6.0.1 MMB29K MARSHMALLOW
- Set up ADB and Fastboot on your Windows computer so you can then root the Google Nexus 9 afterwards.
- Download the SuperSU from this link.
- Download the TWRP recovery you want to install from this link.
- Connect the Google Nexus 9 tablet to the computer with the USB cable and transfer the SuperSU over to the root of the internal SD card.
- Copy your custom recovery over to the same file as the ADB and Fastboot.
- Unplug your Nexus 9 from the computer and shut it down completely.
- Boot it up now in the bootloader mode by pressing the Volume Down + Power together until you can see the bootloader mode menu.
- Connect the Google Nexus 9 to the computer once again and open the folder where you have ADB, Fastboot and your custom recovery.
- Hold the Shift key and right-click where there is no files and choose to open a new command window here.
- Type the command:
fastboot flash recovery twrp-2.8.7.0-flounder.img - Look at your tablet’s display and select the Recovery mode from the menu.
- Tap the ‘Install’ option and browse the SD card for the SuperSU exploit.
- Confirm you want to install that SuperSU file.
- Choose the ‘Reboot System’ option from the main recovery menu.
- Now the Google Nexus 9 will boot back up in the normal mode and is ready to start installing the apps you have been waiting to use from the Google Play Store and other third-party developer sites.
You might find some solace in the OTA RootKeepers application we were telling you about earlier. There are many other options out there available too, like the LBE privacy Guard to give your Android device a firewall as if it were a desktop PC.


