 Email article
Photos app in Windows 10 is a big overhaul of its predecessor that didn’t have much use in Windows 8. The new app brings you refreshed design of Universal App Platform that works great with mouse and keyboard while retains handy editing tools from Windows 8’s version. You also can manually create a new album from your local and OneDrive photos. Being a photos management app, it of course includes a tool to import photos from your camera and external SD card.
Here’s how you import photos/videos to Photos app:
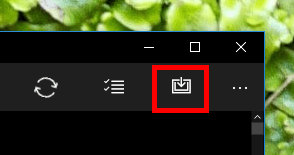
- Open Photos and select the “Import” button at the top right.
- Select a drive you want to import from. The app only recognizes external sources so you won’t see your computer drives on this prompt.
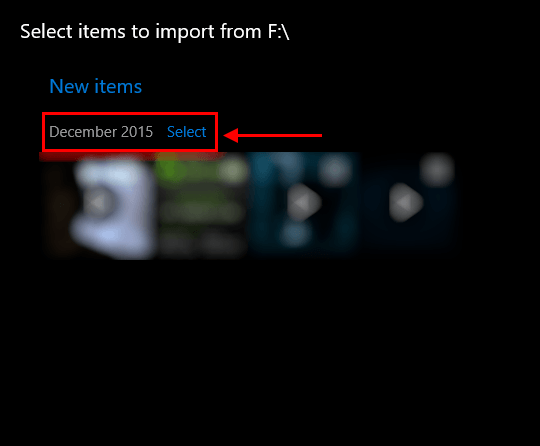
- Now you will need to select what to import. The app selects every new photos by default. Here’s one little thing I really like about this app: you can hit Select or Clear next to the date to select/clear all photos fall under that date.
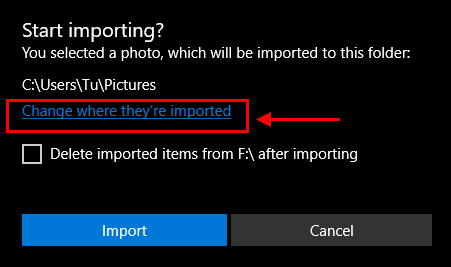
- In the next screen, you can review where photos will be imported to. It usually is your Pictures folder. Click “Change where they’re imported” if you want to choose another location. There’s also an option to delete these photos in the external source after finish importing.
- Click “Import” to import your photos. When it finished, you’ll see a new album named “Last import” that has all the imported photos. And in term of Windows Explorer structure, imported photos are stored in folder named after the date they imported. For instance, I got a folder “2015-12” after doing this example.
And that’s all!


