Email article
Libraries is a feature first introduced in Windows 7. It helps you organize your mess of files from anywhere into virtual folders called libraries. For example, you get document files in My Documents folder, in OneDrive folder, and in another folder on a different drive. This is a disaster when you need to browse for a document file. If you create a Document library, you can link these separated folders into the library so your files virtually display in one place. That sounds pretty good to me but Microsoft didn’t think so. The company disabled Libraries by default since Windows 8. However, the feature is not completely vanished from the system but it is buried deep inside Folder Options.
In Windows 10, enable Library again is quite easy. You just need to follow these steps.
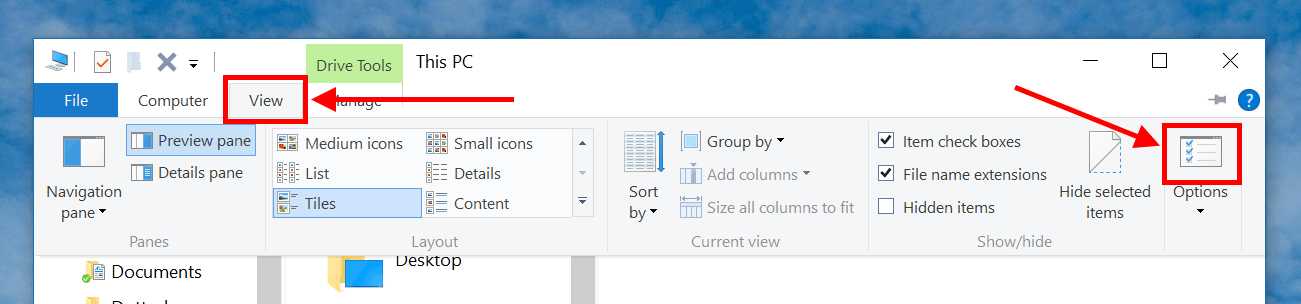
- Open Windows Explorer, click tab View and hit Folder Options button.
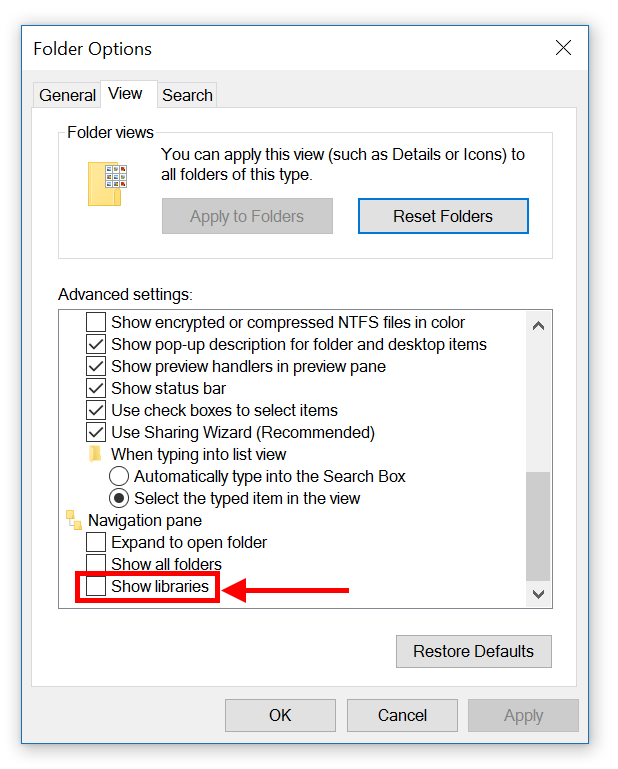
- In Folder Options window, change to tab View.
- You may need to scroll the list all the way down. At the very bottom, you’ll see “Show Libraries” option.
- Select the option and hit OK then you’re done!
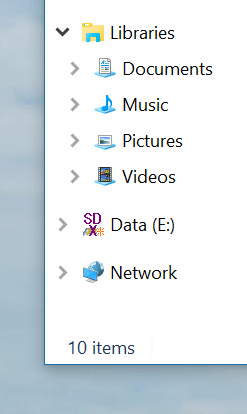
Now the libraries are showed on the left side of Windows Explorer. You can add any folder to a specific library by right click the folder and select “Include in library.” That’s all you need to know. If you just follow these steps correctly, you’ll be able to quickly show “Libraries” in Windows 10. If you still haven’t done this, then you better give it a try!