 Email article
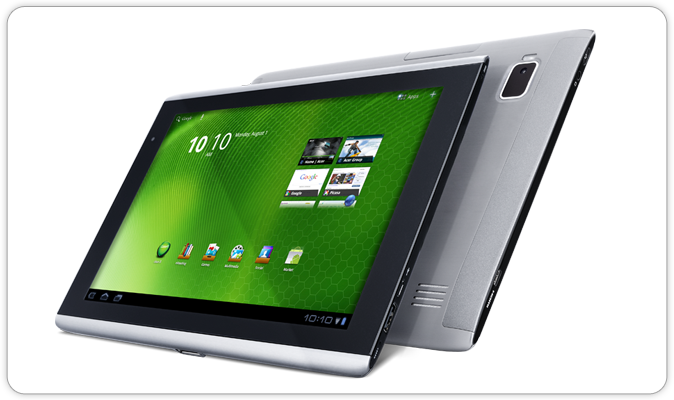 Team Win’s Recovery Project is now the world’s most popular custom recovery to use for any smartphone or tablet running Android so it’s little wonder why you would want it up and running on your Acer Iconia Tab A500 device. It’s not every day some of the lesser known devices get looked after with the goods, but today is a day where the Acer Iconia Tab A500 has been supremely looked after with regards to a new recovery to flash over the stock version.
Like you know, a custom recovery will replace the stock recovery when you flash it on your device. You can only ever have one of these running at once and you can always flash the other back on the device if you are regretting your decision with regards to which one should be currently running on your device.
REQUIREMENTS
- The following guide installs a custom recovery on the Acer Iconia tab A500 only. Do not use the guide to flash the recovery on any other device. TWRP is usually created with unique files for each device, so you might brick your device if you use the file found in this guide on any other device.
BEFORE WE BEGIN
- You may need to enable the Developer Options on the Acer device so you can then go on to enable the USB Debugging Mode. Head to the Settings > About Device > tap the build ID at least 7 times and it will let you know when you are using the tablet as a developer.
- Now let’s get the USB Debugging Mode enabled by tapping on the Settings > Developer Options > USB Debugging Mode and you should find your device connects to the computer with adb without any worries.
HOW TO INSTALL TWRP RECOVERY ON ACER ICONIA TAB A500
- Download the TWRP Recovery file for the Tab A500 device from here.
- Set up adb and fastboot on your computer by following our guide from here.
– do not go to the trouble of settings it up a second time if you already have it running on the computer. it’s a one time thing and does not need updating. - Extract the custom recovery file to the desktop and then copy the TWRP image file over to the same folder as adb sits.
- Connect the Acer Iconia Tab A500 device to the computer with the USB cable.
- With the adb and TWRP folder open, hold the Shift key and right-click the mouse where it shows nothing but the white background within the folder.
- Choose to “open a new command window here” from the menu you should get if the step above is done properly.
- Type the first command:
adb reboot bootloader
– the Iconia Tab A500 device will now reboot to bootloader mode. - Type the next command:
fastboot flash recovery twrp.img - Type the last command:
fastboot reboot
In conclusion, that’s all you need to get the TWRP Recovery running on the Acer Iconia Tab A500 device. If you are finding the stock recovery is replacing your custom recovery after flashing, try holding the recovery mode hardware button combination as soon as you execute the “fastboot reboot” command. That should make your tablet boot directly to the recovery you just flashed and once you see TWRP once, it will forever be on your device until you flash something else in the future.


