 Email article
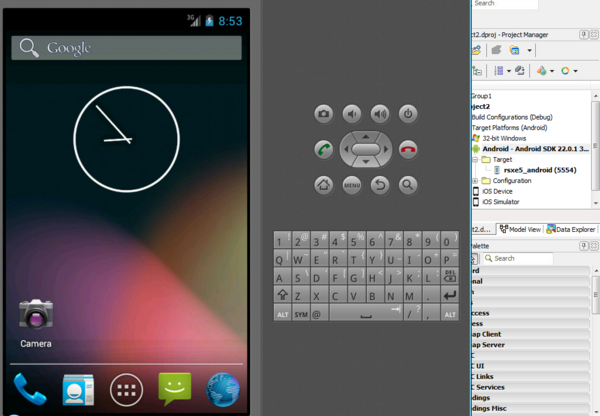 A custom recovery partition is just as useful on an Android Emulator as it is in a smartphone. There is nothing stopping you from installing a custom ROM on the Android Emulator and shifting away from the stock ROM. Further, you’ll reap the benefits of other features your custom recovery has on offer, such as the ingenuity of taking full backups and being able to restore them straightforwardly. There is only one other way to take complete backups of an Android operating system and that is by taking a complete backup with adb commands and a computer. While adb commands can be fun when installing a custom recovery or rooting, ideally we don’t need to go to that effort for something as simple as a backup.
These are the steps to install TWRP Recovery on Android Emulator. TWRP is probably the most popular custom recovery at the moment since the demise of ClockworkMod recovery in recent times.
REQUIREMENTS
- You must have the Android Emulator to use this guide. The TWRP files vary for each device, so you will need a different file if you are wanting to install TWRP on something else. Check our search box for more details on your device.
HOW TO INSTALL TWRP RECOVERY ON ANDROID EMULATOR
- Download the TWRP package for the Android Emulator from this link.
- Download the Goldfish kernel and the image file from this link.
- Set up ADB on your computer running a Windows operating system so you can type some ADB commands to flash your recovery.
- Make a new device based on the Galaxy Nexus
- Have the ADB folder open and then copy the TWRP Recovery over to the same folder so they are both in the same directory.
- Hold the Shift key and right-click in the folder where it shows the white background and choose to “open a new command window” from the menu.
- Type the first command: ./emulator -avd TWRP -ramdisk ~/cm_folder/out/target/product/twrp/ramdisk-recovery.img -kernel ~/cm_folder/device/emulator/twrp/goldfish_2.6_kernel
- Change the paths with the real paths of the files you downloaded and then hit the Enter key on the keyboard.
- Wait for the TWRP to complete flashing and for ADB to load.
- Now you can choose to type the next command and press Enter: adb shell /sbin/create_partitions.sh
- This above command will partition the SD card with a boot, recovery, cache, system, data, and removable SD card partition. It works with a 1500MiB SD card. If you want a different SD card size then you will need to make the necessary changes to the script in the cm_folder/device/emulator/twrp/recovery/root/sbin/create_partitions.sh location to suit your needs
Now your awesome Android Emulator has a custom recovery which has replaced the stock recovery. You should have no problem doing all the same things from this version of TWRP Recovery as you would from having TWRP Recovery on a traditional smartphone or tablet. The NANDroid Backup option will there for you to take advantage of if you want to take complete backups for the first time without adb commands. You can also easily restore those NANDroid backups by tapping the ‘Restore’ button from the TWRP main menu.


