 Email article
 Those of you looking for reasons to install TWRP Recovery on the Huawei G510 smartphone don’t have to look far from the graphical user interface the recovery produces itself. The graphical user interface we get with ClockworkMod recovery isn’t going to please too many eyes, but it does give that traditional recovery look and feel. Looks are one thing, though, and practicality is another thing all together. TWRP Recovery comes with larger buttons on its display, making it easier to read what is on the display, as well as making it simpler to tap the buttons you desire.
Furthermore, people are choosing TWRP Recovery over the likes of ClockworkMod Recovery because of the backing up options. Sure, they both allow you to take a traditional NANDroid Backup but they give different options for your NANDroid Backup. The TWRP Recovery gives us the option to backup individual partitions at a time just like the NANDroid Manager application would with regards to restoring our backups later. However, CWM Recovery only allows us to backup every partition at once, making the features not as practical as what we found from Team Win’s version.
REQUIREMENTS
- You must unlock the bootloader of your Huawei G510 device before getting stuck into this guide. You cannot install TWRP with a locked bootloader or else you risk bricking the device.
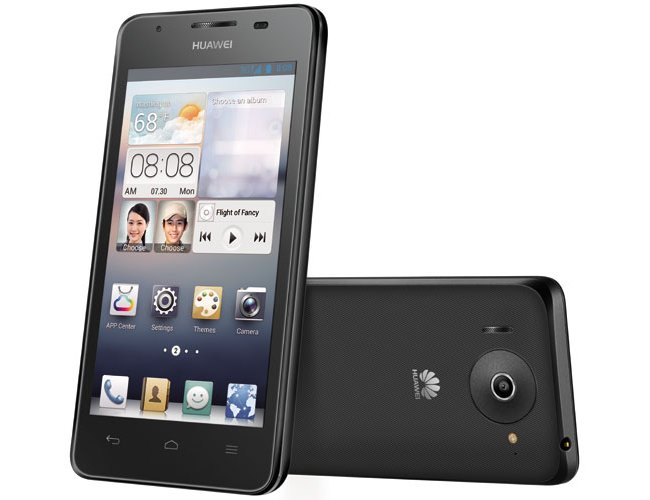
- The following guide is made for the Huawei G510 only. Do not follow these same steps if you have one of the other smartphones or tablets in the Huawei range otherwise you risk bricking the device.
BEFORE WE BEGIN
- Note that installing a custom recovery image on the Huawei handset will void the manufacturer’s warranty. You always have the chance to flash the stock recovery back on the device at a later date and the warranty will start working again. Anyone doing further customization’s on the device such as rooting will need to unroot for the warranty to work.
- Enable the USB Debugging Mode on the Huawei G510 device by tapping on the Settings app > Developer Options > USB Debugging Mode. Skip to the guide if you got it working.
- Anyone not finding the Developer Options menu from the Settings can unlock it by tapping on the Settings > About Device > Build Number at least 7 times or until it says you are now using the Huawei device as a developer. You can find the Developer Options menu now available from the Settings menu.
HOW TO INSTALL TWRP RECOVERY ON HUAWEI G510 (U8951)
1. Set up adb and fastboot on your Windows computer by following our guide for that and then come back to this guide and continue on to the next step.
2. Download the TWRP Recovery image for the G510 from here and copy it over to the desktop from the default downloads folder.
3. Extract the file on the desktop by right-clicking on the file and choosing the option to extract it here.
4. Copy the TWRP image file over to the same folder as your adb and leave it open on the desktop.
5. Connect the Huawei G51-0 device to the computer with the USB cable.
6. From within your adb and recovery folder, hold down the Shift key and right-click where it shows the white background and choose to open a new command window here from the menu.
7. Type the first command: adb reboot bootloader
The Huawei G510 device will now reboot to bootloader mode; do not be alarmed when you see this on the display of your device.
8. Type the next command: fastboot flash recovery twrp.img
Fastboot will now flash the custom recovery on your Huawei G510 device.
9. Type the last command: fastboot reboot
10. As soon as you type the last command, hold the hardware button combination to boot your Huawei G510 device into recovery mode so it boots the TWRP during the first time boot.
In conclusion, that’s how to install TWRP Recovery on the Huawei G51-0 smartphone running any firmware. By booting the newly flashed custom directly after flashing it, you are ensuring the stock recovery does not wipe back over the top of your work.


