I was roaming SlickDeals as I usually do and came across a post about a 1 TB USB external hard drive going for $65 (!). Naturally I jumped when I read that and decided to get more info. Turns out Best Buy is selling a 1 TB “Mac” Western Digital My Book for $65 (you can get it for $58 with 10% off coupon). I had to chuckle at the obvious (yet successful) marketing at work here. I say “successful” because by reading the posts made by some people, Best Buy (and/or Western Digital) has effectively convinced people people this external hard drive is a proprietary Mac hard drive and will not work on a Windows PC… as if Mac and Windows PC use different hardware (ha-ha). Well people, if you ever happen to see a good deal on a “Mac hard drive” yet you are a Windows users do not pass up on the deal.
You see the only difference between a “Mac hard drive” and a “Windows PC hard drive” is the file system. A “Mac hard drive” is formatted using HFS or HFS+ while a “Windows PC hard drive” is either FAT or NTFS. The physical hard drive, the actual hardware, is the exact same and will work on a Mac and Windows PC both. A “Mac hard drive” will work just fine on a Windows PC (after a little work).
That being said, what to do if you have a “Mac hard drive” but you are a Windows user? Well there are many ways to turn the “Mac hard drive” into a “Windows PC hard drive” but I did it this way (in my opinion it is the fastest, most simple, and universal method):
- Download and install Partition Wizard on your [Windows] computer.
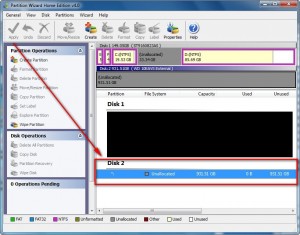
- Run Partition Wizard. You should see something like this:
This is your “Mac hard drive”. If you have more than one hard drive in your computer, your hard drive may show up as “Disk 3”, “Disk 4”, etc.
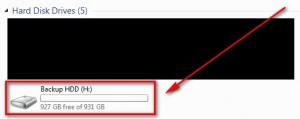
- Single left click on the hard drive to select it. Verify the disk you have selected is your “Mac hard drive” and not one of your main hard drives. You can do this by seeing if it is “unallocated” and the hard drive size. Keep in mind the hard drive will not be exactly as advertised on the box (i.e. 1 TB as you can see if only 932 MB).
- Click on the “Create” button from the top:
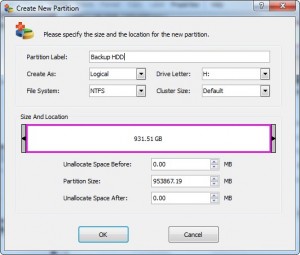
- You will be asked how you want to “partition” the hard drive:
Type in the “partition label” (i.e. what you want the name to be) and click “OK”.
- Go to the top and click on “Apply”:
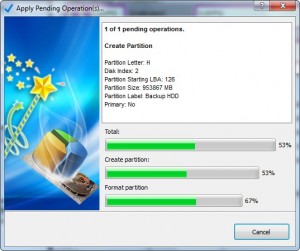
- Wait..
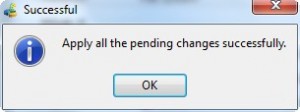
That should say “Applied all the…” not “Apply all the..”.
- Enjoy:

 Email article
