 Email article
As it’s December, a new calendar will come in handy to ring in the new year. There are various calendar software packages, but you can also set up a calendar with a spreadsheet. Spreadsheet software, such as the freeware OpenOffice Calc, have all the formatting options required. We will be discussing OpenOffice calc in this guide, since it is freeware and available on Windows XP, Vista, Windows 7, Windows 8, Mac OS X, and Linux. You are, however, welcome to use any spreadsheet software you like.
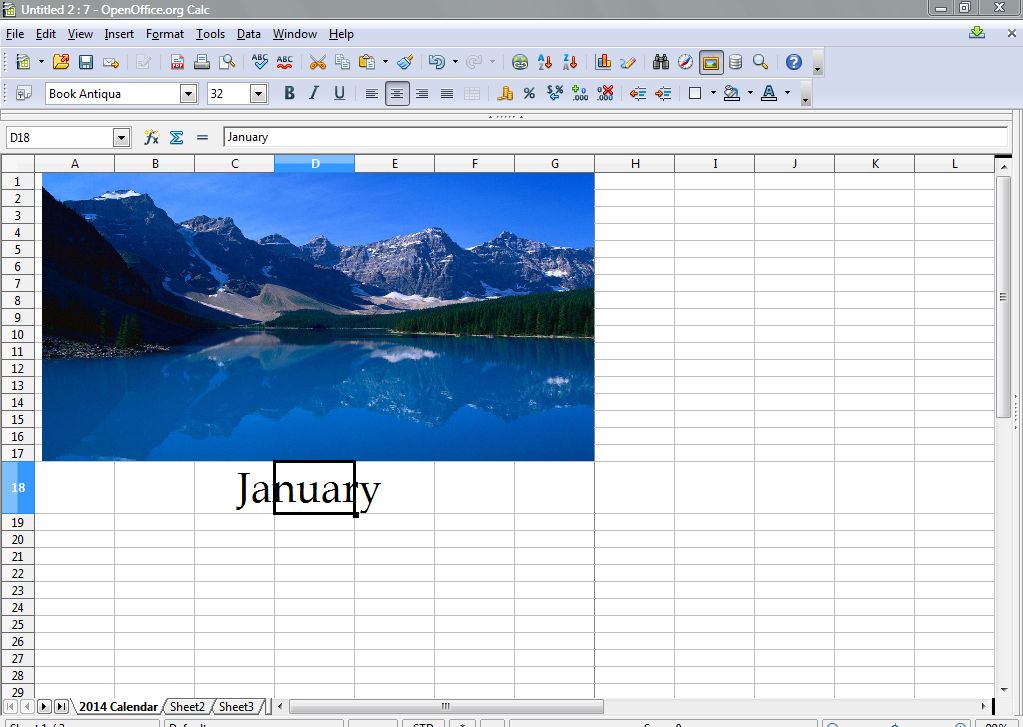
Once you have downloaded and installed OpenOffice , open Calc. Firstly, you should double left-click Sheet1 and rename it 2014 Calendar. Then click on Insert, Picture and From File to select a suitable calendar image for the month of January. Resize the image by dragging its borders so that it covers a cell area of at least A1 – G17.
In the row directly below the picture select a cell, roughly in the middle of the image, to input the text January. To format the text, select the text’s cell and an alternative font and size from the toolbar such as Book Antiqua and font 32. Also select Align Center Horizontally for the cell that includes the January heading.
Now select the cell in column A directly below the row the January heading is in. Left-click and drag the cursor over to row G, and then drag the cursor down so that six rows are selected. Right-click and select Format Cells. Click on the Borders tab, and select the Set Outer Border and All Inner Lines arrangement option. Then select 1.00 pt line style, and OK to close the window. Select the six row numbers that include your formatted cells, right-click and then select Row Height. Set a height value about 2 cm to adjust the cell size.

Then you should have a calendar grid comparable to the one in the shot above. Adjust the height of the calendar grid’s top row to more like 1 cm. Then input the days of the week Mon – Sunday in those cells as in the shot below.
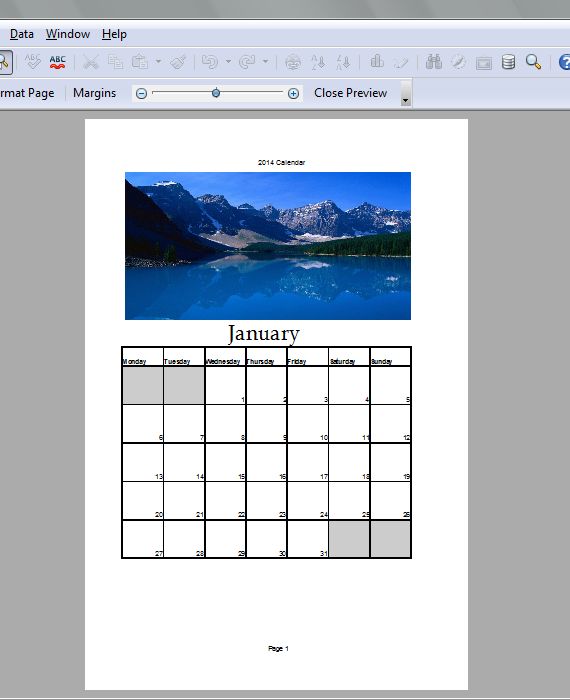
Put the calendar numbers in the corresponding cells below. Input 1 in the top cell of the Wednesday column. When the numbers are put in, you pretty much have a basic calendar template for the month of January. Click on the Page Preview option from the toolbar for a preview of how the calendar will print on a printed page. Select Close Preview to return to the spreadsheet.

Of course, there’s still quite a bit of formatting that could be added to calendar. Select the cells to be formatted, right-click and then Format Cells to open cell formatting options. In the calendar below I’ve added gray shading to those cells that don’t include any numbers, and bold formatting to the weekday headings.
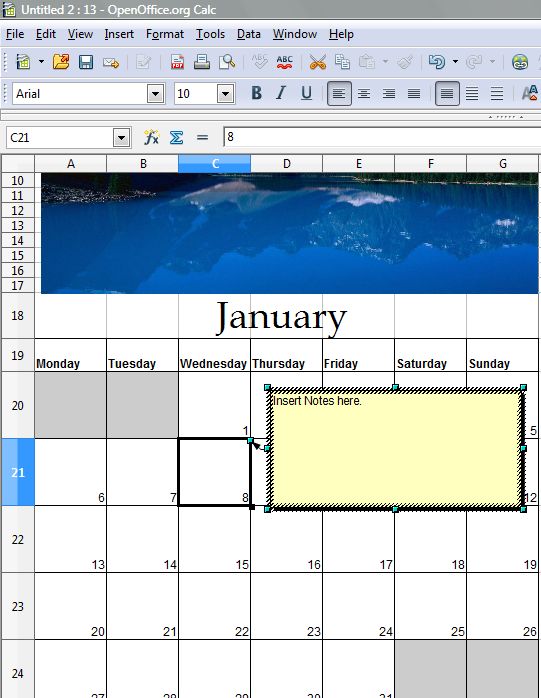
Some might find 2 by 2.27 cm calendar cells a little too small to input notes directly. They can be expanded a little, but make sure you keep each calendar month on one sheet of A4 paper.
If you’re not printing the calendar on paper, you can add notes by selecting a cell, Insert and Note. A small yellow note box, that can be resized, will then be added to the cell. Select the yellow box to input a note and press return key. The note is saved, and you can open it by moving the cursor over a small red square at the top right of the cell.
Conclusion
Set up the next 11 months of the spreadsheet calendar in much the same way. Add a new month to Sheet2, Sheet3 etc. Then you can print each of the months’ sheets to paper for your next calendar, or input notes into the OpenOffice document.


