 Email article
Windows 10 is a lot like Windows 7 but with some additional features that most people find very handy, and it comes with an overall design upgrade as well—so it’s hard to understand why so many people still haven’t gone ahead with the upgrade from Windows 7 to 10 (considering it’s free for most people.) One of the extra features you get with Windows 10 that might help twist your arm to getting the upgrade finally done is OneDrive integration at the drop of a hat.
OneDrive integration was first designed with an operating system in mind in Windows 8.1. But most people didn’t like what Microsoft did with Windows 8/8.1, so they didn’t upgrade from Windows 7 to it. Windows 7 users have the chance to use OneDrive, but it was never intended to have the integration when it was originally developed. As such, it’s just better to use OneDrive in Windows 10.
If you are a Windows 10 user, I would typically recommend getting to know OneDrive as your free gateway to cloud storage. It’s hard to envision a future where a lot of people won’t use cloud storage for at least something.
If you own a smartphone and want to transfer photos to the computer quickly and easily, using Microsoft’s OneDrive can help you with that—you just sign up to OneDrive on the computer, install the OneDrive application on your phone, connect the phone to the computer and begin the transferring of your pictures. It’s so simple that should many of your parents decide to devote 20 minutes to some trial and error, I’m confident they could get it done without your assistance (although that’s not likely to ever happen). OneDrive file storage is also useful if you want to store your recovery key for drive encryption, which is something of extreme importance should you wish to use full drive encryption.
Another common reason that people will want to get to know OneDrive in the future is if they really wanted a particular computer because it had all the bells and whistles, but the downside is they needed to get the lowest storage option available for that computer just because they couldn’t afford the one with more storage. Why buy the practical computer option that doesn’t look as good when you could buy the much nicer looking one with hardly any storage? A little bit of sarcasm there, but it happens all the time—and I even do it on occasion as well. That kind of a tactic isn’t as stupid as it sounds if you get to know cloud storage heading forward into the future, in any case. And if you are going to get to know one of the cloud storage services and use Microsoft’s Windows 10, then why not get to know the Microsoft-owned OneDrive as your cloud storage provider? There will be some distinct advantages if you do use OneDrive given that Microsoft will favor its integration with their Windows operating system heading forward since the goal will be to get people using OneDrive as much as possible so that it remains successful.
Be that as it may, I’ve been in this industry long enough to know that you can’t satisfy everybody with one particular option either. There will be lots of people out there who would prefer not using OneDrive because they want to use Google Drive instead—or one of the other cloud storage providers—because it’s only a few clicks away from a web browser anyway, or even less if you use an application. There will also be some people who just can’t stand looking at OneDrive and wish that it just disappeared forever and never came back. Ever. Again.
Whether you want OneDrive integration in Windows 10 or not, there is an option available to enable and disable the OneDrive for file storage in Windows 10, so everybody walks away happy with their operating system. Here’s what you need to do.
How to enable/disable OneDrive for file storage in Windows 10
Enabling and disabling the OneDrive for file storage is done from within the Local Group Policy Editor, which is only available for Windows 10 Pro and Enterprise editions. You can’t do this using Windows 10 Home. You can find out what version of Windows 10 you are running if you don’t know already.
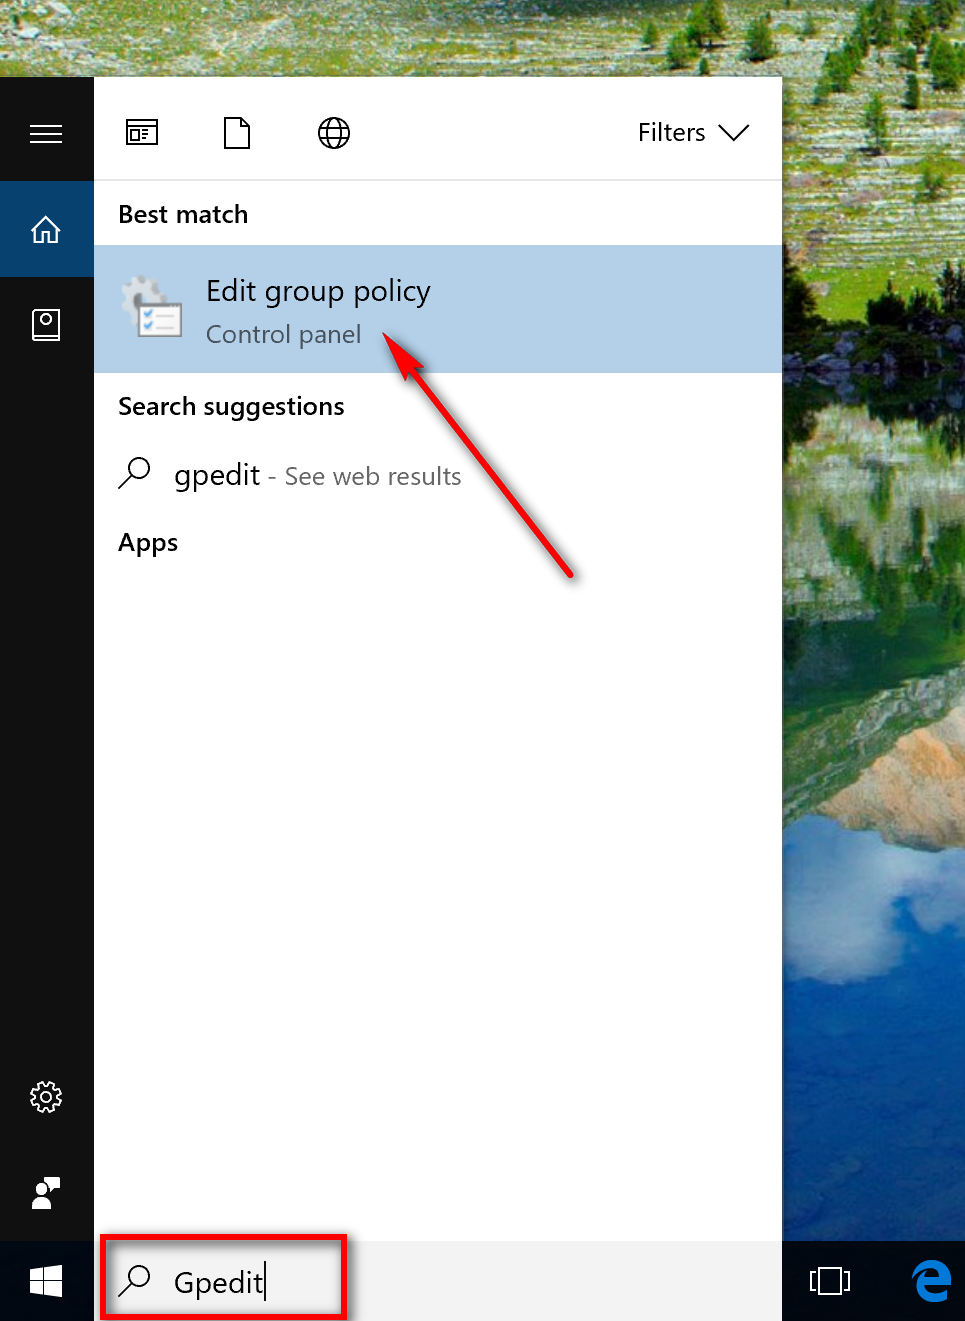
Once you are using a computer running Windows 10 Pro or Enterprise, log into an account with the administrative permissions and then type “Gpedit” into the search box in the taskbar and then click on the “Edit Group Policy” entry available under the Best match section.
Under the Local Computer Policy in the left pane, double-click on the “Computer Configuration” entry to expand it.

Double-click on the “Administrative Templates” entry to expand it.

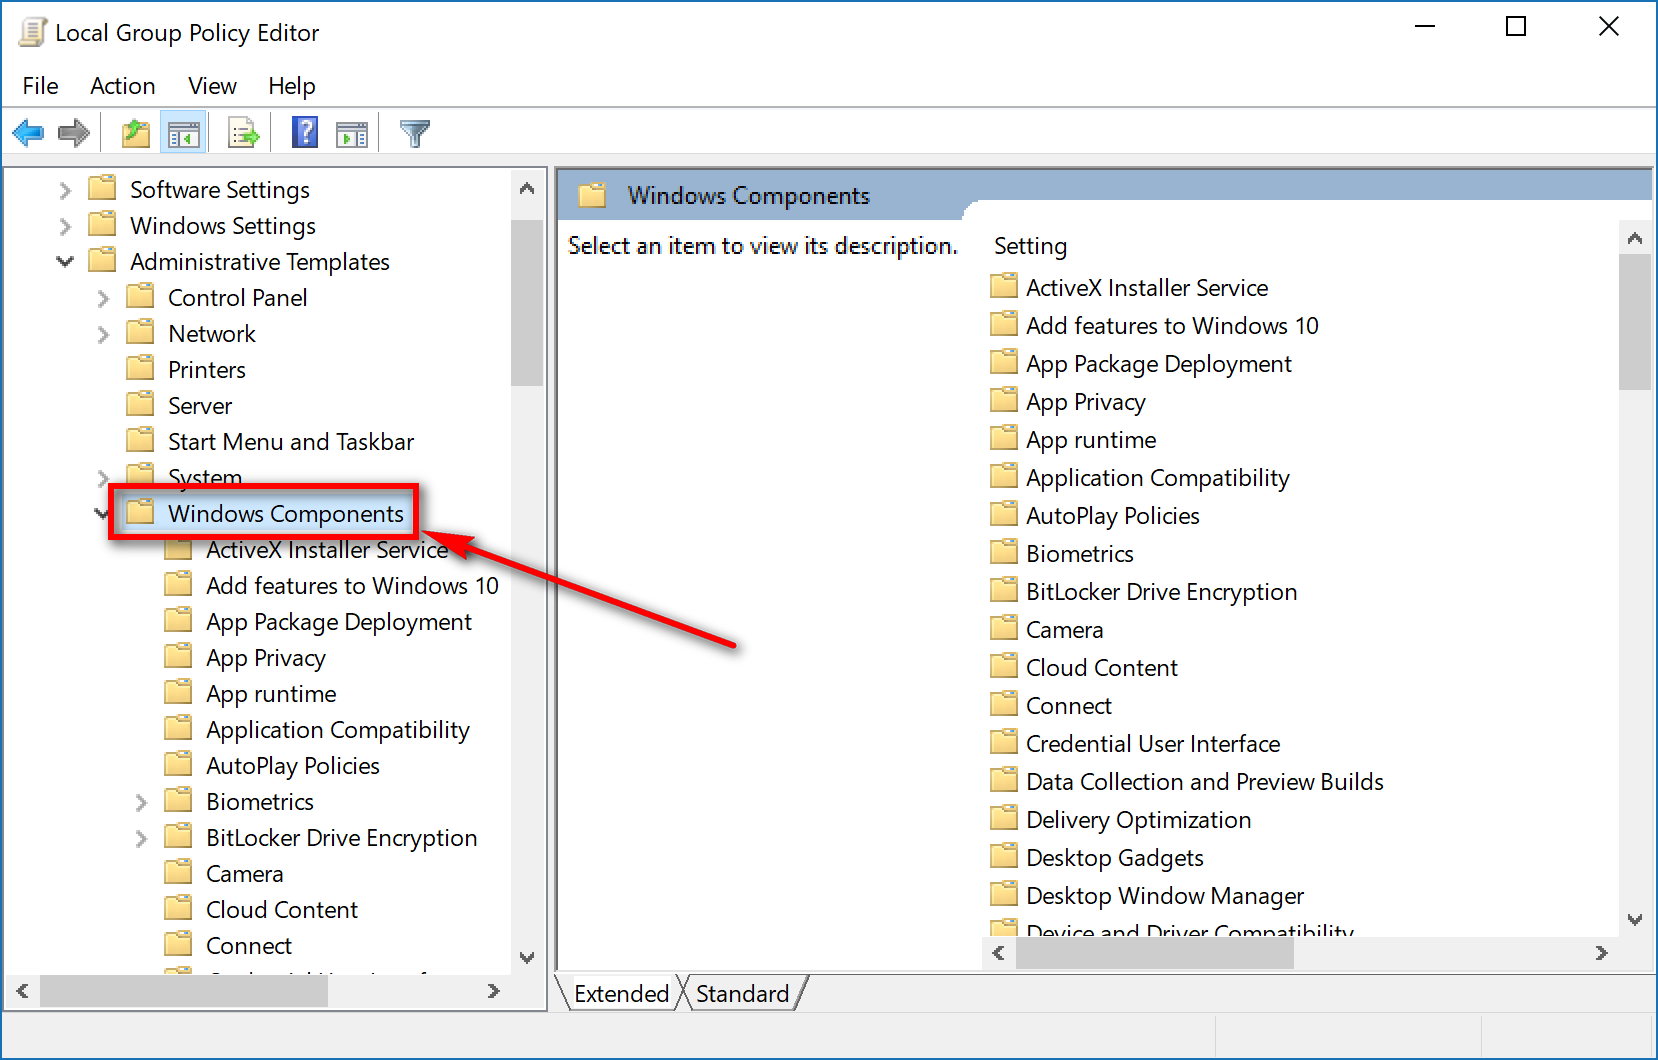
Double-click on the “Windows Components” entry to expand it.
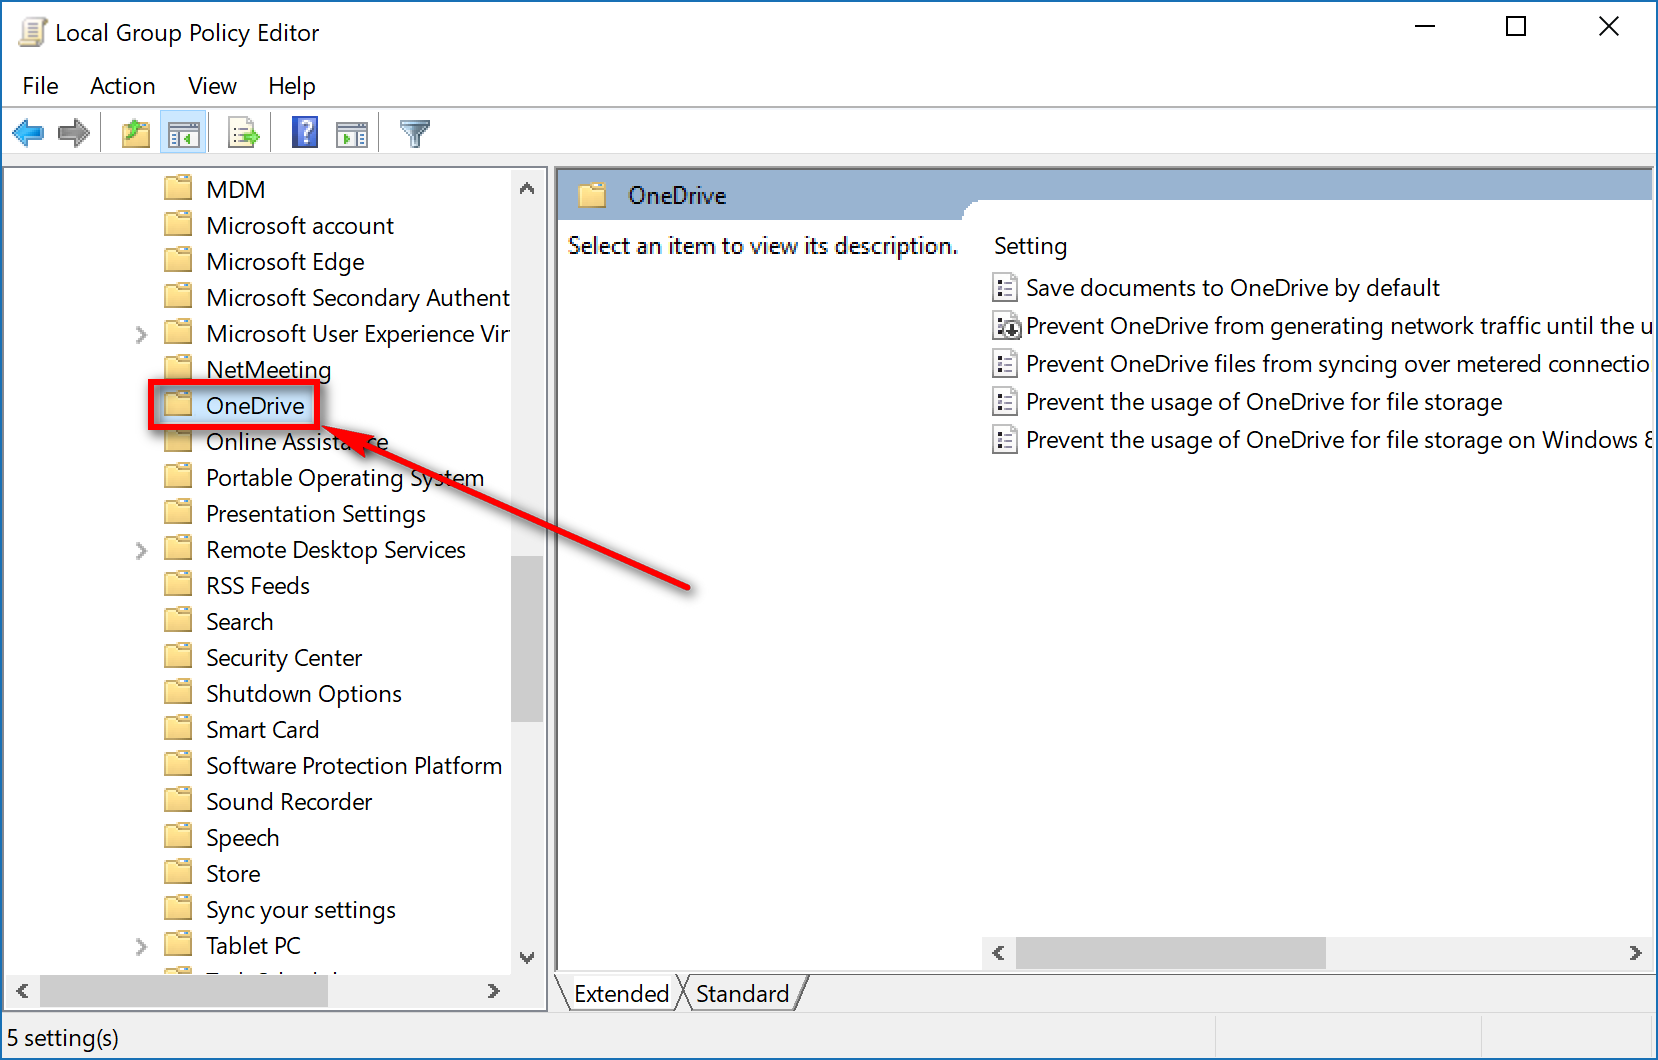
Double-click on “OneDrive” entry to reveal the different policies available for it in the right side pane.
Double-click on the “Prevent the usage of OneDrive for file storage” link in the right pane.
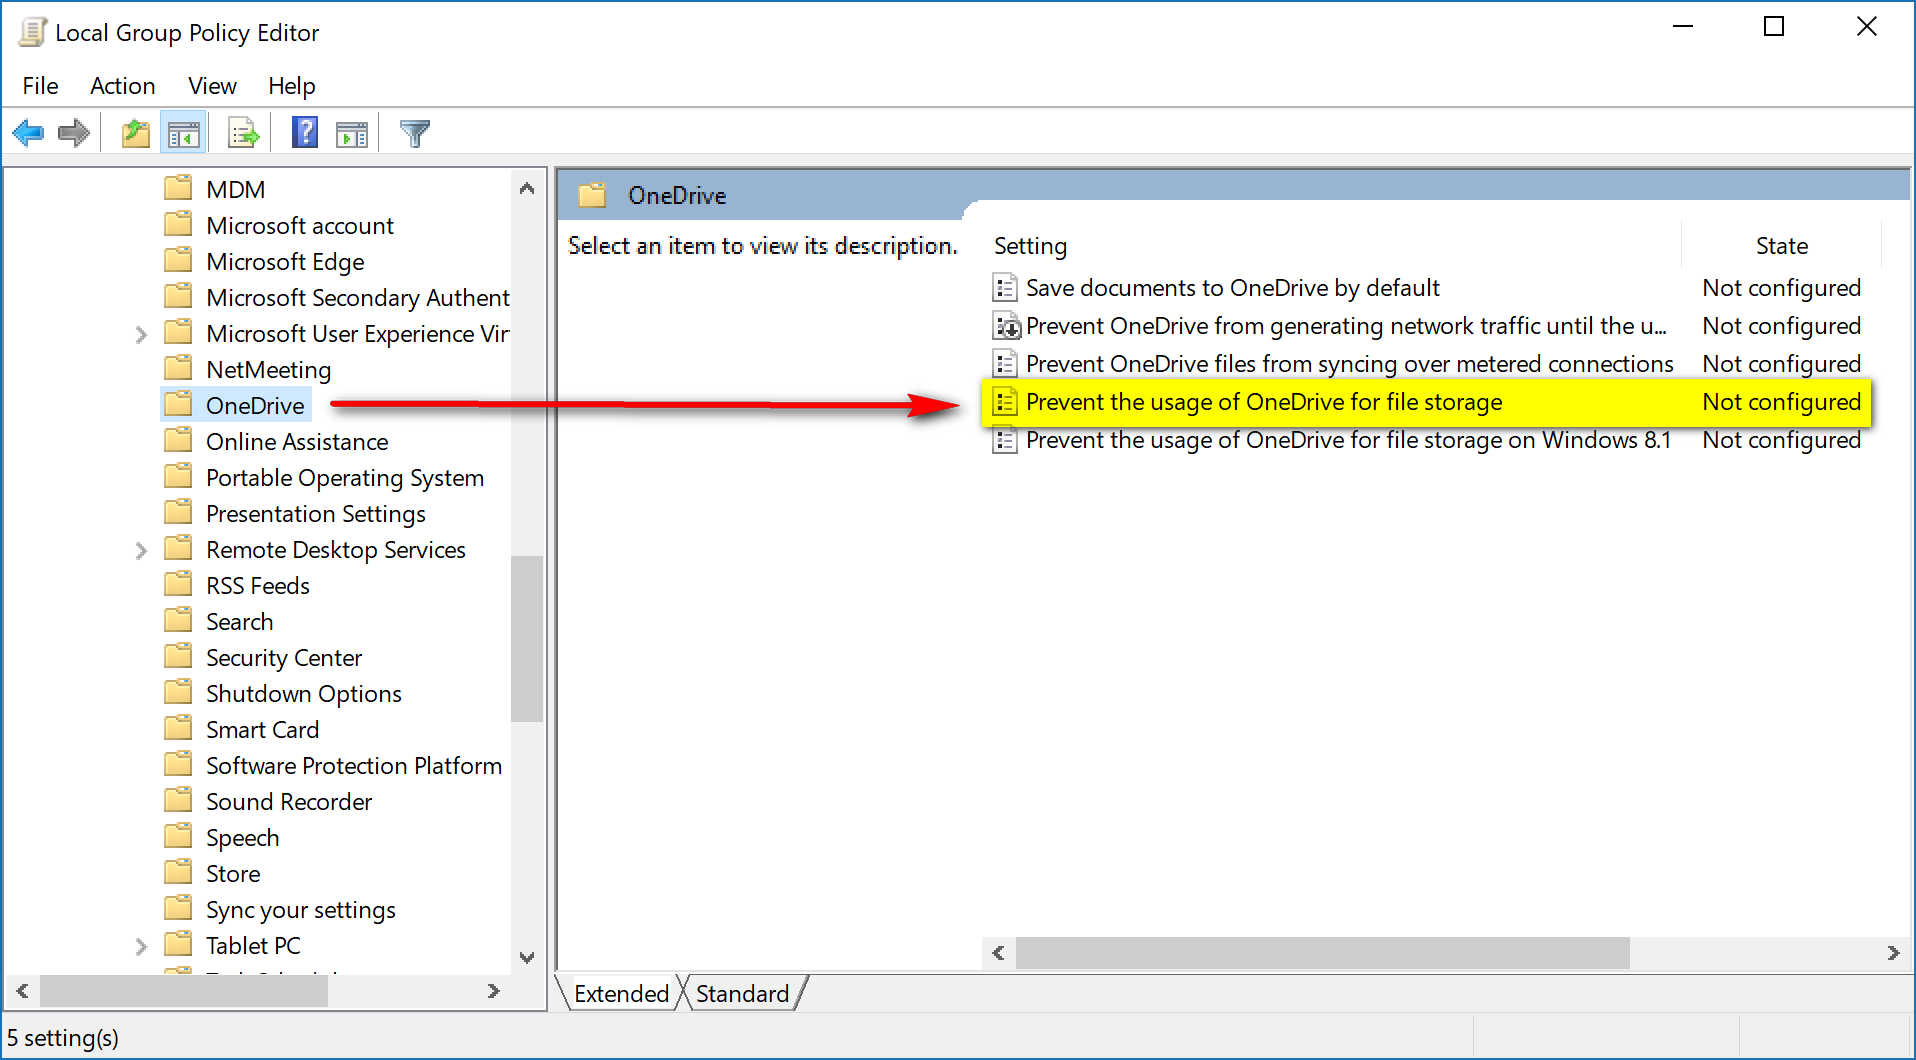
You’ll see that it is set to “Not Configured” by default and it lets you know what that means in the Help window. With it not configured, OneDrive is enabled.
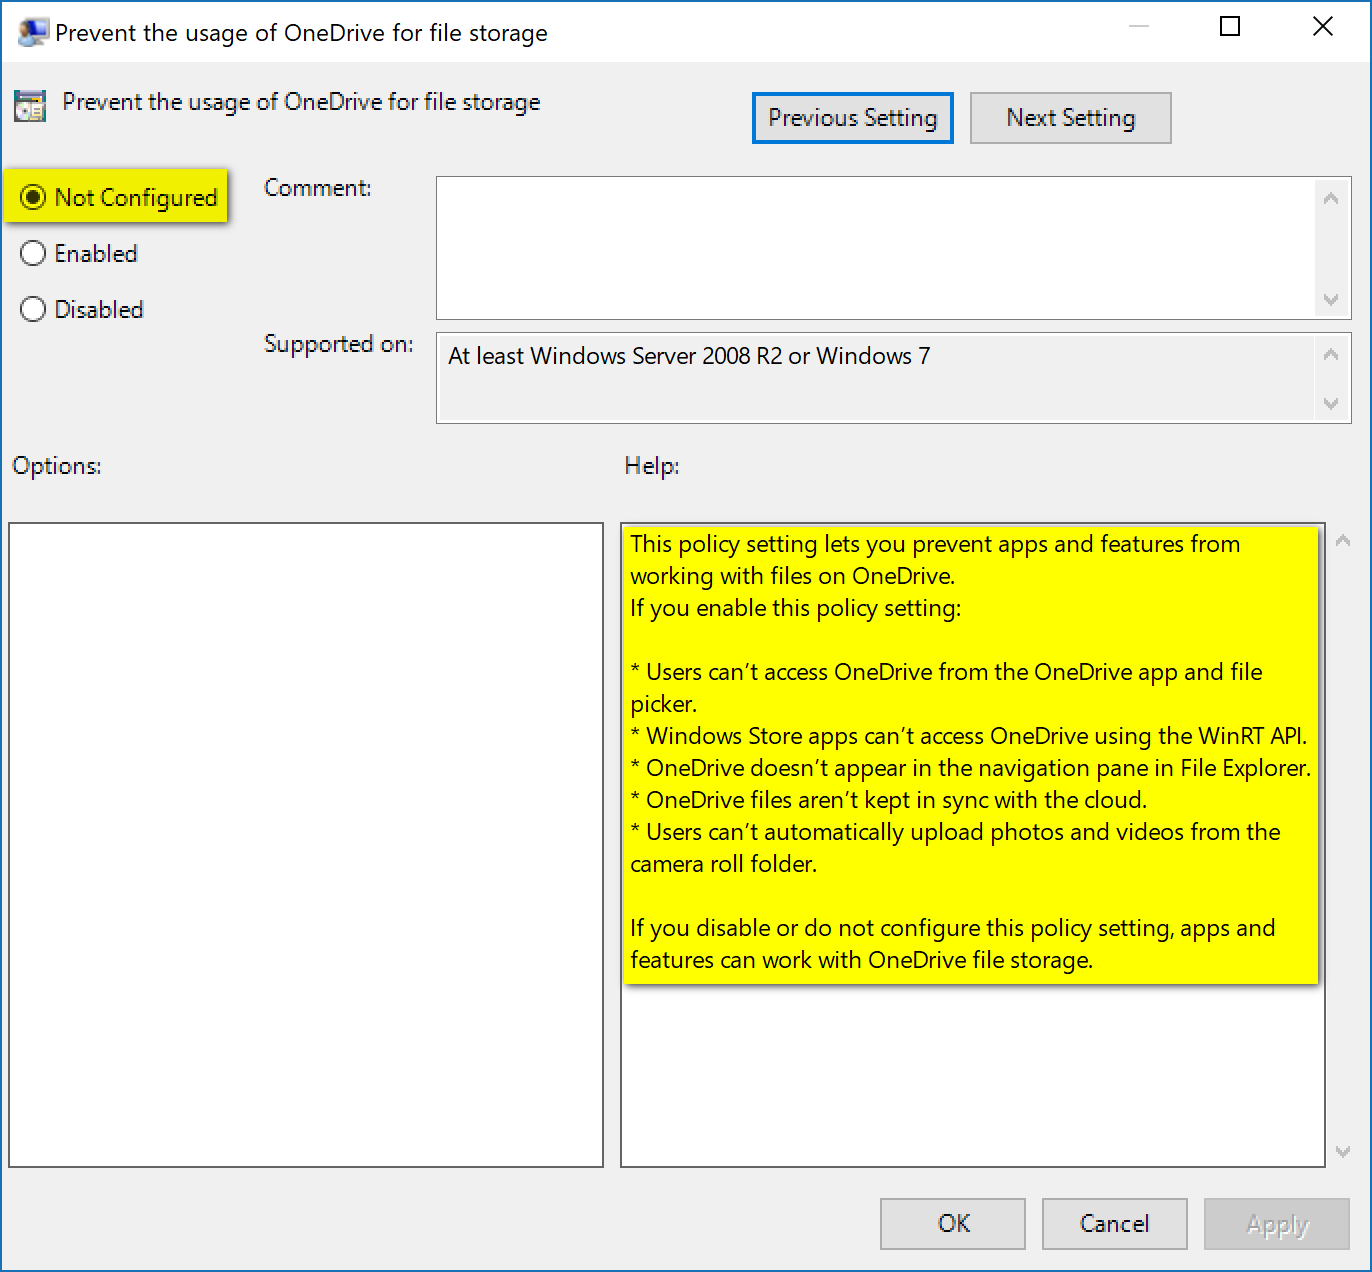
To disable the OneDrive integration from working, move the checkmark to the “Enabled” checkbox and then click on the “Apply” and “OK” buttons at the bottom of the policy window.

If you have been using OneDrive with Windows 10 for a while before you decided to disable the integration, you’ll want to head to the OneDrive folder from the C: drive and remove its contents to free up more hard drive space. Disabling it won’t be enough to remove what is already being stored on the computer.
OneDrive comes with Windows 10 by default since they are both tied to the same company—but like with most of the options you get with Windows 10, Microsoft has also made OneDrive optional to use.


