 Email article
Although we’ve just gone over all of the ways people can uninstall Windows updates and even stop them from rolling out to a computer entirely, most people are unaware that those two options even exist and will continue to receive and leave updates for as long as Microsoft continues to roll them out.
Your Windows Update feature is designed to handle updates automatically, so your computer is always up to date with the latest features and bug fixes that Microsoft wants you to have. The new update system that Microsoft has deployed in Windows 10 is one of the largest fundamental changes the operating system has over its predecessors. Windows 10 handles software updates much like a mobile operating system: it downloads them while you are using the computer and you’ll hardly even notice it is happening. The difference between Windows 10 and an operating system like Android is you’ll get a message from Android letting you know that an update wants to be installed. Windows just waits until you are shutting the computer down instead and will do some of it then and the other part when you boot the computer up the next time. Some people think the way Windows 10 handles the software updates is less intrusive than something like Android, and other people prefer what Android does instead. The problem with doing it the way Windows 10 does it now is that you often can’t tell there is going to be an update taking up your time when you go to log off the computer, and that can get in the way of your plans. At least with Android’s way, you know there is an update, and you can choose not to accept it when it pops up on the devices display if installing it right now isn’t a time that suits you.
Most Windows users aren’t too fussed about the way Windows software updates want to get installed; they are more concerned with the fact that they typically don’t have a say in which updates they can install anymore. In older versions of Windows, it was possible to pick and choose your updates. Now with Windows 10, though, that isn’t the case hardly ever.
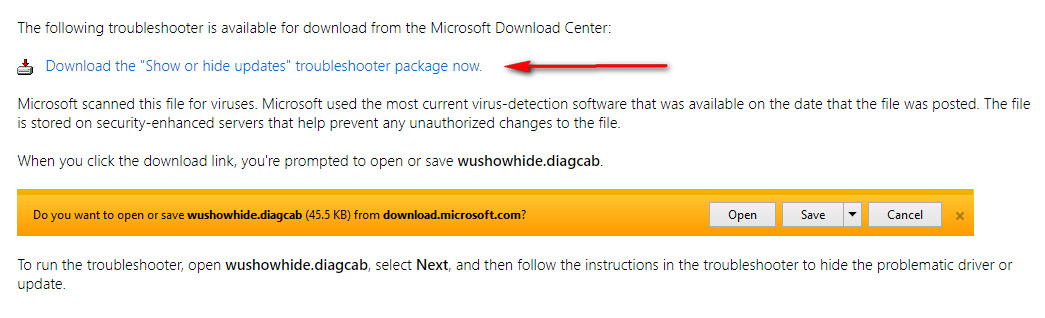
A new tool called “Show or hide updates” is a troubleshooter you can run on your PC which will then put you in control over what updates will be hidden and what ones will be shown. If you hide an update, it means that the update will not be installed on your computer (it isn’t just referring to the update being out of site from the Windows Update page in the Settings app like some might assume.)
How to stop Windows 10 Software Updates from Installing on Your PC
Download the wushowhide.diagcab file from Microsoft from this webpage.
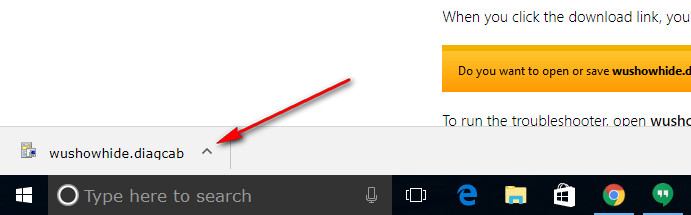
Wait for the file to finish downloading on your computer and then click on the small arrow on the right side.
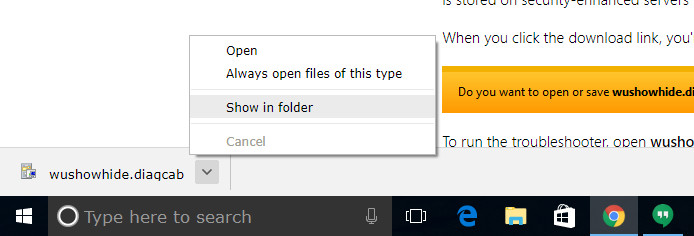
Click on the “Show in folder” option from the menu, so its file location opens.
Click and drag it from the folder over to the desktop. Now, double-click on it to start using it.

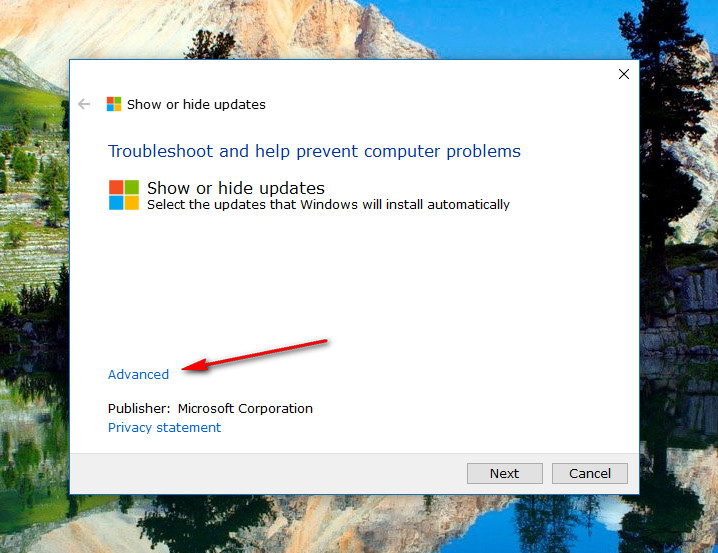
Choose “Advanced” from the first page of the Show or hide updates tool.
You’ll now see a checkbox with a checkmark on it for applying the repairs automatically. You can check to enable or disable that option depending on what you prefer it to do for your computer. Click on the “Next” button once you have made your decision. We suggest that you do apply the repairs automatically and leave the box with a checkmark in it.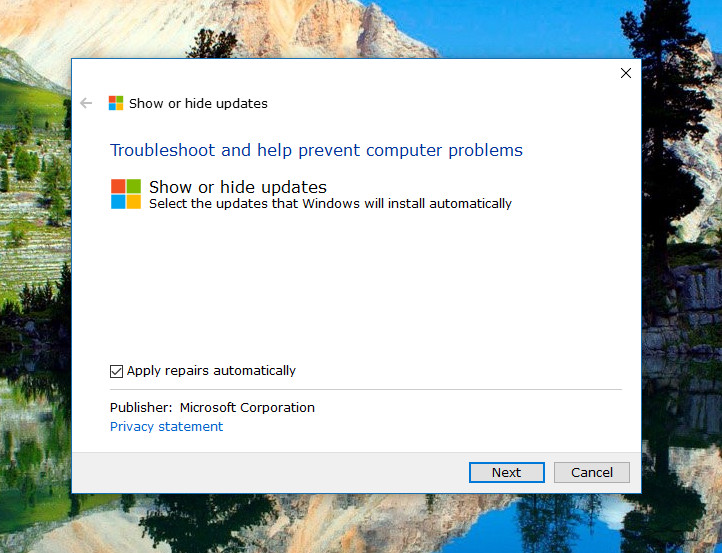
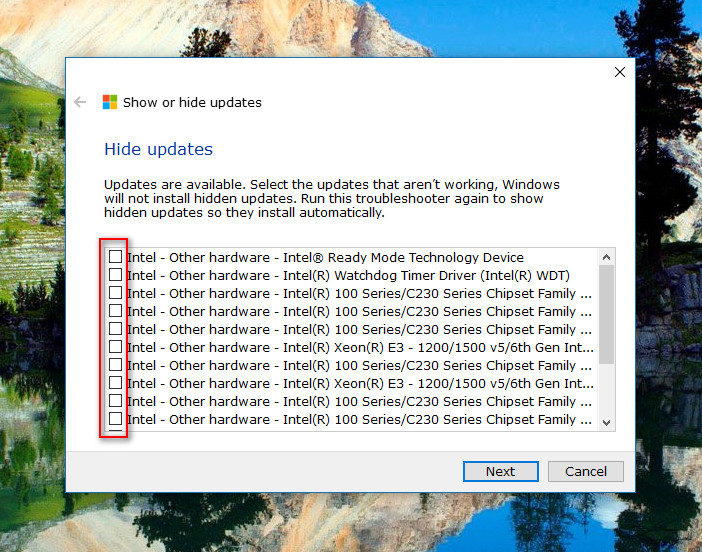
Click on the “Hide updates” link.

Choose from the list of updates that you want to hide. To select an update, just click on the checkbox, so there is a checkmark.
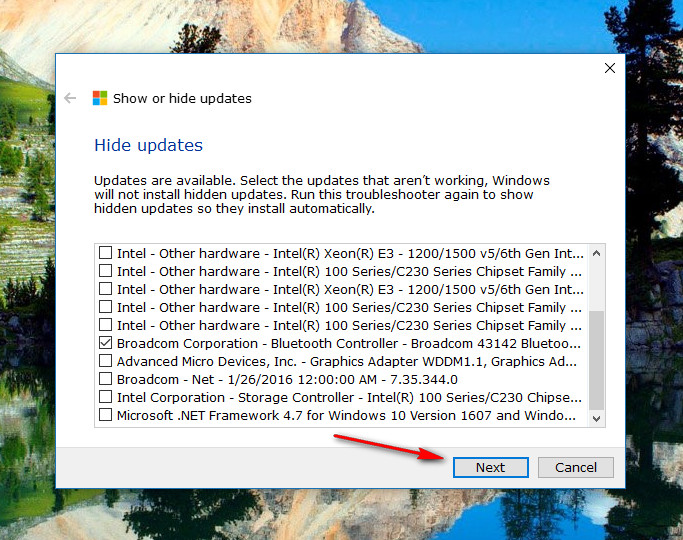
Once you have found the update that you want hidden, just click on the “Next” button at the bottom of the window.
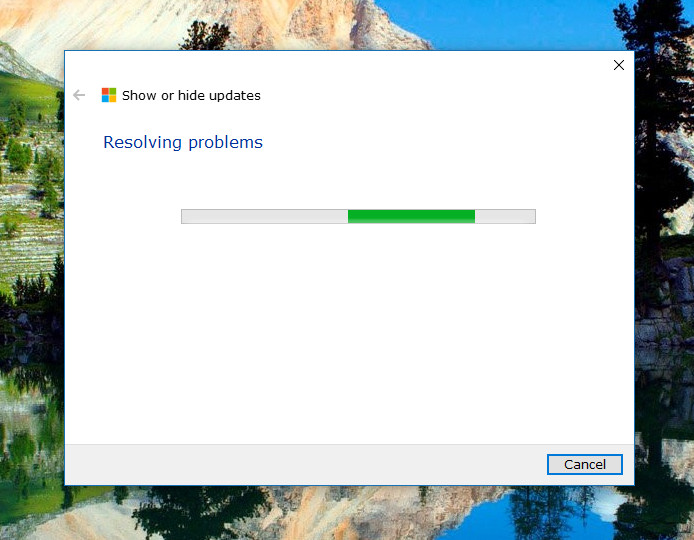
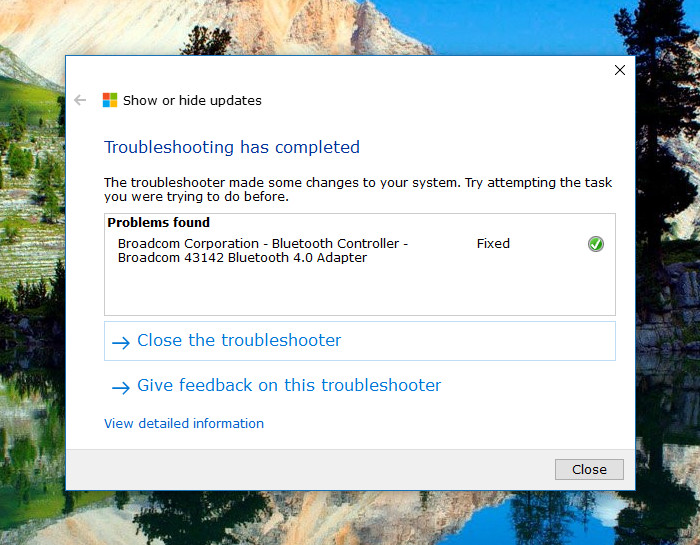
You’ll then get a message letting you know that it is resolving the problems.
And then the troubleshooting is complete. The update that you wanted to be hidden is now listed as “fixed.” You can close the troubleshooter or give feedback if you prefer.
How to install the Windows 10 Software Updates you previously choose to block
Open the tool again and click on the “Advanced” link from the bottom left corner.
Make sure that the box is checked for applying the repairs automatically once again and then click on the “Next” button to continue.
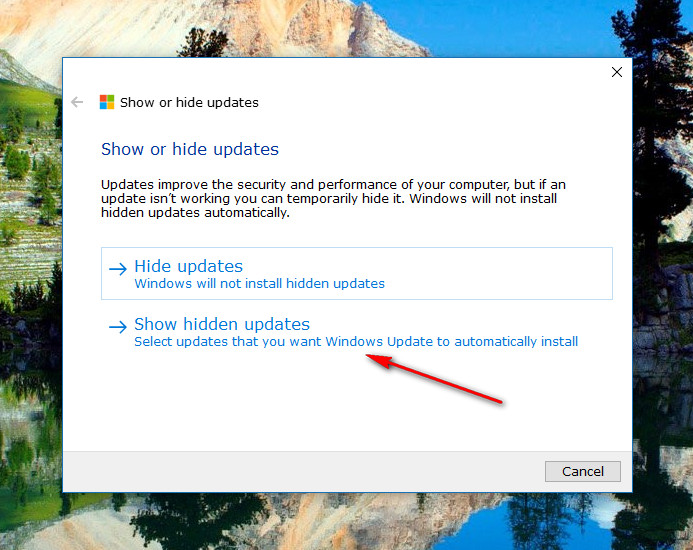
Click on the “Show hidden updates” this time.
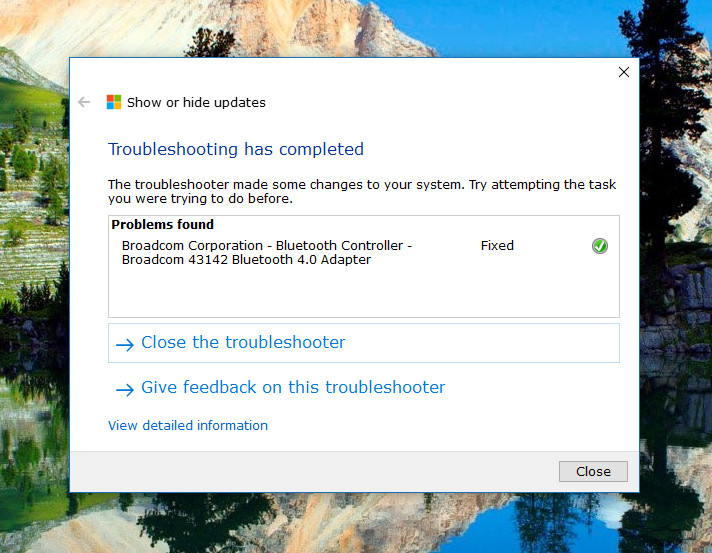
Choose the update that is currently hidden and that you want to be shown. In our example, we are just using the same update that we originally wanted hidden.

You’ll get another message when the troubleshooting is complete, and the update that you wanted to be unhidden will have a “Fixed” next to it. Click on the “Close” button when you want to exit the troubleshooter.
If you are finding an individual update causing your computer a troublesome time, the show or hide updated tool can help stop Microsoft from reinstalling the update that was causing your computer the concerns.


