 Email article
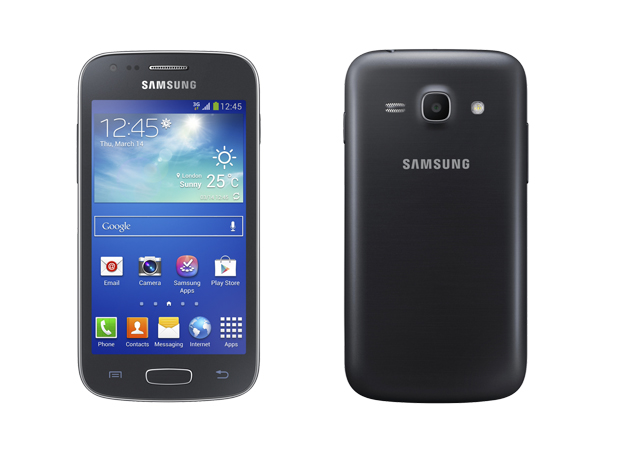 The Samsung Galaxy Ace 3 is a budget Android smartphone that was released last year. It features a 4 inch display, a dual-core 1GHz processor along with 1GB of RAM, a 5 MP main camera and a VGA front-facing camera, 4GB of internal storage along with support for expandable memory, a 1500 mAh battery, and comes in single as well as dual SIM flavors. If you happen to own one of these and are looking for an easy way to gain root access and install a custom recovery, here’s a detailed step-by-step guide which will walk you through the process.
Disclaimer: This guide is intended as a helpful how to. dotTech and its writers are not responsible for any gain or loss (including but not limited to bricked devices) incurred as a result of following this guide. Root your device at your own risk. Rooting may void your warranty. Flashing custom recovery may void your warranty.
REQUIREMENTS
This root guide is meant for the Samsung Galaxy Ace 3, model numbers GT-S7270 or GT-S7272 (Duos), running Android 4.2.2 Jelly Bean firmware. You can confirm the model number by going to Settings > About Device on your phone or by checking the packaging box labels. Do not try this method on any other variants of the Galaxy Ace 3
BEFORE WE BEGIN
Download the following Rooting package, based on your device model number and save it to your desktop
- CWM Recovery Tar file- Touch Recovery | Non Touch Recovery
- Samsung Device Drivers
- ODIN
- Root Package
HOW TO FLASH (INSTALL) CWM RECOVERY ON SAMSUNG GALAXY ACE 3
- First of all, download and install the Samsung USB drivers on your PC
- Next download the root package for your device from above
- Connect your phone to PC via USB cable and transfer the Root.zip file to the internal memory of your phone
- Download the ODIN package and extract it to your desktop too
- Disconnect the phone and power it off
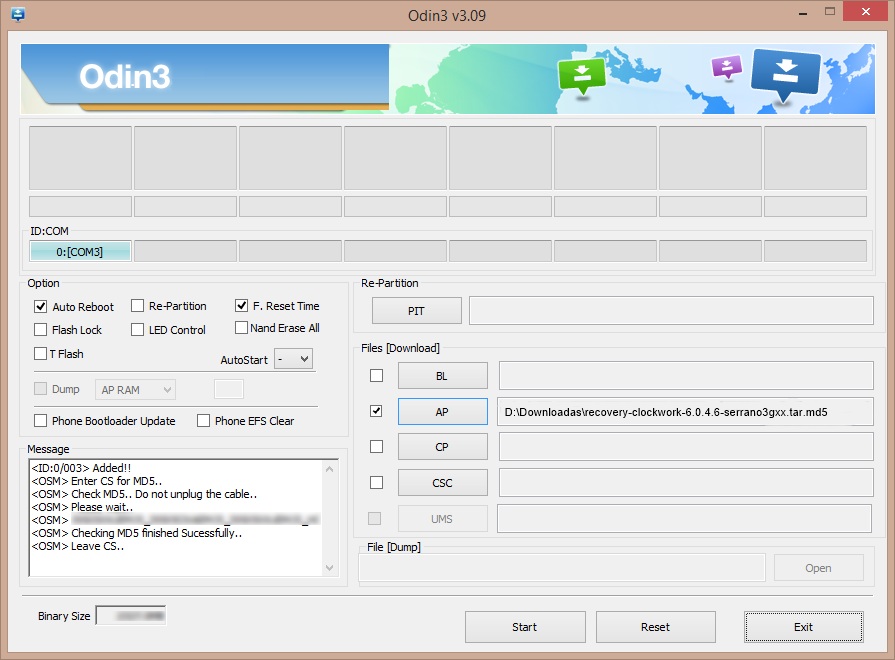
- Open the ODIN folder you extracted in Step 4 and run the Odin3 exe file as administrator
- Now power on your phone while pressing the Volume Down + Home + Power buttons at the same time. This will boot your phone into Download Mode
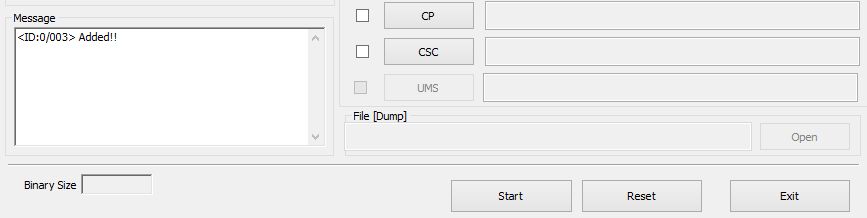
- Now plug in your phone to the PC. You should see an Added! message in the Odin window

- Click the PDA or AP button in ODIN and load the touch.tar OR nontouch.tar file, depending on which one you downloaded
- Leave everything else in ODIN as it is. Check screenshot below for confirmation
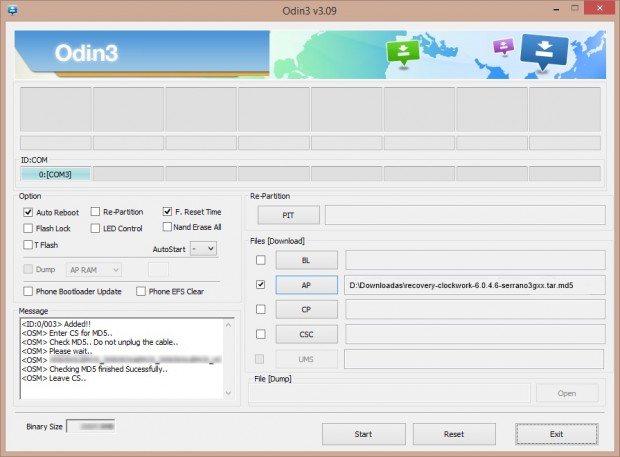
- Double-check everything in ODIN and click the Start button to start flashing the CWM recovery image on to your device
- Once the flashing is complete, you should see a Green PASS message at the top left in ODIN. It is now safe to disconnect your phone. CWM Recovery has been flashed on your device
HOW TO ROOT SAMSUNG GALAXY ACE 3
- Power off your phone
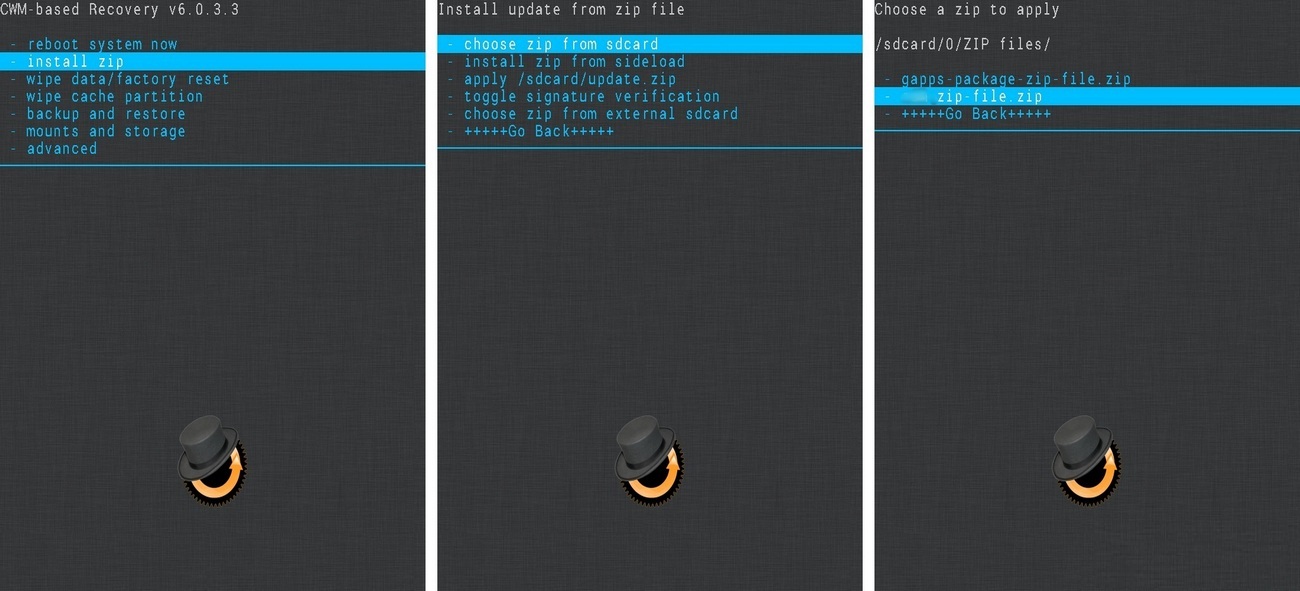
- Reboot to CWM Recovery. To do so press and hold the Volume Up + Home + Powerbuttons together. Release them when you see the CWM screen. In CWM mode, use the Volume Up/Down keys to scroll and the Power or Home key to select an option
- Select Install zip from SD card, and on the next screen select Choose Zip from SD card
- You should now see a bunch of folders and files. These are the contents of your internal SD card. Locate the root.zip file you copied over earlier and select it with the Power button

- On the next screen, select Yes to confirm the flash
- Wait for CWM to flash the root package
- Once done, Go Back to the main menu and select Reboot System Now
- After your phone has booted up fully, open the App drawer and look for the SuperSU app.
- Congratulations!! Your Galaxy Ace 3 now has full root access as well as the custom CWM Recovery installed!
Enjoy your rooted device. You are all set now to explore the world of root apps and custom ROMs. Cheers!!


