 Email article
 If you’ve already rooted your Samsung Galaxy Tab 3 8.0 using our handy guide, and are now looking at installing a custom recovery on your phone, here’s a step-by step guide which will walk you through the process of installing TWRP Recovery on your rooted tablet.
Disclaimer: This guide is intended as a helpful how to. dotTech and its writers are not responsible for any gain or loss (including but not limited to bricked devices) incurred as a result of following this guide. Rooting and flashing a custom recovery may void your warranty. Proceed further at your own risk.
REQUIREMENTS
This Custom Recovery Installation guide is for the Samsung Galaxy Tab 3 8.0, model numbers SM-T310 (WiFi Only), SM-T311 (3G) and SM-T315 (LTE), running Android 4.2 Jelly Bean firmware. . Do not try this guide for any other model numbers. You can confirm the model number by going to Settings > About Device on your phone or by checking the packaging box.
BEFORE WE BEGIN
Download the following files
- Samsung USB Drivers – Download and install on PC
- ODIN – Download and extract the zip to your desktop
- TWRP Recovery Tar file – Download for your specific model
How To flash TWRP Recovery on Samsung Galaxy Tab 3 8.0
- First of all, download and install the Samsung USB drivers on your PC
- Next download the TWRP Recovery tar file for your device model from above, and extract the zip file to your desktop. You should get a folder with a .tar.md5 file inside
- Download Odin and extract the zip to your desktop too
- Power off your tablet
- On your PC, launch ODIN as administrator
- Now power on your tablet while pressing the Volume Down + Home + Power buttons at the same time. At the warning screen, press Vol Up to enter Download Mode
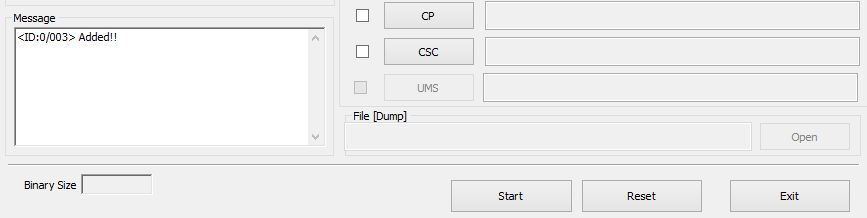
- Now plug in your device to the PC. You should see an Added! message in the Odin window

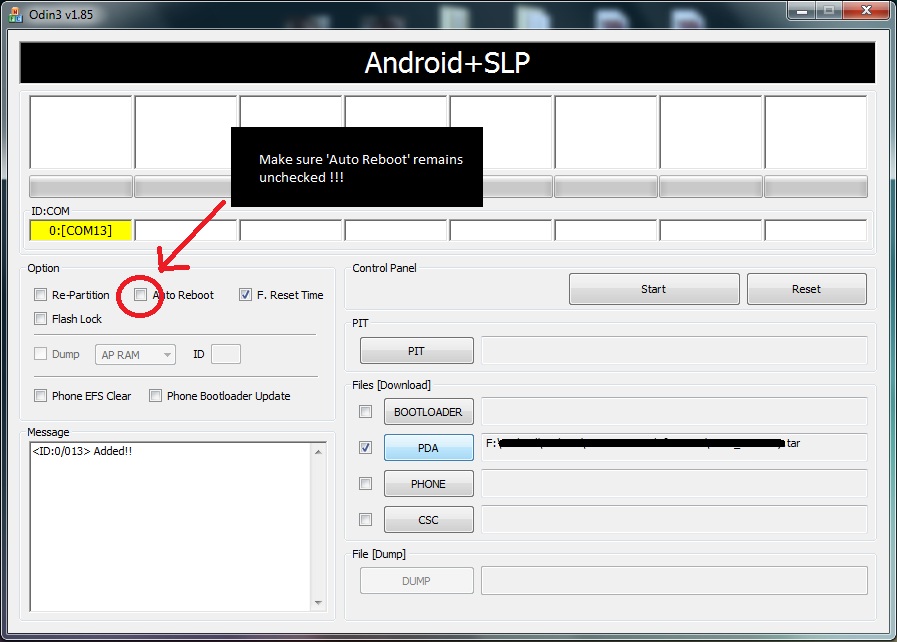
- Click the PDA or AP button in ODIN and load the TWRP recovery tar file that you extracted to your desktop earlier
- In ODIN, uncheck the Auto Reboot box. This is because the OS will re-flash the stock recovery upon reboot. Leave everything else as it is

- Click the Start button in Odin to start flashing the recovery
- Once done, you should see a PASS message at the top-left in Odin.
- Disconnect the tablet and reboot to TWRP. You can do this by pressing and holding Volume Up + Home + Power buttons together
That’s it. You now have the TWRP custom recovery installed on your rooted Galaxy Tab 3 8.0, and are all set to explore custom ROMs and mods for your device. Cheers!!


