The Windows Media Center Start menu includes a variety of menu strips from which you can access various media items such as pictures, video, etc. Windows Media Center doesn’t have many Start menu customization options. However, you can still customize the Start menu with the Media Center Studio software.
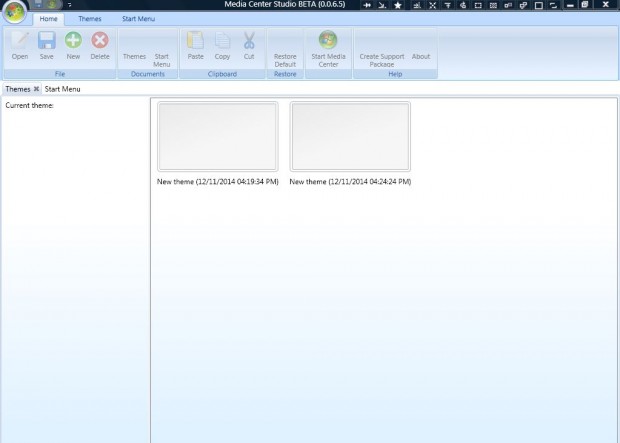
To add Media Center Studio to Windows, open this page and press the Download from Softpedia option. That saves the Media Center Studio Zip file, which you can extract by right-clicking it and selecting Extract All. Then choose a path for the extracted folder from which you can open the software’s window below.
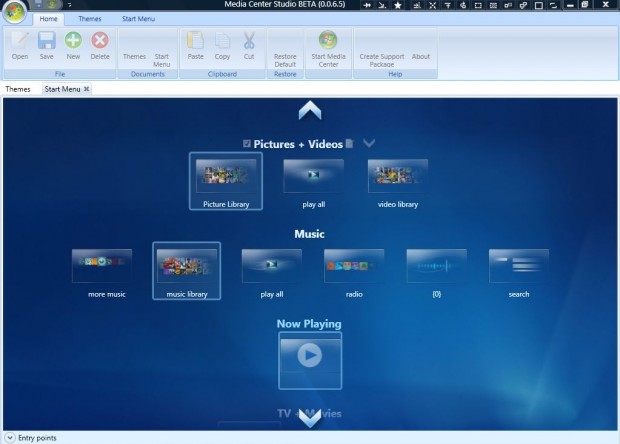
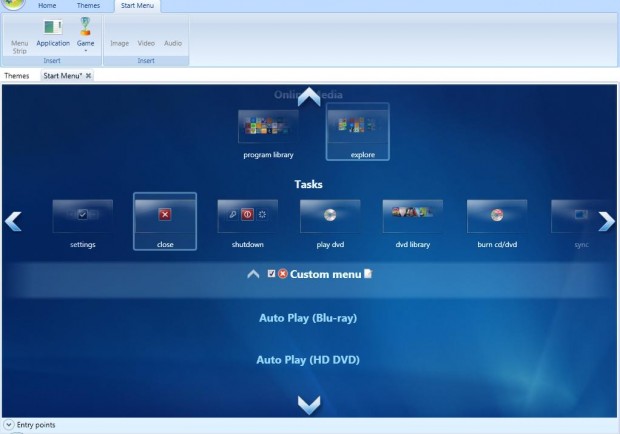
Click the Start Menu tab to customize the Media Center’s menu strips and tiles. Scroll through the various menu strips by clicking the arrows at the top, bottom, right and left of the window.
Customizing the Tiles
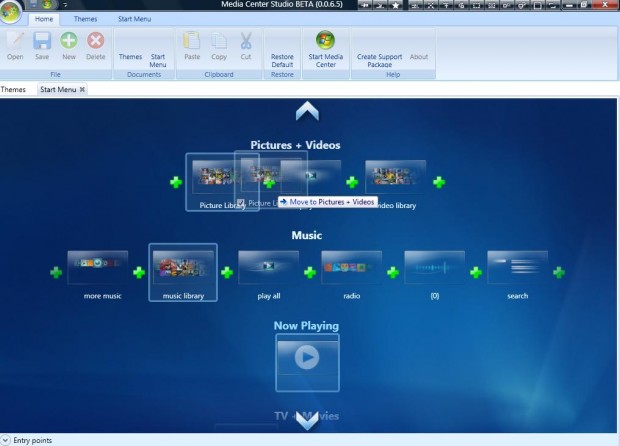
Now you can customize the tiles of any of the menu strips. Remove tiles from the menu strips by selecting them and clicking the check boxes. Alternatively, adjust their position within the Media Center by dragging tiles to one of the green + signs in the shot below.
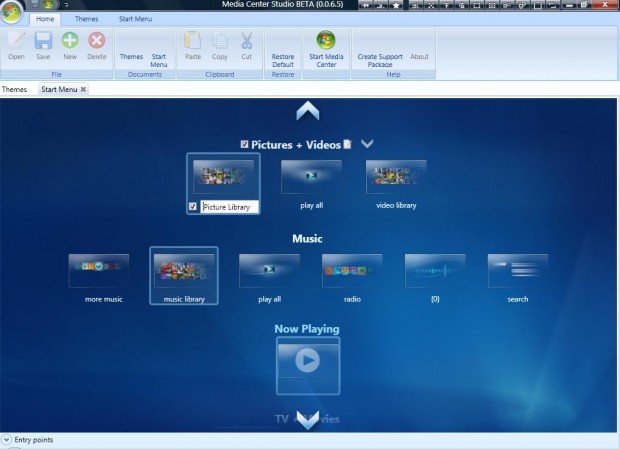
You can enter alternative titles for any of the tiles. Select a tile and then click the notepad icon on the right. Enter a new title for the tile in the text input box.
Adding New Menu Strips the Media Center
To add new menu strips to the Windows Media Center, click the Start Menu tab and Menu Strip. Then you’ll find a new Custom menu on the Start menu as in the shot below. You can adjust that menu strip’s position, and any other on the Start menu, by clicking the up and down arrows on the left and right of the custom menu.
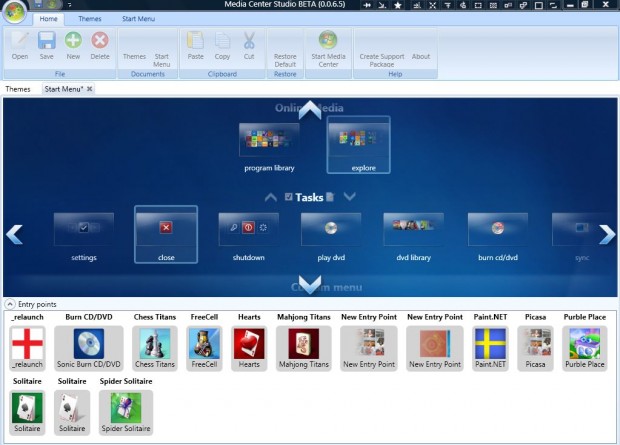
Now add some tiles to the custom menu by selecting Entry points at the bottom left of the window. They will include some of the Media Center games and plug-ins. Drag some of those tiles onto the custom menu as in the shot below.
Adding New Application Tiles to the Media Center
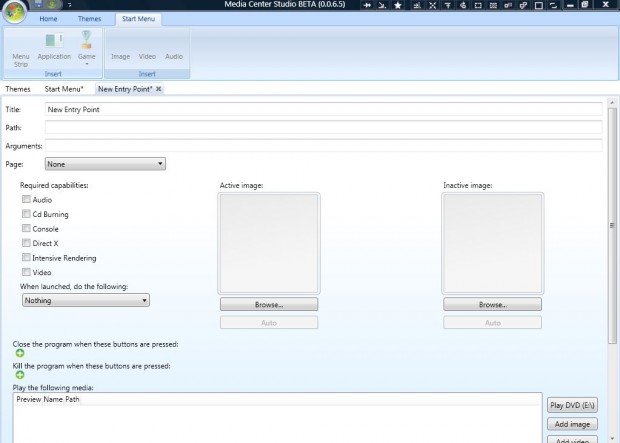
You can also add your own application tile shortcuts to the menu strips. Select the Start Menu tab and press Application to open the window below. There enter a title for the tile, and then the path of the application for the tile to open. You can choose an image for the tile by pressing the Browse button. Select the Home tab and press the Save button to save the application tile. Then add the tile to the Start menu by clicking Entry points and dragging it onto a menu strip.
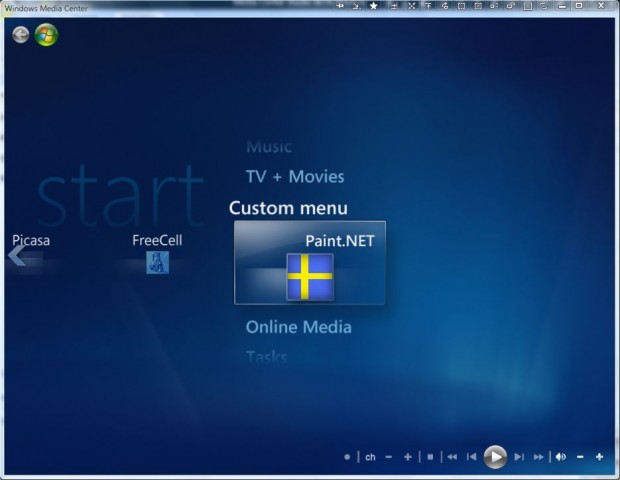
When you’ve customized the Media Center, press the Save button. Now when you open the Windows Media Center you’ll find it includes your new menu strips and application tiles as in the shot below.
Overall, Media Center Studios is a great package to customize the Windows Media Center Start menu with. With the software you can greatly expand the number of tile shortcuts in the Media Center, add new menu strips and adjust the Start menu layout. It also has other options for adding custom themes to the Media Center.

 Email article
