 Email article
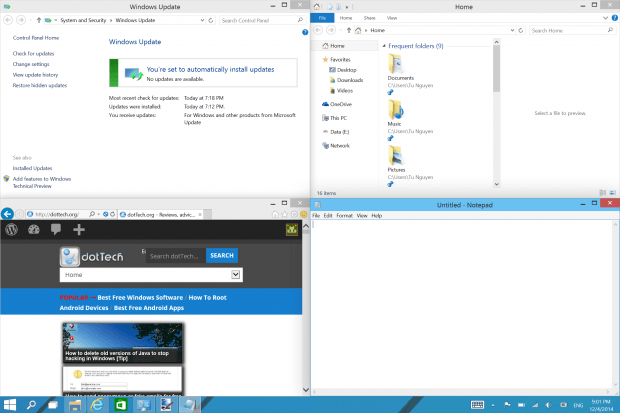
Windows snapping is a great feature introduced in Windows 7. It allows you to snap two windows to each half of the screen so you can drag and drop files or compare information between them. This feature basically stays the same in Windows 8. However, Windows 10 brings many improvements to windows snapping.
In this article, I’ll show you how to use those new improvement.
What’s new?
Corners snap
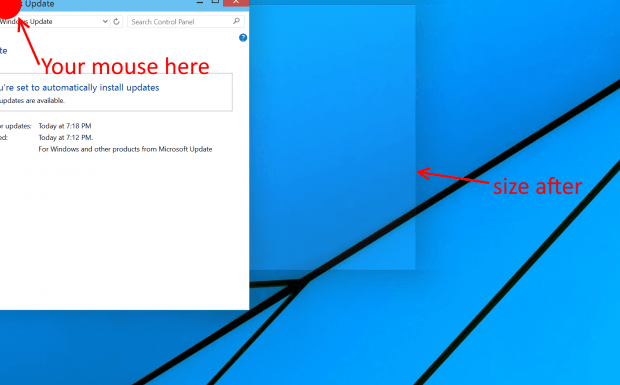
In Windows 7 and Windows 8, snapping only work when you drag a window to the screen’s vertical edges then the window would be resized to cover the entire haft left/right of the screen. Now in Windows 10, you can even snap a window to the screen corners so it fulfills just a quarter of your screen. Below is how you can make it happen.
Click the window’s title and drag it to one of the four screen corners; you will see a cripple effect. Then there’s a transparent outline indicates the window size after you release the mouse button.
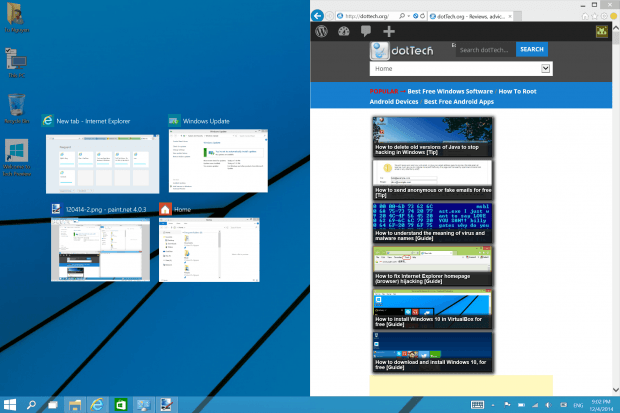
Snap Assist
In Windows 10, when you drag and snap a window to a haft screen (like in Windows 7), the other half screen now shows thumbnails of all other open windows. So that you can quickly pick a window to snap to the remaining space. Microsoft calls it Snap Assist. This also shows up when you do corners snap and there is only one space left.
Problem
Since Windows Store apps in Windows 10 run in a framed window now just like desktop application, you would expect snap feature works the same with them. Unfortunately, in the current build of Windows 10, Windows Store apps don’t resize to fill exactly a quarter of your screen when you try corners snap. I hope this issue will be addressed soon.
In the meantime, let’s enjoy those useful features.


