 Email article
Pop art photos are great for prints, gifts, posters and even as profile photos. If you know a bit of graphic editing, you can create your own pop art photos using Photoshop. If you don’t have Photoshop, then any reliable graphic editing software will do. Now, what if you want to create one online? If that is the case, then you can just follow the steps listed below.
How to create pop art photos online
The advantage of creating pop art photos online is that you don’t need to install any third-party graphic editing software on your computer. You can just do it on your web browser.
- To get started, the first thing that you must do is to open the homepage of “eZimba”.
- Once you’re on eZimba, you will see a menu. Find and click the “Pop Art” option under the “Mix” menu.

- Next, click the “Load to Image” button. It’s the orange button with an arrow.
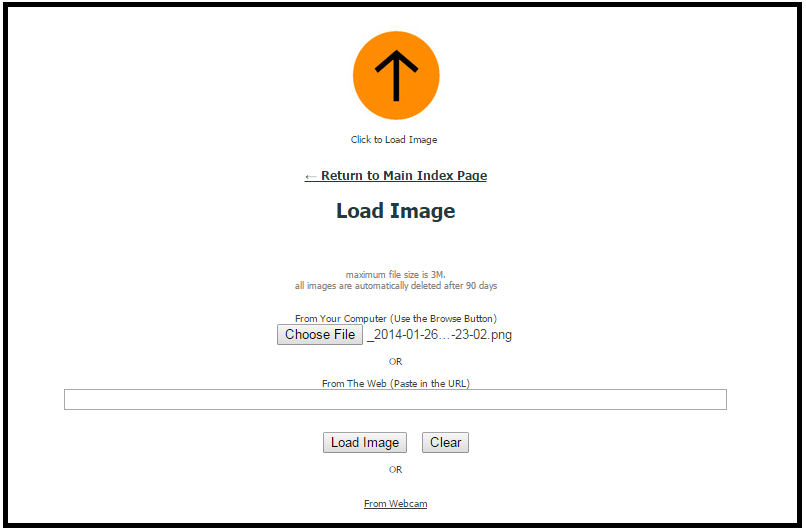
- Click “Choose File” to upload the image that you wish to convert into a pop art from your computer.
- Alternatively, you may paste an image from the web. Just copy and paste its URL on the field provided.
- Click “Load Image” to confirm.
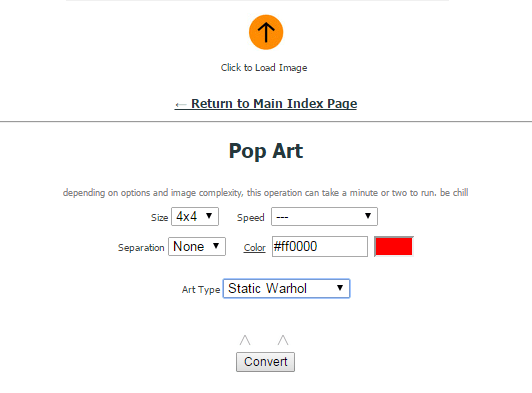
- Once the image has been loaded, it’s time to configure the way how you want your pop art to appear. On the menu below the image, select your preferred pop art size, speed, separation, color, style, etc. For the pop art style, you can choose among the following types – Static Warhol, Animated Warhol, Spotted Warhol and Animated Single.
- Once you’re all set, click “Convert”.
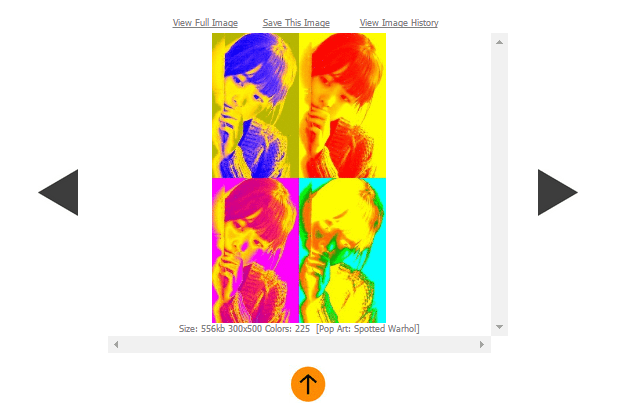
- Wait while your image loads. After which, you may view your pop art image on the same page. If you want to view and download the full-sized version image, just click the “View Full Image” link on top and that’s it. You’re done.


