 Email article
In Instagram, you cannot upload or post a photo unless you go through its photo editor. In its photo editor, you can choose to crop, rotate or add filters to your photo. Of course, you can also choose to keep the photo in its raw and unfiltered version. It’s all up to you. Now, what if you want to do the same with the photos that you’ve uploaded on Facebook? If that is the case, then you may go ahead and refer to the steps listed below.
How to edit and apply filters to Facebook photos in Chrome
Before we begin, take note that this method will not exactly prompt you to edit your photos first before posting them to your feed and timeline. Instead, you will get an option to edit your photo right after posting it to your feed and timeline.
- To get started, you will need to download a browser extension called “Photon – Facebook Photo Editor”. Install it on your Chrome web browser.
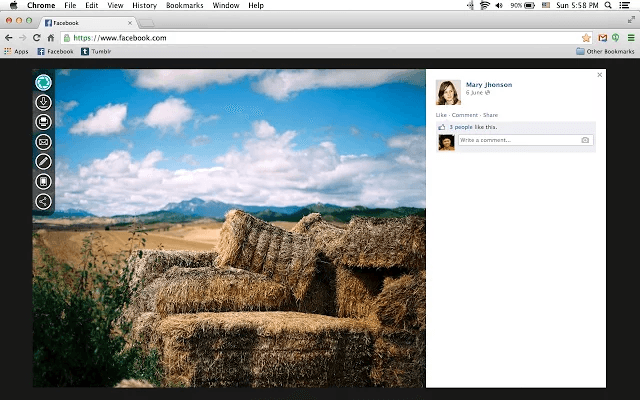
- Next, log in to the web version of Facebook using your account username and password.
- Once you’re logged in, upload a photo that you like.
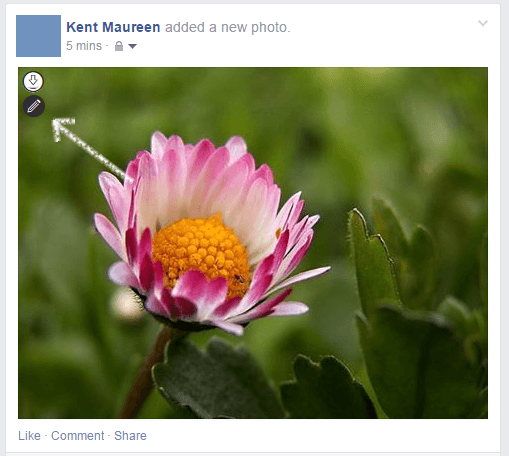
- After uploading your photo, place your mouse cursor over it and then click the “edit” button. It’s located at the upper left portion of the image.
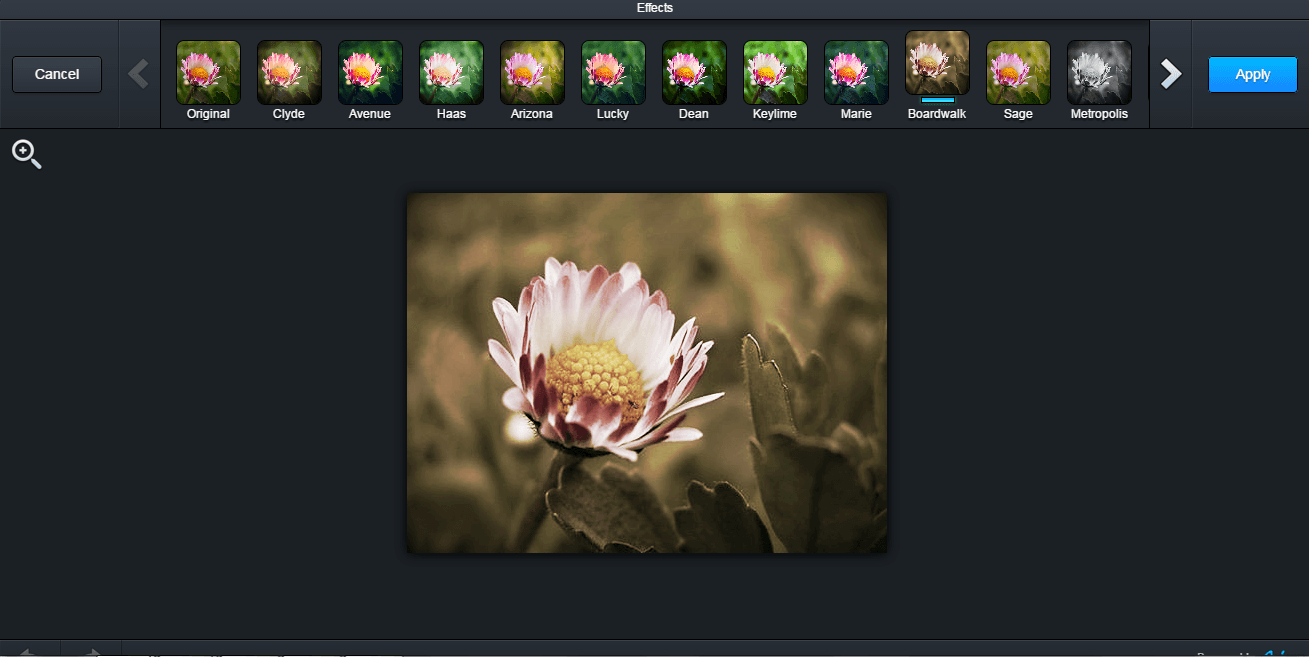
- After which, the photo editor will open in a new window. It will give you the options and tools to edit your photo. Just like Instagram, you can also edit your photo using frames and filters.
- Once you’re done editing your photo, click “Save”.
That’s it. You will be prompted to download and save the edited version of your photo to your computer. You will also be able to share the edited version to your Facebook timeline.


