 Email article
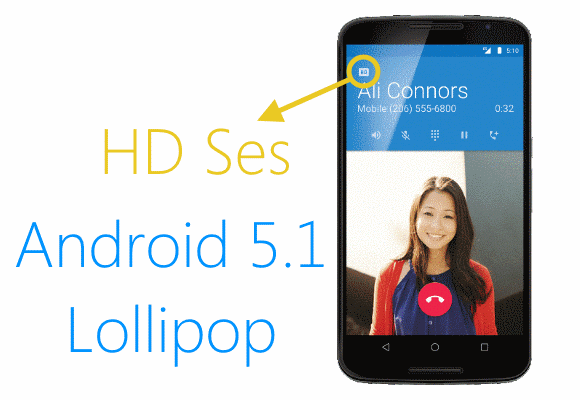 If you are using one of the latest smartphones from Google, or indeed one of the other OEM flagships in recent times, you might be aware of the new Android 5.1 update that’s the successor to the original 5.0 Lollipop. Android 5.0 Lollipop saw several updates including the 5.0.1 and 5.0.2. Now the Lollipop software is seeing a new level of updates which make the leap all the way to 5.1 Lollipop. Since only around 5% of smartphones and tablets under the Android name and running any type of Lollipop OS, it’s fair to say it’s still going to be some time until Google and phone carrier networks team up with OEMs for the release of the latest 5.1 for most devices.
Thankfully, though, you can skip the waiting line and try out the new Android 5.1 SDK on Mac OS X or Windows-based computers. There you will see the latest features and how the operating system will eventually look when it rolls around to the mobile devices.
HOW TO INSTALL THE ANDROID 5.1 LOLLIPOP SDK EMULATOR ON MAC OS X AND WINDOWS PC
- Download the Android SDK installer from this page: http://dl.google.com/android/installer_r24.0.2-windows.exe.
- Follow the steps to install the file on your computer. You can save the program to the C Drive or the desktop. Just make sure you know where to find it later.
- Navigate to where you saved the file and click to open the SDK manager.
- Wait for the app to load before finding all the Android SDK files you want.
- Select the packages you want to see running on your computer. Choose as many as you can to get a better feel for Lollipop.
- Choose the “install packages” option on the screen.
- Do not touch any buttons while the different packages are installed on the computer.
- Now select the “SDK Platform” followed by the “ARM EABI v7a System Image” and install them for the Emulator.
- Now we are guiding you how to run the emulator.
- Navigate your way back to the SDK folder and run the “AVD Manager”.
- Click the “create” option.
- Now you can select some options for the “Android Virtual Device” since Android can support a variety of screens. Leave them as default unless you know more about them.
- Press “OK” at the button for your selection.
- Now click the “Start button from the next screen.
- Leave the launch options as default and click the “Launch” button to finish.
- Now the emulator is starting and you should see the Android Logo take over the program on your display.


