 Email article
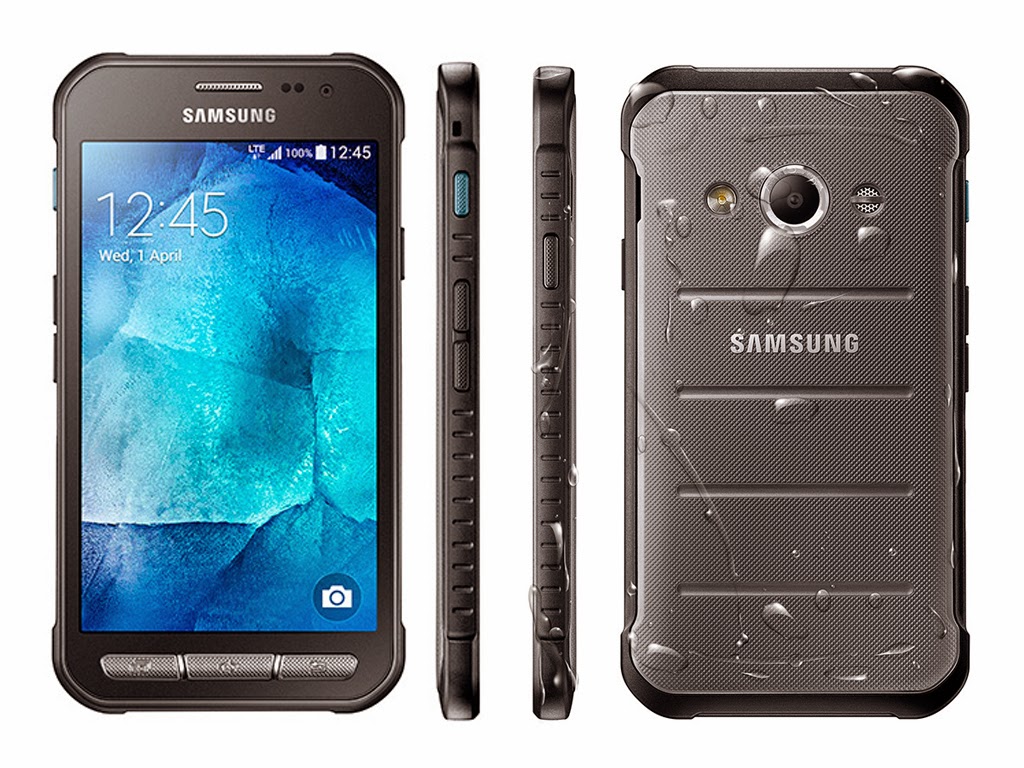 It’s not essential to have a custom recovery all of the time when gaining root access on your Android devices, but you’ll lose a large part of the benefits of having root access if you don’t choose to install a custom recovery. There are two main custom recoveries available for people to install today. One of those two is called TWRP and we’ll show you how to install TWRP recovery on Samsung Galaxy Xcover 3 after the drop. Once you have installed TWRP recovery on Samsung Galaxy Xcover 3, you will see the option to take NANDroid backups after booting in the custom recovery mode. Furthermore, you’ll access the TWRP recovery on Samsung Galaxy Xcover 3 to flash a custom ROM. These ROMs can only be flashed from zip files and a stock recovery cannot install zip files.
REQUIREMENTS
- Do not try installing the following custom recovery file on any device apart from the Samsung Galaxy Xcover 3 smartphone. Flashing the file on a different device will probably result in bricking it.
BEFORE WE BEGIN
- Download the Samsung USB Drivers for mobile phones either from the official Samsung website downloads page or by checking out the same link available from our USB Drivers page. Scroll down until you see the Samsung name. Alternatively, you might be interested in installing the Universal USB Driver available from the same page.
- Check the USB Debugging Mode is enabled on your smartphone so you have no worries installing TWRP on Samsung Galaxy Xcover.
- Likewise, you should check the Developer Options is available so you can access the USB Debugging Mode. Head to Settings > ABout Device > tap the build number 7 times to solve any Developer Option menu problems. Now head to Settings > Developer Options > USB Debugging Mode to solve any USB Debugging issues.
HOW TO INSTALL TWRP RECOVERY ON SAMSUNG GALAXY XCOVER 3
- Download the TWRP recovery file from this page.
- Download the Odin app so we can flash that same custom recovery file to your smartphone.
- Unzip both files — you cannot use the files until you unzip them. We recommend unzipping and storing them on the desktop for easy access.
- Start by turning off the Samsung Galaxy Xcover 3 if it isn’t already.
- Reboot in download mode.
- Wait until you see the warning screen before letting go of the three buttons, and then press the Volume Up key.
- Now you are running in download mode, find the USB cable and connect one end to your smartphone and the other end to the Windows computer.
- You should instantly see the ID: COM port light up in the Odin app. Those without any ID: COM port colors will need to try installing the USB drivers once again.
- Those confident the light has changed can click the AP/PDA button found in the Odin app.
- You’ll now get the chance to browse the computer for files. Choose the TWRP recovery file you extracted (unzipped/prepared) earlier.
- With the TWRP recovery file loaded, click the Start button in the Odin app and wait until Odin is done flashing your device with that custom recovery file.
- Odin will let you know when it’s done by giving a “pass” message on the display.
Now that you have successfully learned how to install TWRP on Samsung Galaxy Xcover 3, you are ready to check out what taking NANDroid backups is all about.


