 Email article
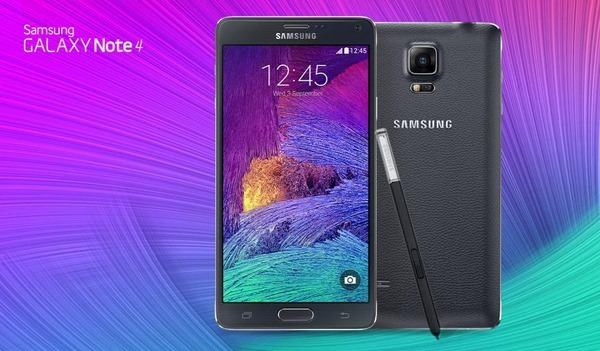 People using Samsung smartphone and phablets love custom recoveries because they make installing custom ROMs possible thanks to the ability to upload zip files. Big Red subscribers will also be glad to know that they can root the Samsung Galaxy Note 4 smartphone by using the custom recovery too. You can expect this version of TWRP to come with all the same bells and whistles as the other versions, including the option for NANDroid Backups, wiping the data, and installing your zip files. Those zip files are not restricted to ROMs either. They can be modified boot images, custom kernels, and other mods and images.
These are the guidelines to install TWRP Recovery on Verizon Samsung Galaxy Note 4 smartphones using the official recovery image by the Team Win open source community.
REQUIREMENTS
- You must have the Verizon version of the Samsung Galaxy Note 4 smartphone to install this version of custom recovery on the device.
BEFORE WE BEGIN
- You may need to unlock the hidden Developer Options menu on the Big Red’s Note 4 by tapping on the Settings > About Device > Model Number 7 or so times.
- Once the hidden Developer Options menu is no more, head there by tapping on the Settings > Developer Options and then enable the USB Debugging Mode so you can connect the Note 4 to the computer correctly.
- You are about to void the warranty when you install a custom recovery on the Samsung Galaxy Note 4 smartphone.
HOW TO INSTALL TWRP RECOVERY ON VERIZON SAMSUNG GALAXY NOTE 4
- Log in to your Windows computer using the administrators account otherwise the Odin flashing application will not work.
- Download the TWRP Recovery file for the Big Red version of the Samsung Galaxy Note 4 smartphone from here.
- Download the latest Odin application version from here.
- Extract both of the files on the desktop of your computer.
- Double-click the Odin executable file and wait for the Odin user interface to open on the desktop.
- Turn off the Samsung Galaxy Note 4 by Verizon and then reboot to the download mode.
- Connect the Verizon Galaxy Note 4 to the computer with the USB cable.
- Click the AP button from the Odin user interface.
- Browse the desktop of the computer for the custom recovery image file.
- Click the Start button.
- Wait for the flashing to complete.
- Look at the Odin user interface to give you a green light and a pass message inside the box.
- Turn off the Galaxy Note 4 and reboot directly to the recovery mode by pressing the hardware button combination for the recovery mode.
In conclusion, that’s how to install TWRP Recovery on Verizon Samsung Galaxy Note 4 smartphones using an official recovery image by Team Win. Since you did first-time boot directly to the recovery mode, you should find the custom recovery images is always with you now when you press the button combination for the recovery mode.
Now that you have installed a custom recovery on the Big Red’s Note 4, it’s time to learn how to root the Verizon Samsung Galaxy Note 4 smartphone so you can start using the root apps from the Google Play Store like Titanium Backup.


