 Email article
There is always quite a lot of chatter about how to extract files to a Windows computer and to be honest with you I have never understood why people sometimes go to such great length to get a file extracted. For me at least things have always been very straightforward. I have never had to download any additional software for extracting things like custom recoveries, rooting files or typical files sent from family and friends.
In this guide, I will show you how I extract a file from my computer, and you should find it works for your computer also as long as it is running what is a modern version of Windows at the time of writing this guide. I am currently running on Windows 10, but I have also used the same method in Windows 8 and Windows 8.1. If the guide does not work for you, then you can check out the additional links given at the bottom of the tutorial which directs you to the other ways that people extract files.
HOW TO EXTRACT FILES ON A WINDOWS OPERATING SYSTEM
- Start off by downloading the file. It does not matter where you have the file on the computer; the same extraction process can be used as it shows in the guide below. For arguments sake, I have my file starting on the desktop of the computer.

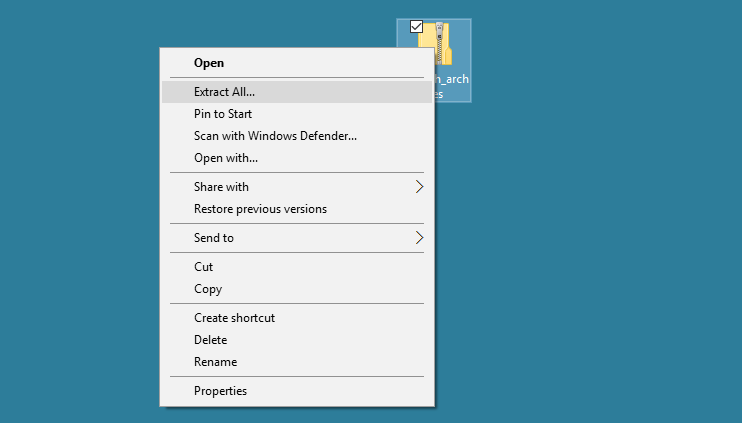
- Now you should all have the file that you want to be extracted on the computer (in my case it is on the desktop). Right-click on the file and choose “extract all” from the menu.
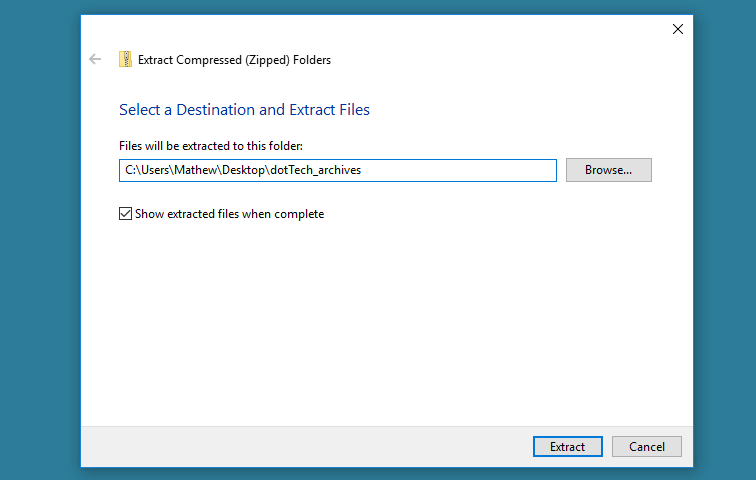
- Windows now makes you choose a location for the extracted files to end up. The location you choose is where all the files from within the zipped file will end up, so choose the destination that you want all the files. Many people choose the desktop so they can delete them when they are done. Others extract to the Downloads folder to keep the desktop clean of clutter. It does not matter what you choose as long as you know how to locate the files.
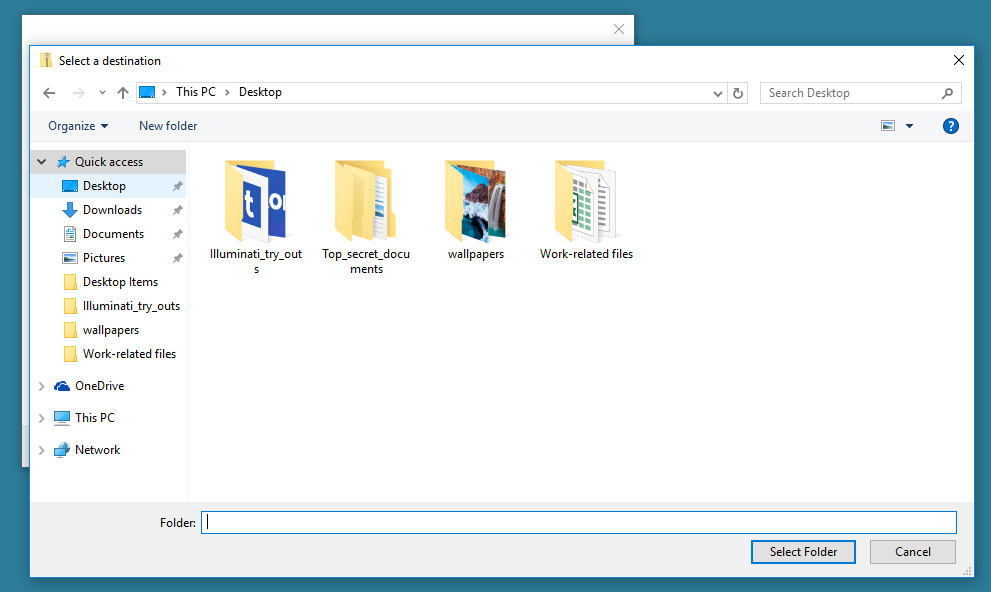
- Choose the location from the menu on the left side pane and highlight where you want the files to be extracted. I have the desktop highlighted in the screenshot. Click on the Select Folder button after you have made the selection.
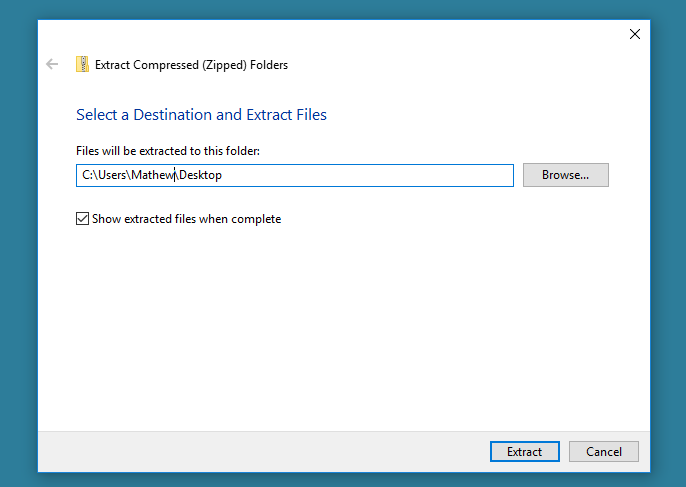
- Click on the Extract button available at the bottom of the screen and the zipped file will extract to the location set (you can see in my case that is the desktop).
The files from the zipped file are now available from the location you chose.
In conclusion, that is how to extract files from a Windows operating system. If the above guide did not work for you, then you can check out our guide on how to extract all archived files inside a folder on Windows. Alternatively, you can see 7-Zip as a free open source zipping tool or WinZip.


