Now that you’ve gotten either Windows or Ubuntu – or both – installed in VirtualBox it’s time to go further. This article – the second in the series on virtual machines – will teach you how to restoring virtual machines, integrate your mouse (and other guest additions), and even how to create shared folders.
Table of Contents
Taking and restoring Snapshots (Ubuntu and Windows)
Guest Additions (Ubuntu)
Guest Additions (Windows)
Setting up temporary shared folders (Step One, Ubuntu and Windows)
Setting up permanent shared folders (Step One, Ubuntu and Windows)
Accessing shared folders (Ubuntu)
Accessing shared folders (Windows)
Taking and Restoring Snapshots (Ubuntu and Windows)
Snapshots are literally a copy of the virtual machine as it currently is. You can use these to roll back changes, and the virtual operating system will have no idea that anything just happened. To take a snapshot of a virtual machine that is off, open the VirtualBox main window. Click on the operating system that you want to take a snapshot of.
Click the Snapshots tab.
Click the button that’s a camera.
Name it something informative, such as Just Installed or Mess This Up. You can even give it a description.
Now, the name of your snapshot will appear in the snapshots tab.
To restore the machine to a snapshot, click the name and then on the little icon with an up arrow.
Then click Restore. The image will be restored!
VirtualBox guest additions (Ubuntu)
To install the Guest additions- pieces of software such as drivers and things to make integration better- you’ll need to start your VM and log in. Then, from the top menu bar in the VirtualBox window (not in the virtual machine), click Devices>Install Guest Additions.
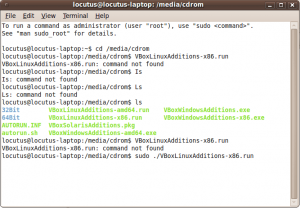
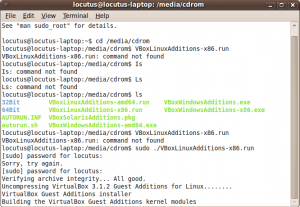
This will mount an ISO (disc image) that contains the installation files. To install them, you need to use Terminal. To open Terminal, click on Applications>Accessories>Terminal. To get to where the installers are located, type in cd /media/cdrom. Then, type ls to get a list of files. From that list, the file we want is VBoxLinuxAdditions-x86.run, so to get priveges to run it, type “sudo” into the command line, followed by “./VBoxLinuxAdditions-x86.run”.
Press enter and type in your password. Press enter again.
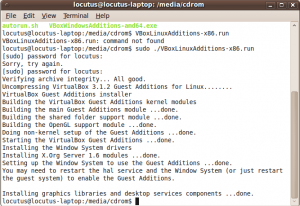
Wait a while. This may take some time.
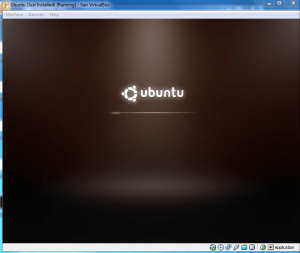
When it’s done (see above) restart your computer- in the upper right hand corner, click your name and click restart. The computer will restart.
Now, you can pass your mouse through one OS to the other. You can also resize the window and even enter full screen and have the virtual machine automatically resize.
Guest Additions (Windows)
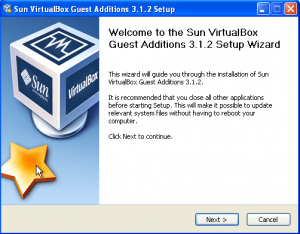
Guest additions in Windows are simple and easy. Start up your virtual machine and from the top menu bar in the VirtualBox window (not in the virtual machine), click Devices>Install Guest Additions. This will mount an ISO of the installation disc, and from there it’s a regular software install. Open My Computer, then the disc drive.
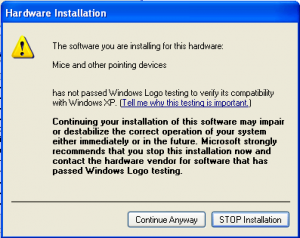
Run through the software install, clicking Next or I Agree to any prompts. The Unsigned driver window will pop up- just click Continue Anyway.
Your computer will reboot, and you’ll be able to set up shared folders and use mouse integration!
Setting up temporary shared folders (Step One, Windows and Ubuntu)
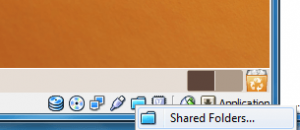
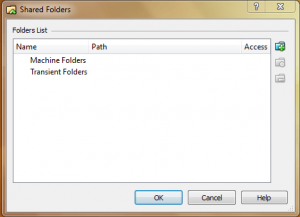
Setting up shared folders is a useful way to transfer files from one operating system to another. To set them up, right click the little folder in the bottom right of the window.
Click Shared Folders to get a window:
Then click the little folder in the corner.
From the dropdown menu, click other.
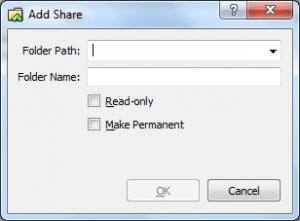
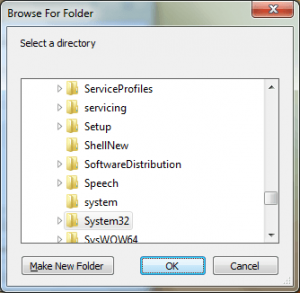
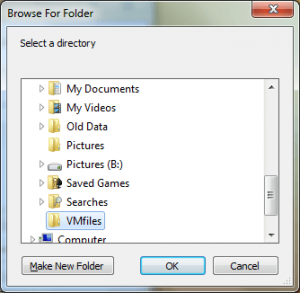
This window will pop up. Create a new one or select an existing folder, and click OK.
For the Folder Name section, it should be automatically filled in with the name of the folder you selected. If you chose a folder with a long name or one with a space, you need to rename it to something WITHOUT A SPACE. Click OK and OK. This will set up a networked drive to the virtual machine. This shared folder will need to be set up every time you start the machine.
Creating Permanent Shared Folders (Step One, Windows and Ubuntu)
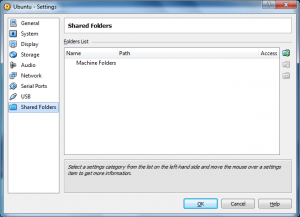
To make a shared folder that doesn’t disappear when you turn off thevirtual machine, you have to turn off the virtual machine and open the settings for that machine. Click the Shared Folder area at the bottom left.
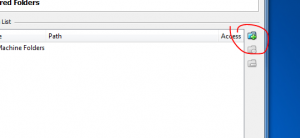
Then click on the new Shared Folder button.
From there, make a new Shared Folder in the same style as before. Select a folder and name it something without a space. Click OK twice, and then access it using the instructions below.
Accessing Shared Folders (Ubuntu)
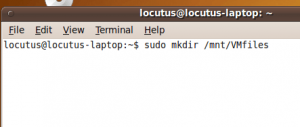
To set up the shared connection in Ubuntu, open up Terminal again. Type in sudo mkdir /mnt/[whatyouwantyoursharedfoldertobecalled]. Press enter.
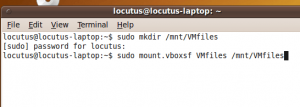
Type in your password and press enter again. Nothing will appear to have changed. Now, type in sudo mount.vboxsf [nameofsharedfolder] /mnt/[nameyouwantedyoursharedfoldertobecalled].
Now, when you open up Computer and go to File System, open up mnt. There will be a folder in there called [whatyouwantedyoursharedfoldertobecalled] containing all the files in the folder you’re sharing. You can drag and drop into these folders from both the host and the guest.
Accessing Shared Folders (Windows)
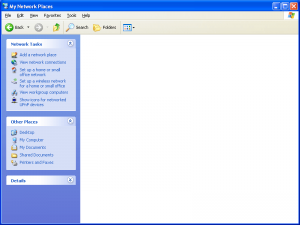
Accessing Shared Folders in Windows seems a lot easier to me. It may be that I’m used to Windows, but it sure seems a lot simpler. To use them, you’ll need to set up a shared folder all over again- they only are set up for one operating system. After you have them set up, just open my Network Places from My Computer:
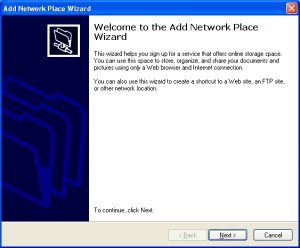
And click Add a network place under Network Tasks.
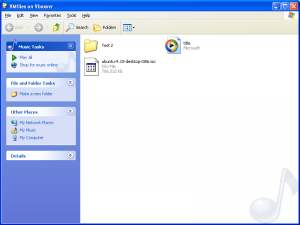
Click next and on “Choose another network location”. In the box, type \\vboxsvr\[whatyourshareiscalled].
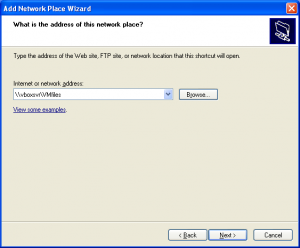 Click “Next”, give it a name, and you’re done!
Update: Part 3

 Email article


