 Email article
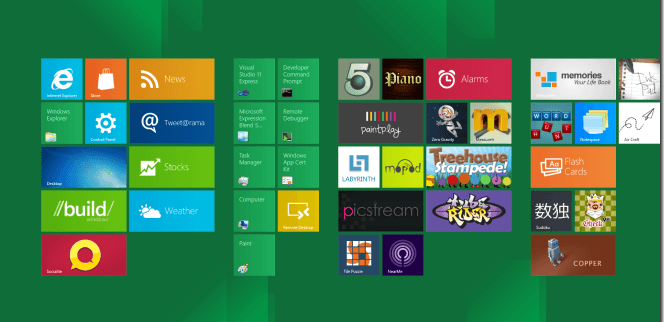 Your Windows 8/8.1 start menu (Start screen) is divided into rows and columns with Live Tiles. The start menu automatically adjusts the number of rows on your start screen depending on the vertical space or your screen resolution. By default, the number of rows that it adds is six and not more than that. Earlier we showed you how to add (or remove) rows of icons on Start screen by editing the registry. However today we’re gonna show you another method that is easier.
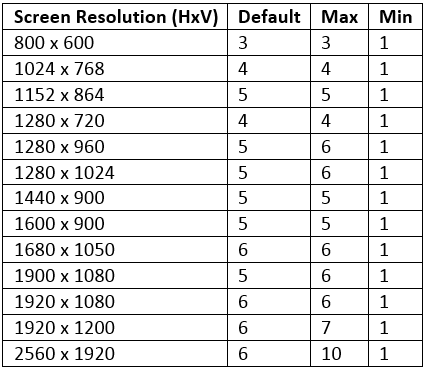
As mentioned earlier, the number of rows depend on your screen resolution. Let’s say your screen resolution is 2560×1920, then the maximum number of rows that can be created on your start screen is 10 rows. Here’s a table that shows the maximum, minimum and default rows based on your screen resolution:
In this tutorial, we’re gonna make use of an easier method by way of tile settings menu.
HOW TO INCREASE THE NUMBER OF ROWS DISPLAYED ON YOUR START SCREEN
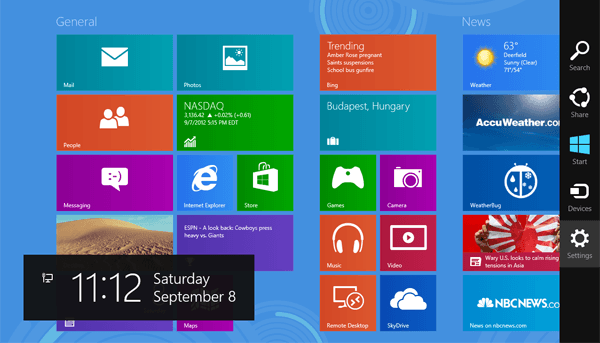
Step 1: Go to your start menu, bring up the Charms bar and click Settings.
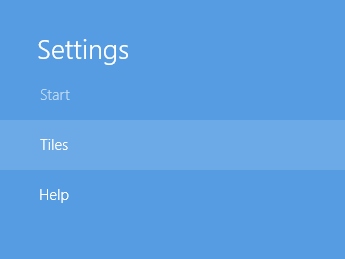
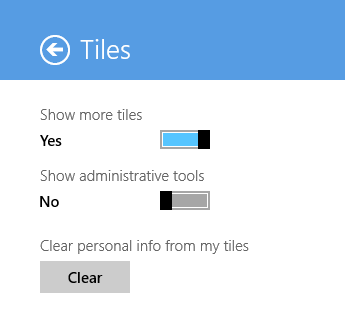
Step 2: From the settings menu, select Tiles.
Step 3: If your screen resolution allows more rows to be added, an option named Show more tiles will be there. If you have this option, simply turn it on.
Conclusion
That’s it! The start menu will now have more rows and more live tiles to display. If you want to disable this option, follow the steps above again and toggle off the Show more tiles option mentioned in step 3. So if you want more tiles to be displayed, you can use this method to easily add more rows to your start menu.


