Almost all photography software packages include an editing option with which you can convert photographs to black and white. However, if you look beyond the basic B&W options you can find a variety of alternatives. For example, the freeware Google Picasa has six alternative options which also convert photos and images to black and white. Check out the Picasa website to add the software to Windows XP/Vista/7/8 and Mac OS X. These are the six Google Picasa options which add black and white to photographs.
Black and white
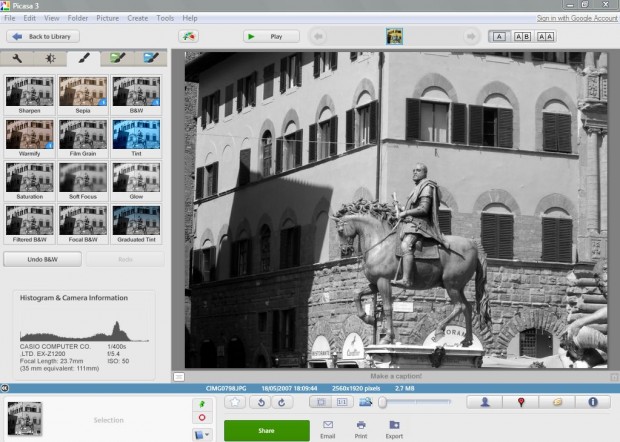
To find the basic B&W option in Picasa, click a photo thumbnail and the middle Fun and useful image processing tab. That opens the editing window below, from where you should select the B&W option. It turns your photo black and white, but does not include any further configuration options.
Filtered Black and White
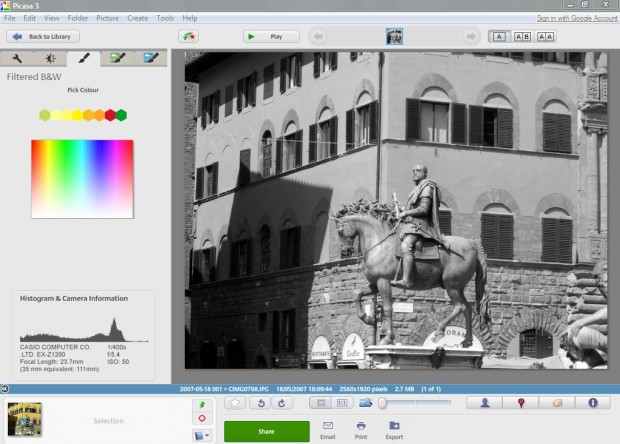
The Filtered B&W option is on the same tab as the B&W option. Click on Filtered B&W, and then select the Pick Colour box. That opens a palette from where you can select alternative colors that adjust the contrast of the photo. However, the photo remains black and white as below. Click Apply, File and Save to save the editing.
Focal Black and White
The Focal Black and White option doesn’t entirely convert your photos to black and white. What it does is mix a central color point with black and white around the photo’s borders. That option is also on the same Picasa tab as the Filtered Black and White, and when its selected you can adjust the amount of color in the photo by drafting the Size bar to the left. Drag it to the far left to remove all the color from the photo. Check out this dotTec article for further details.
Holga-ish
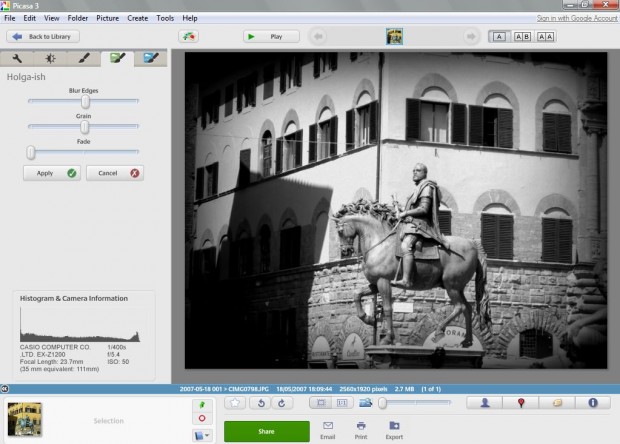
Holga-ish is an interesting nostalgic editing option which converts your photos to black and white. It makes a photo look as if the photographer took the picture with a plastic camera instead of the prevalent digital models. Click the green More fun and useful image processing tab, and the Holga-ish option to open the editing window below.
There you should drag the Fade bar to the far left to fully convert it to black and white. With its darker borders it’s more comparable to the Vignette option that darkens the edges of photographs. Drag the Grain bar to the far right to make the picture more grainy. Then click Apply and save the edited photograph.
Pencil Sketch
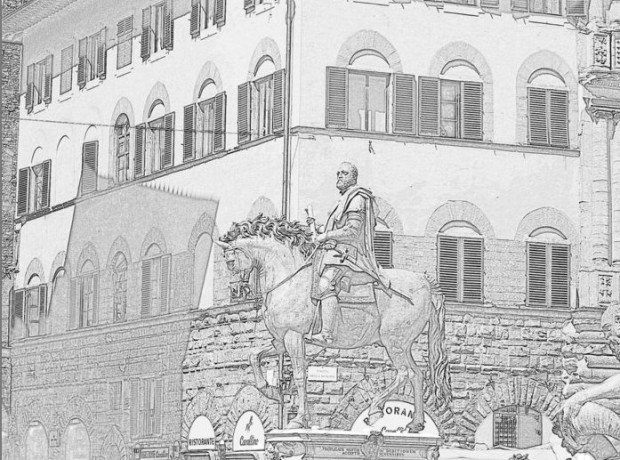
Even the Picasa Pencil Sketch option is a notable B&W photo editing option. Click on the blue Even more fun and useful image processing tab. Then select the Pencil Sketch option to add a sketching effect to the photo. If the sketch still has some color you should drag the Fade bar to the far left to make it fully black and white as in the shot below. Dragging the Strength bar adjusts the contrast of the pencil sketch.
Infrared Film
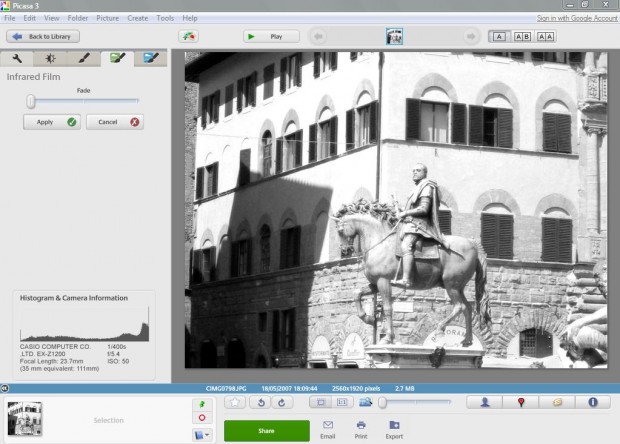
Or you could convert your photos to black and white with the Infrared Film option. That’s an editing option which, yes you guessed it, simulates infrared film. The option is on the green More fun and useful image processing tab. Click Infrared Film to open the window below, and then drag the Fade bar to the far left again to convert the photograph to black and white.
Conclusion
There you have six Picasa B&W editing options which you can convert your photos to black and white with. Photo editing software such as Adobe Photoshop could have more. The alternative B&W options give more scope for configuring the black and white editing.

 Email article
