In part one of our guide on how to setup OpenOffice Base database, we covered how you can set up the tables for a software database. Of course, you can input software records directly into those database tables; but it’s better to add a data entry form from which you can enter the records. OpenOffice Base, like most database packages, has options with which you can set up database forms.
Open the database, in Base, set up in the previous article. From the Database Wizard window, select Open an existing database file; and then select its file from the drop-down list below. Click Finish to open both the primary Base window and the software database.
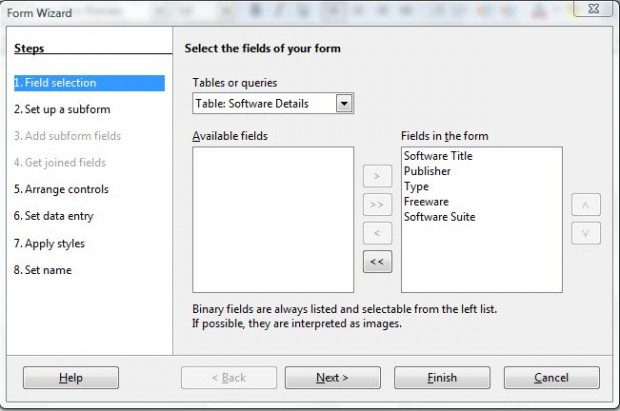
Then click on Forms > Use Wizard to Create Form to open the window below. On the first step of the wizard click the drop-down list, and select the Software Details table. Click on the double arrow to select all the table’s fields, and select Next to go to step two.
On the next step you should click the Add subform check-box option. Click the Add subform and Subform based on existing relation options. Select Setup Details and Next to choose the fields for your subform. Click on the double arrow to add all the Setup Details table fields to the subform. Then click Next to move to the wizard’s fifth step.
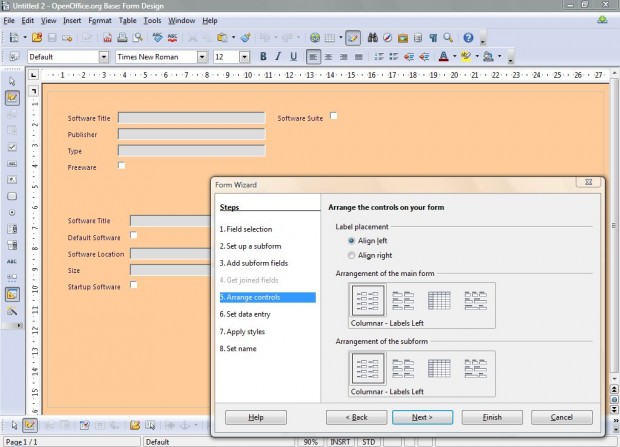
On the fifth step, choose a suitable arrangement for the main form. Select Columnar – Labels Left options for both the main form and the subform as in the shot below. To move to step six, click Next.
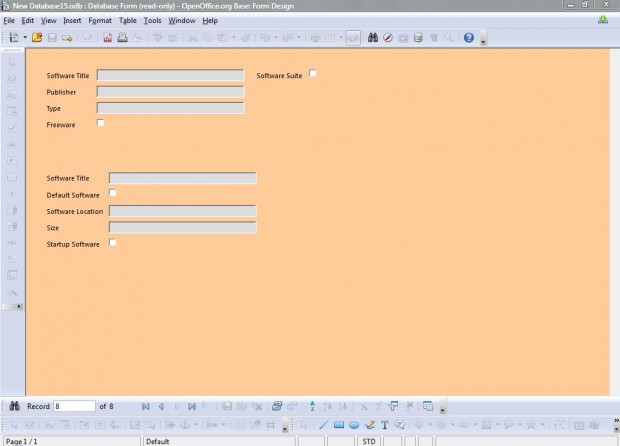
In the final few steps of the of the wizard you should select The form is to display all data option on step six. You can choose a variety of alternative styles for your form, such as Beige, Orange and Ice Blue, on the seventh step. Add the title Database Form on step eight, and click Finish to close the wizard. Then you should have a form comparable to the one below.
What the above form lacks is add and remove record buttons. However, you can still add more to the form from the design view. Right-click on the database form, and then select Edit to open the form editing window.
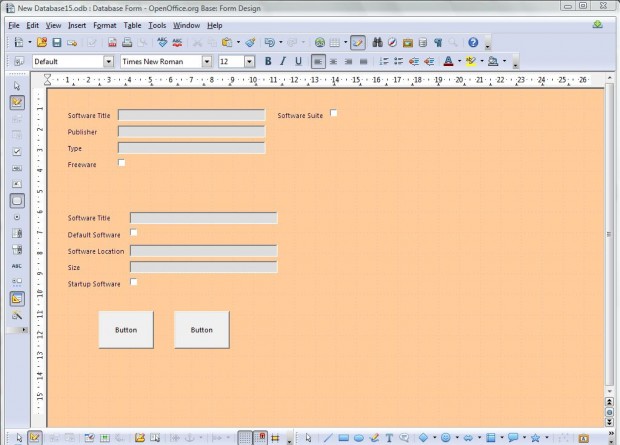
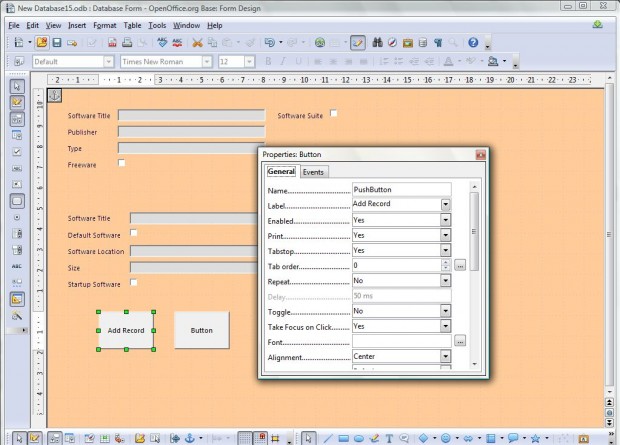
There you should select the Push Button option on the left, and then drag out a couple of rectangular buttons, roughly of the same size, with the cursor. Position them at the bottom of the form as below.
Right-click the button on the left, and select the Control option to open the window below. There you input add record in the Label box to change the button’s text. Scroll down to and click on the Action drop-down list. There you should choose the New record option, and click the X to close the window. When its pressed, that button adds a new record to the database.
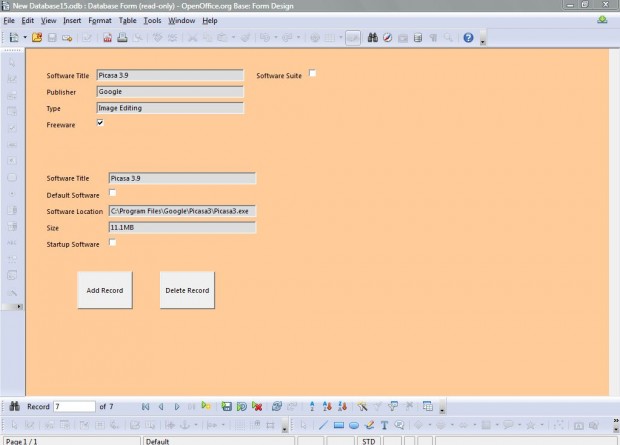
The button on the right will delete records from the database. You can set that up much the same as the Add Record button. Type in delete record for its label, and select Delete record from the Action drop-down list. Click File > Save to save the new data input form. Then you should select File > Close to return to the primary Base window. Click on Database Form to open it as in the shot below.
Now you can enter software records into the database! The essential fields to fill out are the software’s title and location, but you can leave the rest blank. You should enter the full software locations and titles, with version numbers included, in the primary key fields. Click Add Record to enter new records into the database tables, and the small arrows at the bottom of the form window to flick through them. To remove a record from the database, find it in the database form and click on the Delete Record button.
The software database is pretty much finished. You can set up any Base database much the same. However, there’s still plenty more that you can add to the software database. The third and final installment to this article series will cover adding reports to the database.

 Email article

