While the animated GIF file that you see on the right is certainly pretty fu nny, what if we want it as a favicon? Or maybe as a giant, huge picture? Resizing an animated GIF is not as easy as resizing, say, a JPG or PNG image. Typically for a JPG or PNG (or BMP or most other image formats) one can simply throw the image into an image resizer and resize the image easily. For animated GIFs, however, it takes a bit more work. For the purposes of this article, we will teach you how the free, open-source software GIMP can do most of the hard work for us when it comes to resizing animated GIFs.
- Download the Windows version of GIMP. You can find it at Sourceforge.
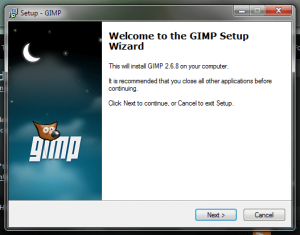
- Click Next in the installer:
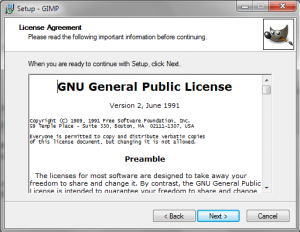
- Accept the GNU agreement:
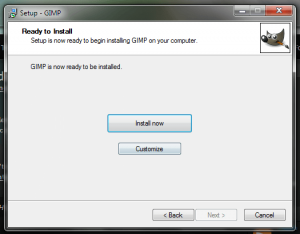
- Click Install:
- When it is done installing, click Finish:
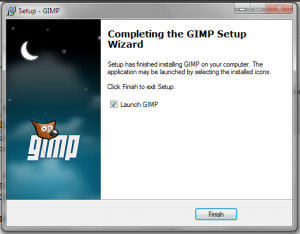
- GIMP will launch.
- You’ll notice (or at least every time I install GIMP I notice) that the window extends down past the bottom of the screen. Just maximize the window.
- Here’s the juicy part: open the animated GIF. Click File>Open and navigate to the file.
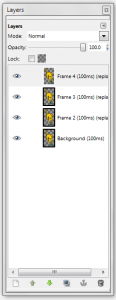
- If the Layers window isn’t open, press Ctrl+L to open it.
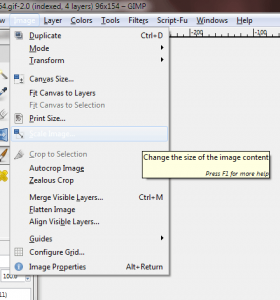
- Click Image>Scale.
- The Scale window will open.
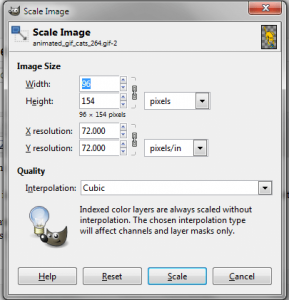
- Enter the amount of pixels you want the GIF to be. Notice that by default, the size is proportional. You want to keep that.
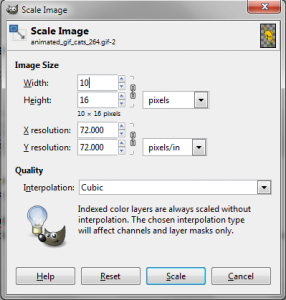
- Click Scale. Congratulations, you’ve just scaled your first image!

- Click File>Save As.
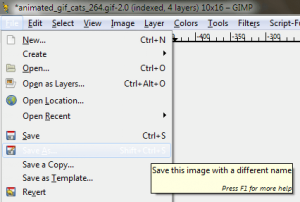
- Name it something original, such as OMGANIMATED.gif. Make sure to enter the .GIF format.
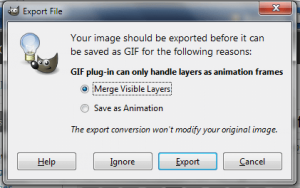
- In the resulting window, click on Save as Animation. Then click Export.
- You can change the comment or other such options in this window.
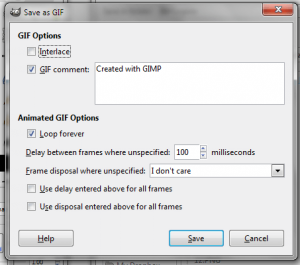
- When you click save, it’ll save the file. Now you’re done:

While this may be the long and wordy method, it’s the most fine-grain method, allowing you to even Photoshop each individual frame. Plus, you never know when you might need GIMP!
This article was originally written by Locutus at his blog Cogizio on April 18th, 2010.

 Email article


