 Email article
Windows has a variety of fonts to select from word processor applications. Although you can add even more fonts to Windows. Alternatively, if most of the fonts are surplus to requirements you can also delete them.
To delete fonts from Windows, open the Fonts folder. Enter fonts in the Windows Start menu search box or Run dialog box, to open the window in the shot below. That shows you a list of the system fonts.
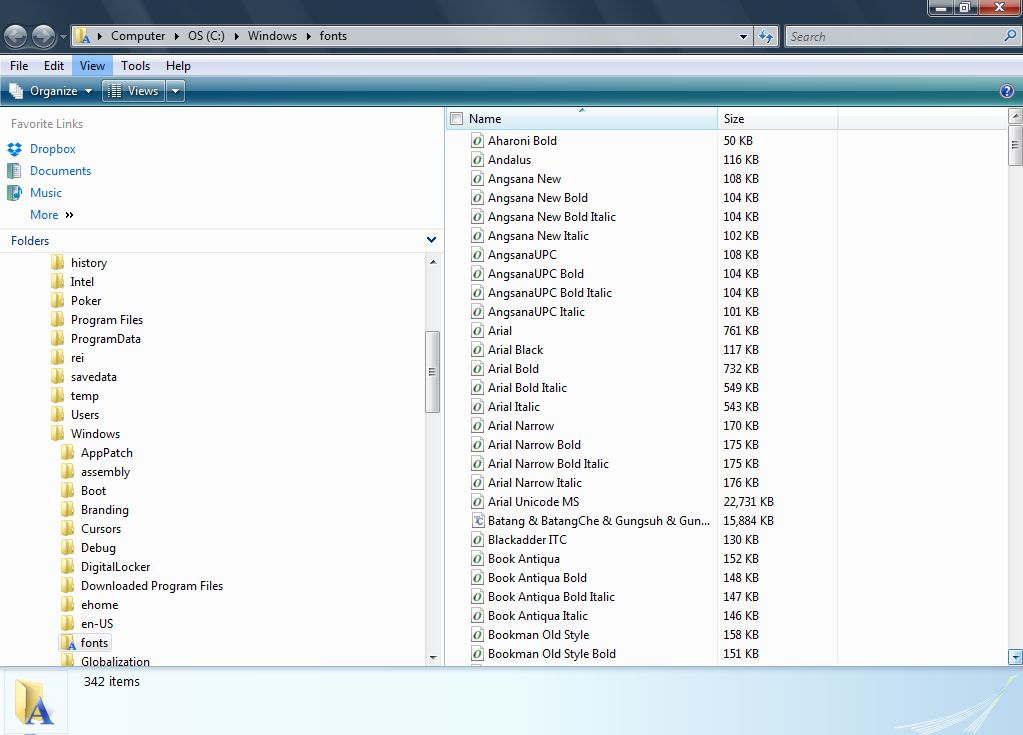
Now right-click on one of the fonts, and select the Delete option. That removes the selected font from Windows. Removing a larger number of fonts will free up a few megabytes of disk space.
There are plenty of fonts that you can add to Windows. A good website to find new fonts is 1001 Free Fonts. That website has loads of themed fonts to add to Windows. For example, you can select Valentine, Easter or Christmas fonts which would be great for holiday cards.

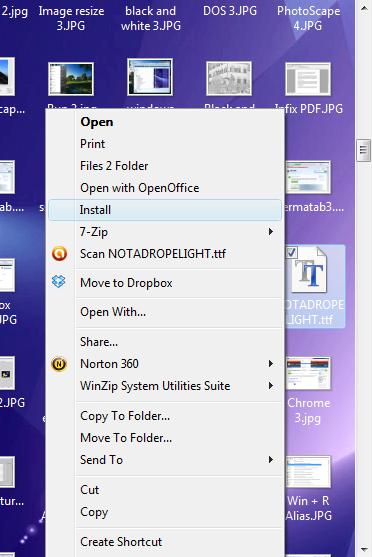
Click on a Download option next to a font on the website, and choose a folder to save the Zip file to. Open the folder you saved the font to, right-click the font Zip file and select Extract all. Then right-click on the font file and click Install to add it to the Fonts folder.
Open up your word processor, and click on the font drop-down list to select your new font. Deleted fonts will no longer be listed. Now you can add plenty more original fonts to Windows, and delete some of the standard fonts that you’ll never use in documents.


