Adobe Reader is a software package with which you can open and print PDF documents. When printing PDF documents with Adobe Reader, you don’t always have to print out whole pages. You can instead print smaller sections of the document with the Take a Snapshot option.
Note that not all versions of Adobe Reader include the Take a Snapshot option. As such, add the latest Adobe Reader XI to your software library if you haven’t already. Go this Adobe website page, and click on the Download now option to update the package.
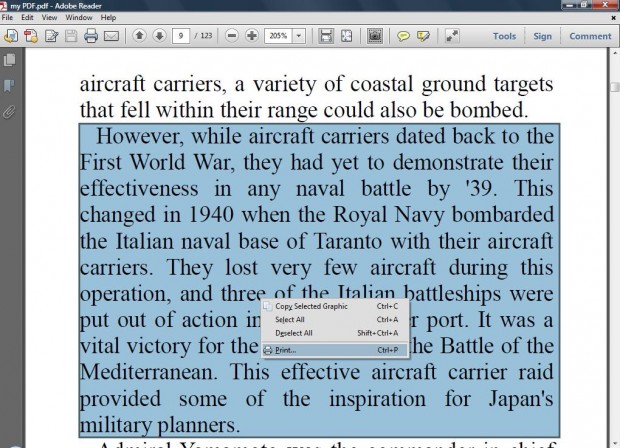
Once you have opened the Adobe Reader XI window, click on the Edit option on the menu bar. There select the Take a Snapshot option from the menu. Now hold the left mouse button and drag the cursor to expand a small gray box as in the shot below.
Drag the gray box over the small section of the document that you’re going to print, and let go of the left mouse button. A small dialogue window then appears stating that, “The selected area has been copied.”
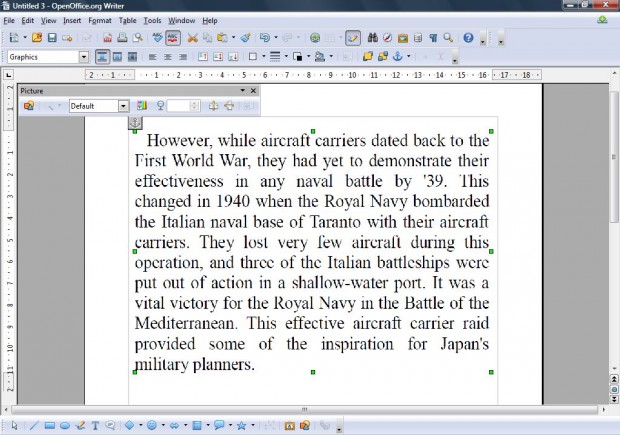
Click OK to close the window, and open an alternative word processor application. Then press Ctrl + V to paste the copied section of the PDF document into a word processor or image editing package such as Paint. Pressing Ctrl + V pastes the PDF document section into the word processor as below.
Now print the PDF document section from the word processor or image editing software. Click on the File menu option and Print. Or you can still print the selected area in Adobe Reader by right-clicking it and selecting Print.
The Take a Snapshot option can greatly reduce the amount of a PDF document printed if you only have to print a small section from it. You can also add the option to the Adobe Reader toolbar by right-clicking the toolbar, clicking Edit and Take a Snapshot.

 Email article


