 Email article
For some, the default font on their smartphone or tablet may suffice but there are also those who wish to customize the way how their devices look and feel. Come to think of it, you can change your device home screen wallpaper, lock screen and even its default app launcher. So, what about the font? Can you also change it and replace it with another that would best suit your style or preference? Of course, you can.
In Android, you can use various methods to change your phone or tablet’s default font. There are methods that requires root but in this post, you can easily change your device font without even rooting your phone. Just follow the steps listed below.
Change default font in Android – No Root
Method One – via OEM skins
Lucky are those whose phones are made by OEMs like Samsung, LG, etc. Why so? It’s because these manufacturers have already integrated some value-added features on your device such as the ability to change and replace the default font style.
For starters, you can go to your device display settings to check whether such option exists. Just go to your app drawer, find and tap “Settings” then go to “Display” and find the font section. Look for an option that states “Font style”. Select that option and then choose your desired font. Once you’re done, press “OK”. You will then be prompted to your restart your device. If you want, you can opt to restart your device later. Just keep in mind that the changes in the font style can’t be applied until you restart your tablet or phone.
Method Two – Use a custom launcher
If your device doesn’t allow you to change its font by default, you can use a custom launcher a.k.a. home launcher replacement app. There are many custom launchers out there that support different font styles such as Go Launcher EX.
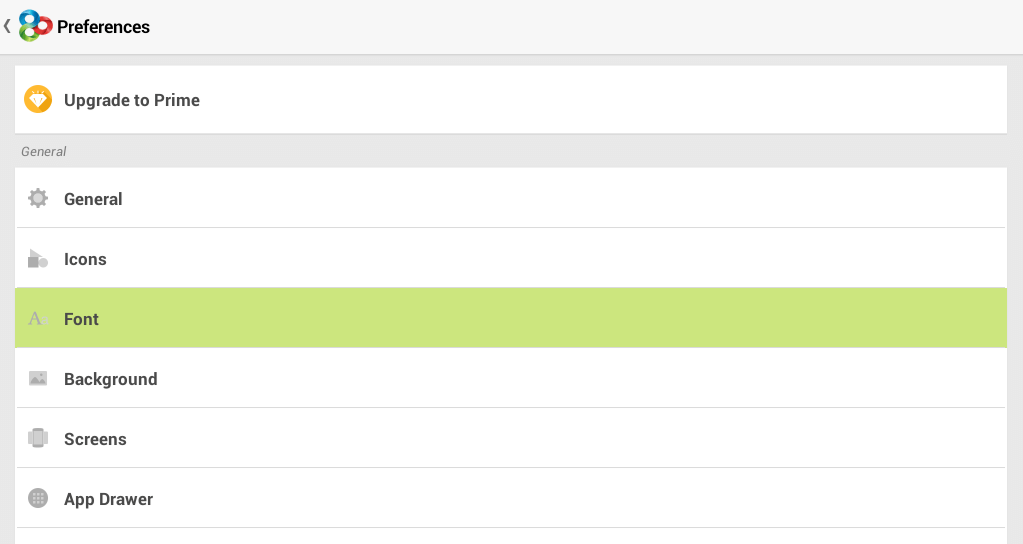
To change your default font in Go Launcher EX, just tap on its menu button (look for the “three dots” icon near the home button) and then go to “Preferences”. Go to the “Font” section and then select “Scan Font”. This will put any third-party font into the Go Launcher EX “fonts” folder.
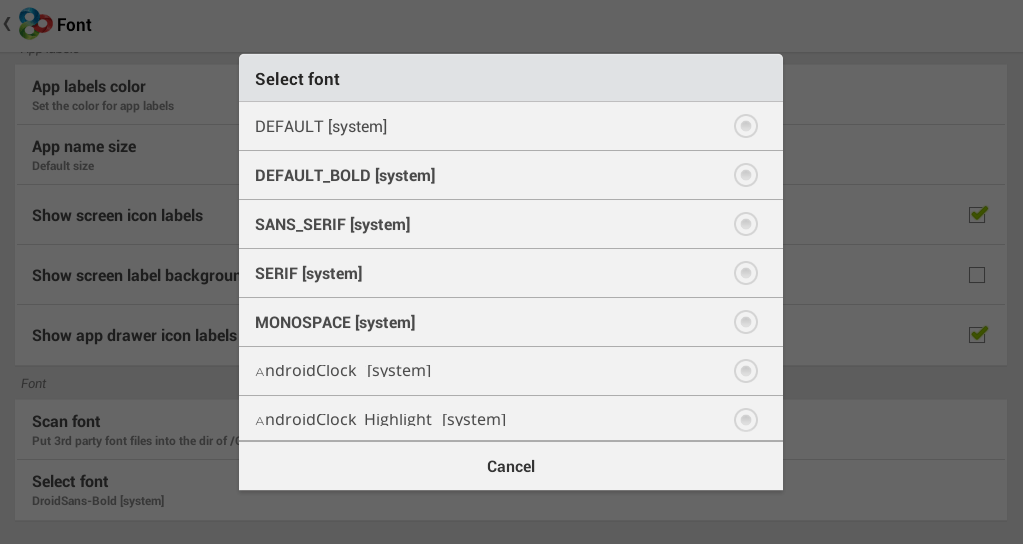
After the scan is finished, just press “Select Font”. Choose the font that you wish to use and if you see a dialog box, just press “continue”. You will then be taken back to your Go Launcher EX home screen.
There, you’ll see that that your phone or tablet’s default font has been replaced with a new font. No need to download or install a new theme.
Note: The new font cannot be applied to all parts of your Android system. For example, the notification bar or notification tray will still display the default font. The same goes for the font on your system settings.


