Controlling other people’s computers from far away sounds daunting, doesn’t it? Well it’s not. Teamviewer is a great–and free–application for Windows, Linux, and Mac OS X that makes screensharing a snap (and two numbers). I needed to help a friend set up an application, and I just couldn’t figure it out over Facebook chat. I persuaded him to download the app (always make sure you have the other person’s permission before connecting to their screen), and within minutes I had it done for him!
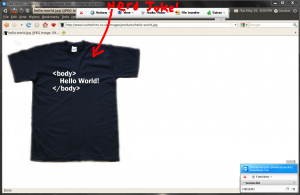
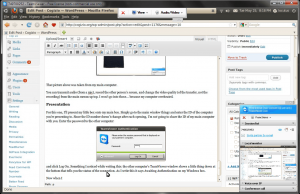
You’ll notice that in the screenshot above, I’m running Firefox… on Ubuntu…. inside Windows! It is simply a remote connection (from 3 feet away).
The install
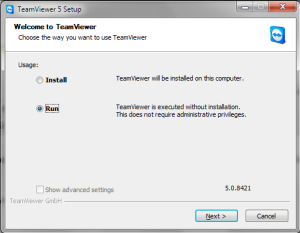
On Windows, Teamviewer can either be installed or used as a portable application. As I didn’t want it to be too complicated I simply had him run it as a portable application.
As long as you agree to the terms and conditions, just click Next and accept said terms and conditions. Then, the app will open.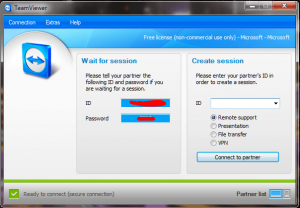
Now you can use Teamviewer, as explained below (the section on installing it on Ubuntu)!
The install… on Ubuntu
The Ubuntu install is not one of those “it’s really hard” things. In fact, I’d say it’s about as easy as it is to install any application on Windows, if not anything. You simply go to their site and click on the download button, just like you would on any Windows computer:
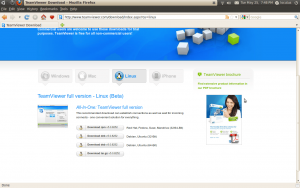 There are of course multiple downloads, but it’s easy to spot the one we’re looking for: the one for Ubuntu, 32-bit. Just download the file and open it (it’ll open in GDebi Package Installer):
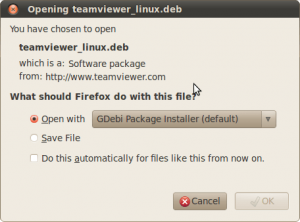 The package will open as soon as it’s done downloading:
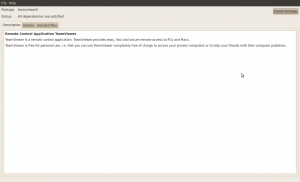
You’ll notice that Ubuntu has a universal installer–which is definitely a big step up from Windows, where it could be home-baked, it could be InstallShield, or who knows! Plus, applications on Linux can be installed from the command line or from the GUI!
Simply click the Install button up in the top right corner–you’ll need admin privileges, so enter your password when prompted.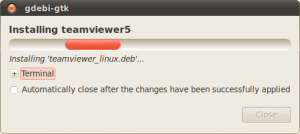
If you’re a Terminal fan, you can see exactly what it’s doing in Terminal by expanding the Terminal button.
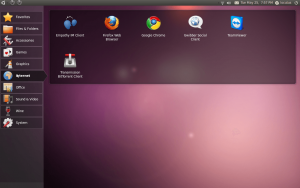
Once it’s done installing, just close the installer. Go to the Internet section of your menu–since I’m using Netbook Edition for its really cool interface, I’ll just go to the tab about halfway down the screen; but it’s in the Internet tab for most Ubuntu users.
If you’re on Netbook Edition, you can add it to your favorites like I did.
You may be wondering why I said installing applications in Ubuntu was so easy if I had to give a hundred word explanation, but think about it-I just told you how to install most pieces of precompiled software!
The use
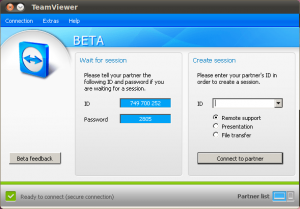
TeamViewer has four functions: the first is to remotely control a computer (called remote support), the second to show other people your current screen (called presentation), the third file transfer, and the last VPN. Unfortunately the Ubuntu beta only has the last three, and in my tests I couldn’t get the file transfer to work.
Remote Control
The first, and probably most useful, function is remote control. To use it, you’ll need the ID number and the password from the other person whose screen you want to control. Just enter the ID from one box into the ID box in another….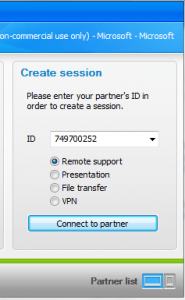
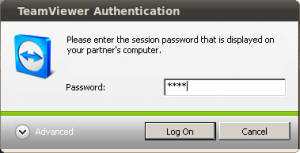
and click the connect button. You’ll be prompted for the password: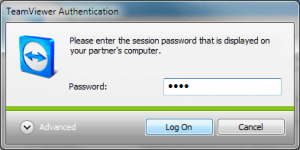
and you’re connected! Now you can do things like control the other person’s computer and even take videos and things using the built in tools! (I was going to take a video of me controlling the other computer, but my Acer laptop overheated–which goes to show it handles dropped connections gracefully.)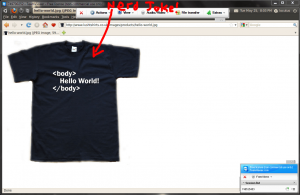
You’ll notice in the picture above (also at the top of the article) I’m controlling my Ubuntu box from my Windows box. (The red text overlay is not from Teamviewer, it’s from the screenshot app.)
Teamviewer supports transmitting Mic audio, recording screens remotely, and changing the remote screen quality for smaller bandwidths.
Presentation
For presenting, I presented my Ubuntu machine onto my Windows machine. Just go to the main Teamviewer window and enter the ID number of the computer you’re presenting to. The ID numbers do not change from session to session, so I won’t be sharing the ID # of my Windows machine. Simply enter the password:
and click on the Log On button. You’ll notice that on the remote computer it tells you the status of the connection–for instance, it said Awaiting Authentication on the Windows box.
Now if I move the mouse or type something in or the screen otherwise changes on my Ubuntu box, the change is mirrored onto the Windows box.
If you click on something on the presented-to box (here, the Windows box), it’ll make an odd cursor on the presented box (the Ubuntu box) that indicates someone is wondering about an area. It’s perfect for asking about something over the VOIP capabilities available under the Audio/Video menu.
Final Words
Even with the Linux version in beta, Teamviewer is still a great piece of software that will have a wide range of uses, from helping someone remotely to transferring files to a friend or relative. It’s great for helping friends with software problems as I mentioned earlier and I see  no reason to not have this great piece of software installed. The only reason I see to not have this is because once you have it, your less technology-savvy friends may be asking you for help more and more. In fact, I like this software so much I featured it as #3 in my top 10 favorite pieces of software I’ve reviewed on Cogizio.
[Visit Teamviewer’s homepage!]
This article was originally written by Locutus on his blog Cogizio.

 Email article
