 Email article
In Chrome, you can install browser extensions to help you do things that you can’t normally do with just its default options. The thing is when you have too many extensions installed, there would be little space left for your address bar. Therefore, you might want to consider sorting out your extensions into groups. This way, you can easily switch from one group of extensions to another. You can also hide the ones that you’re currently not using so there’s less clutter.
How to sort extensions into groups in Chrome
- In Chrome, go to the Web Store then search for the “Context” extension. Download and install it on your browser.
- Once installed, the extension will add its shortcut icon to your browser’s omnibar. It will also redirect you to its “Options” page so that you can start grouping all of your active extensions.
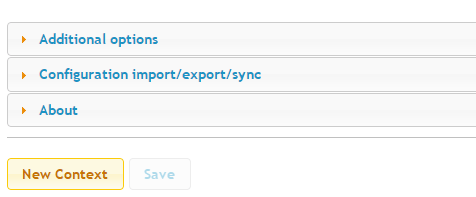
- To create a new group of extensions, just click the “New Context” button.
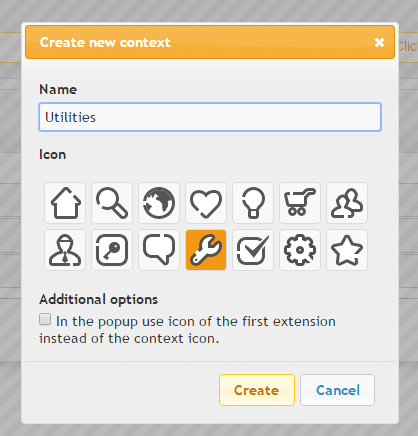
- Enter the name that you want for your new group then select your preferred group icon. Click “Create” as soon as you’re done.
- If you want to create more groups, just repeat the step listed above.
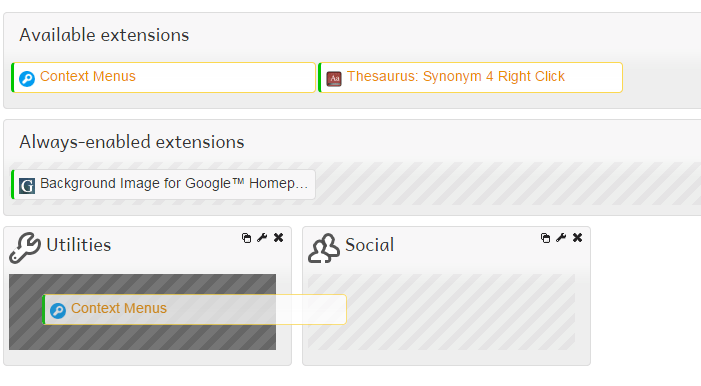
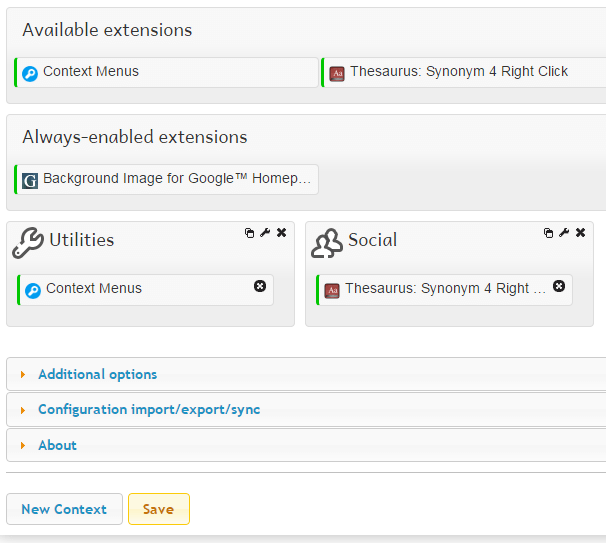
- So now that you’ve created your groups, simply refer to the extensions listed under the section for “Available Extensions”. Just click the extension that you want then drag and drop it to the group where you want to place it. Do the same for the rest of your extensions.
- After sorting out all of your extensions, do not forget to click the “Save” button.
- To switch from one extension group to another, simply click on the extension’s shortcut icon on the omnibar.
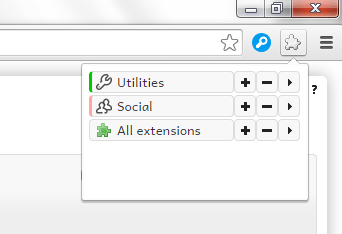
- A small popup will appear and it will display your extensions by group. Click the “+” icon next to each group to display the extensions that you want.
So that’s it. You’re done.


